August 2026 Updates
AELAS - Update 1.4.1
- Improved interaction with ENB sky scattering during sunrise/-set and dawn/dusk
- Fixed ENB airglow and sunglow not fading away like before if a preset uses non-zero values at night
Sky scattering improvements
Normally Skyrim’s engine simply reverses the sun path after it fades away during sunset,
moving it backwards across the sky at night before letting it re-appear on the opposite side during sunrise.
ENB uses this peculiarity for parts of the sky scattering logic which AELAS now in turn uses to its advantage.
The sun will appear to continue on its path even after going below the horizon, causing it to fade in/out at a realistic angle.
ENB Extender & Helper - Update 1.5
- Added support for shader grafting
- Added last frame counterparts to all externally bound matrices
- Fixed rare crash that could happen during shader compilation
- Improved error recovery during backups and saves
KreatE - Update 1.5.1
- Fixed a rare crash that could happen when adding new unmanaged non-weather records
Silent Horizons 2 - Update 1.15
- Added a completely new Depth of Field shader
- Added shader grafting to the postpass
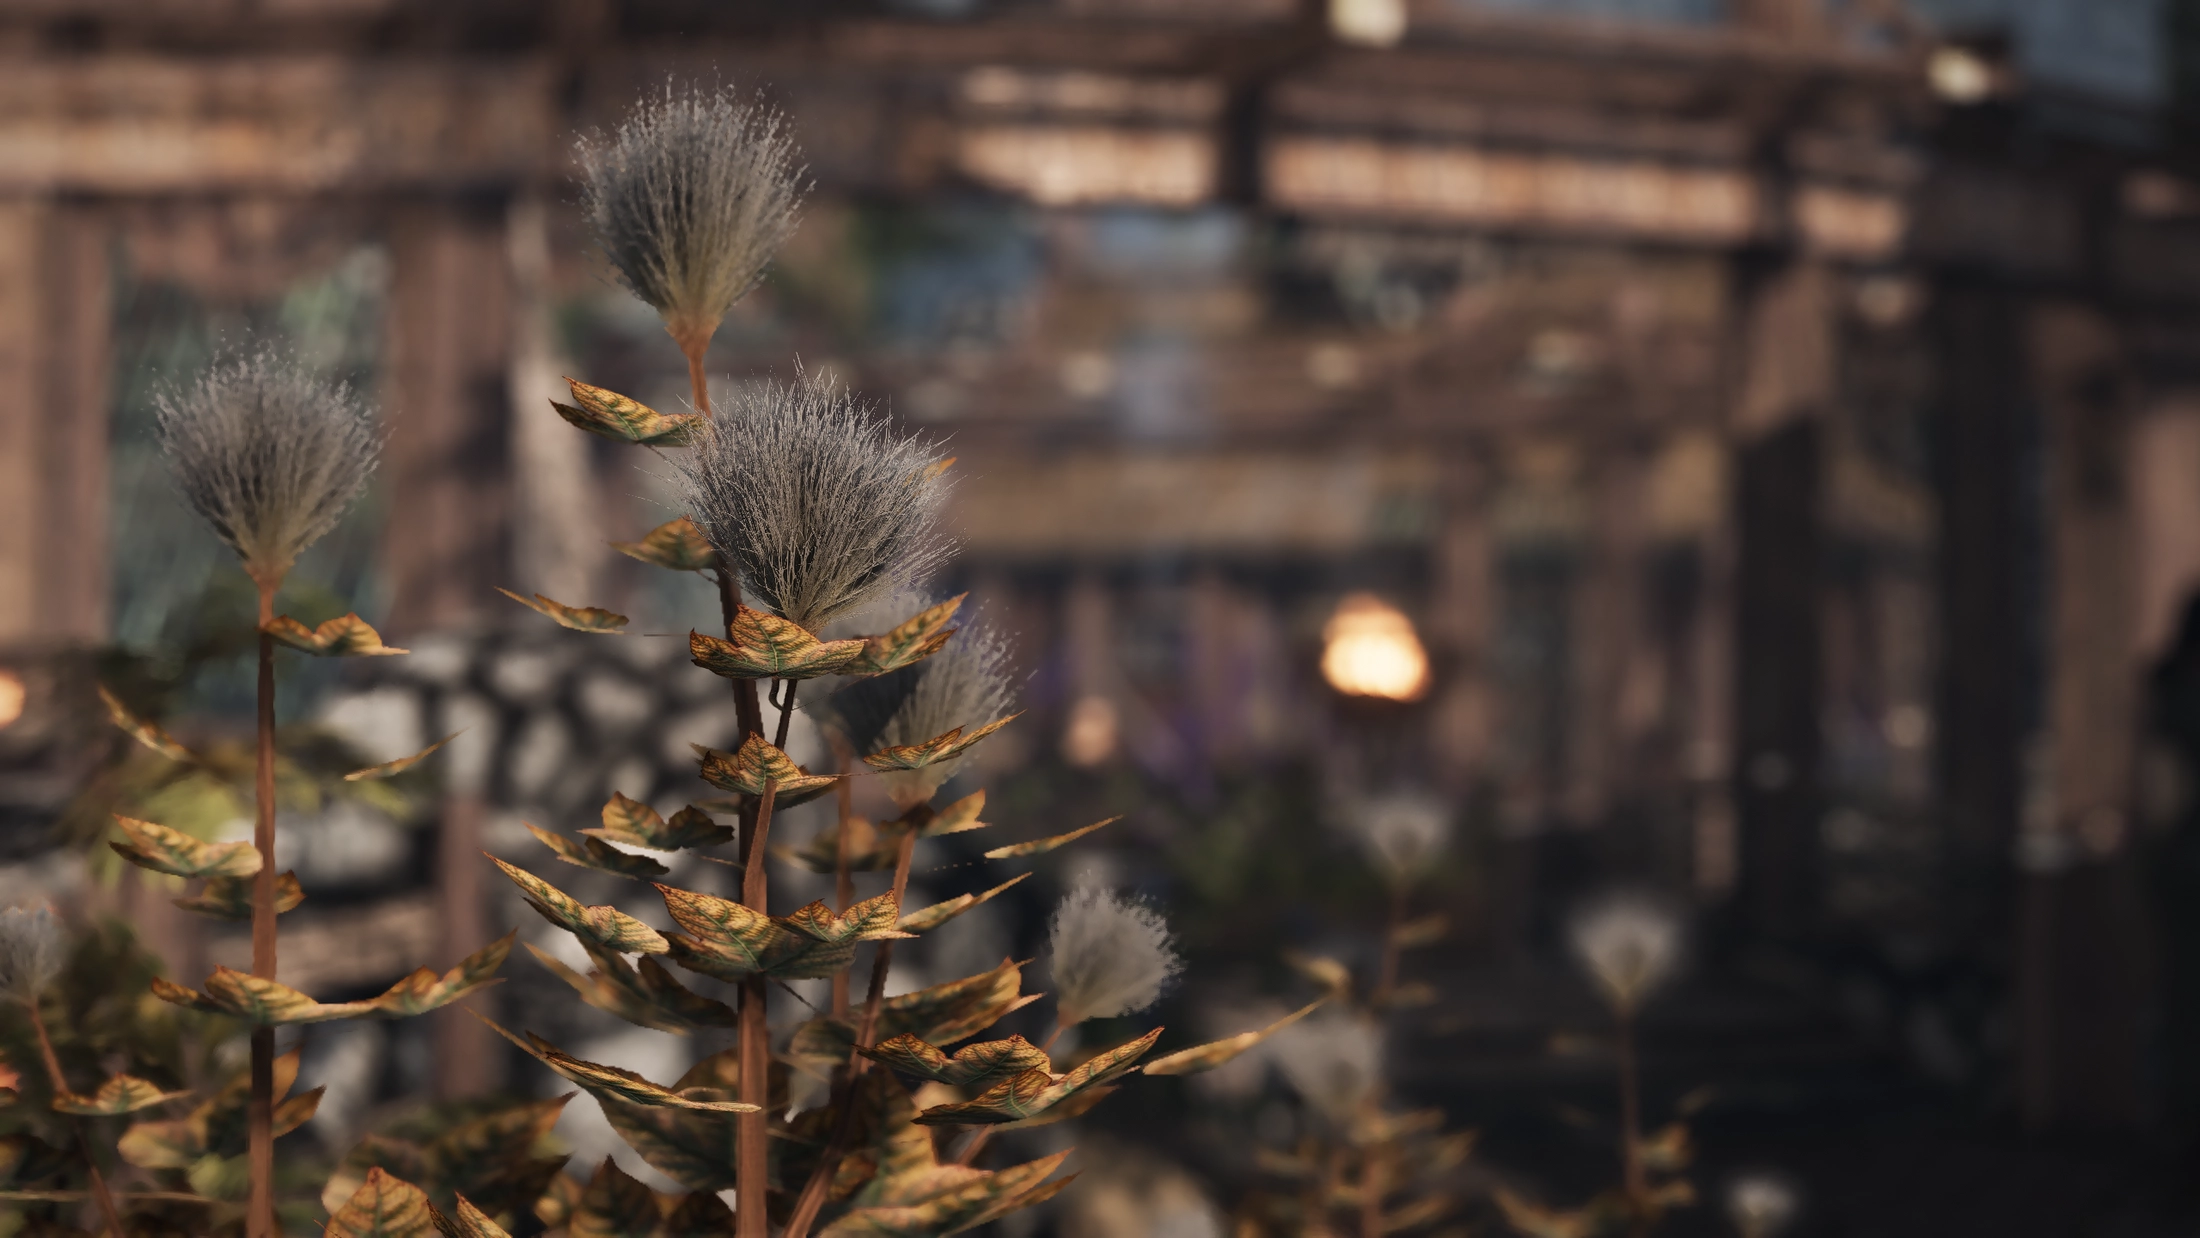
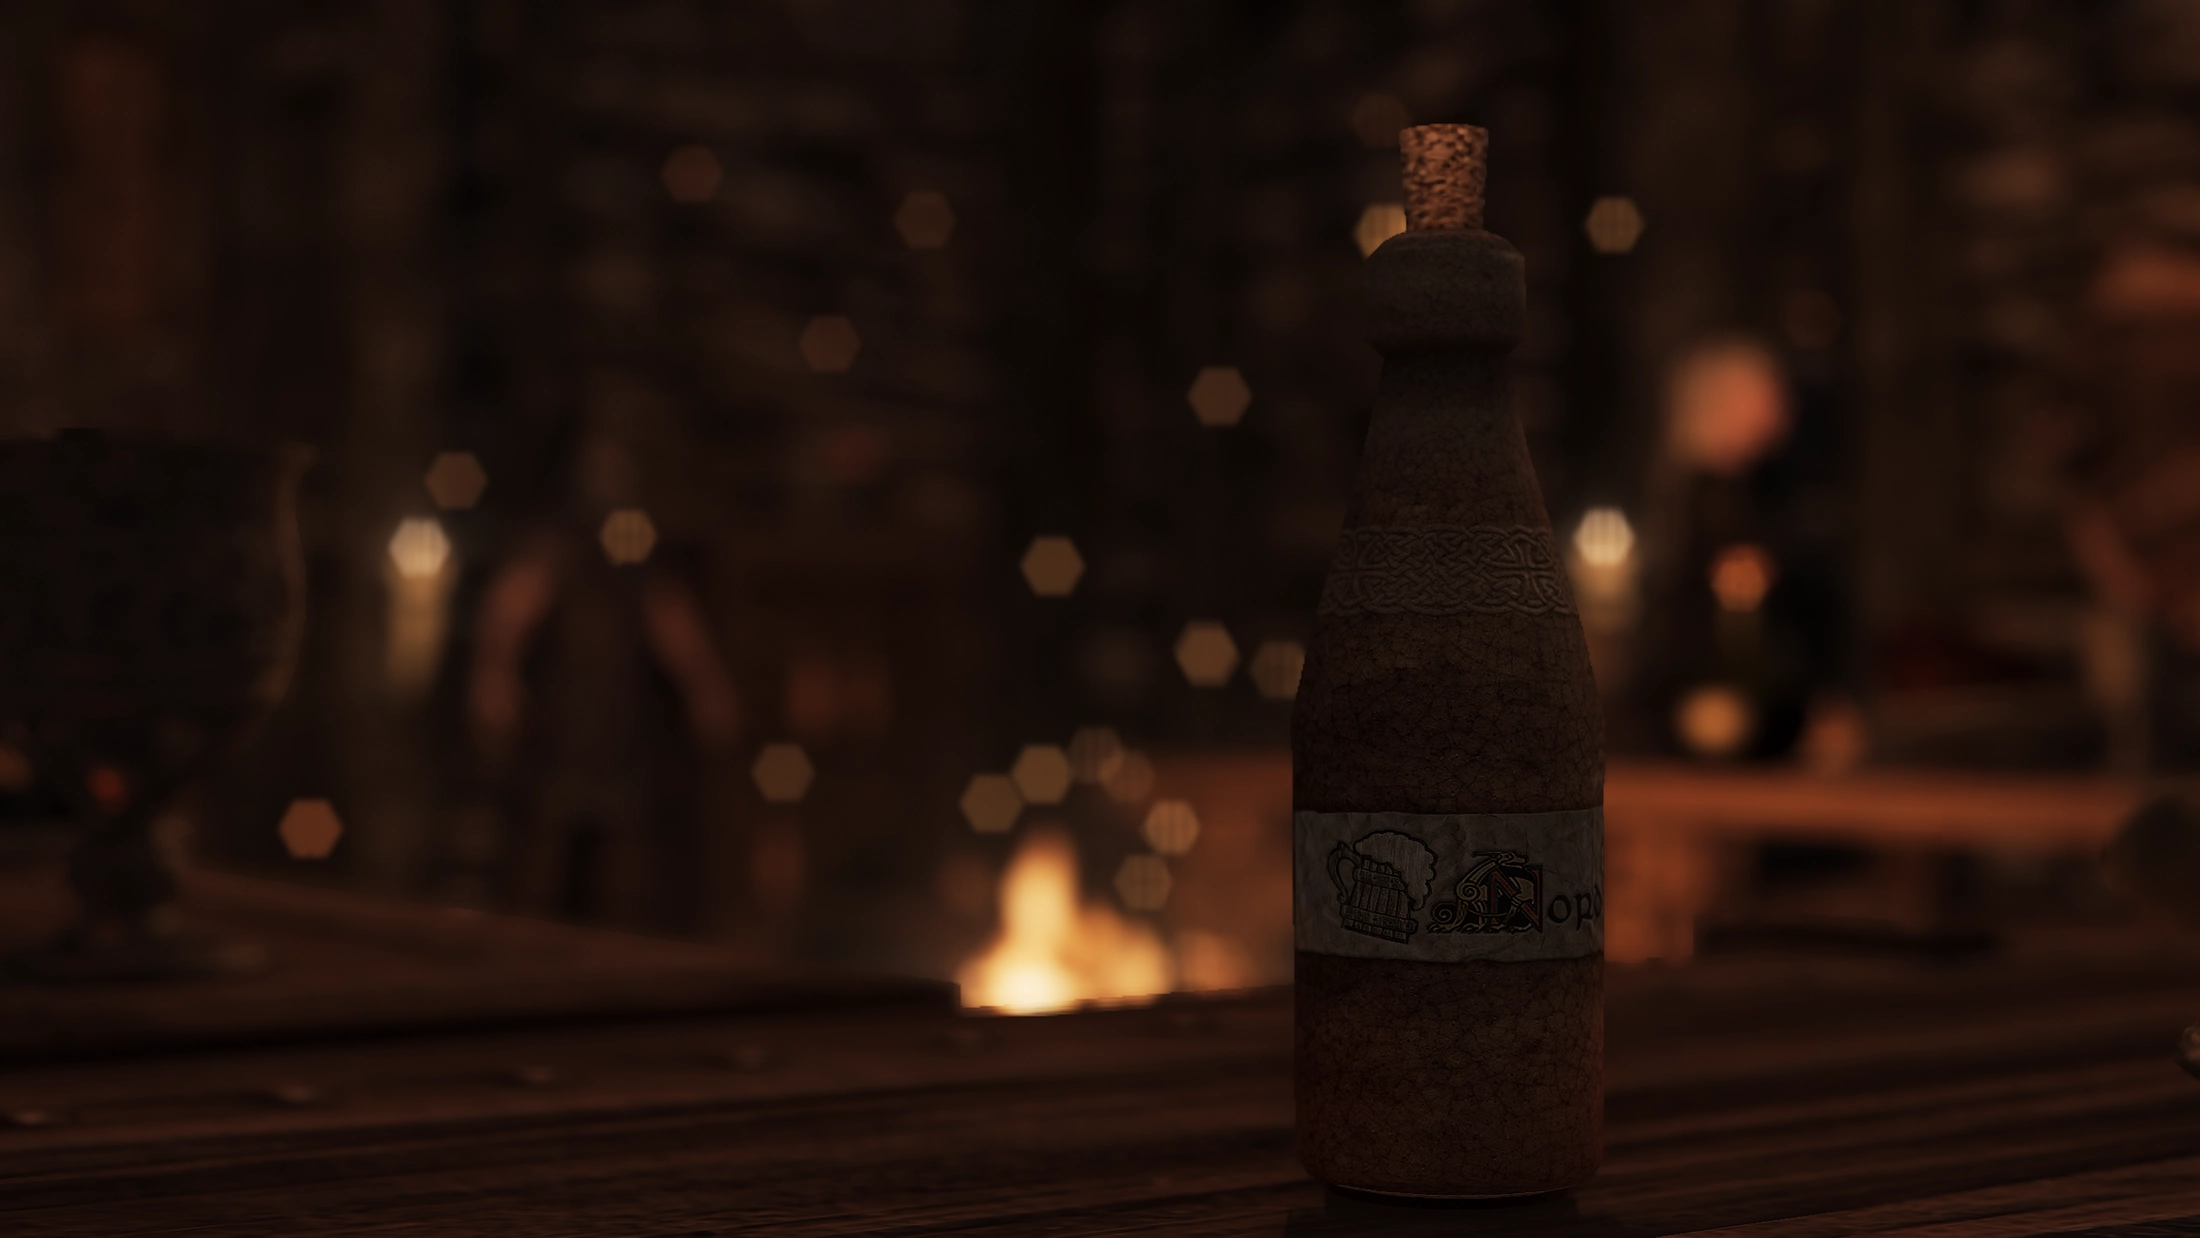
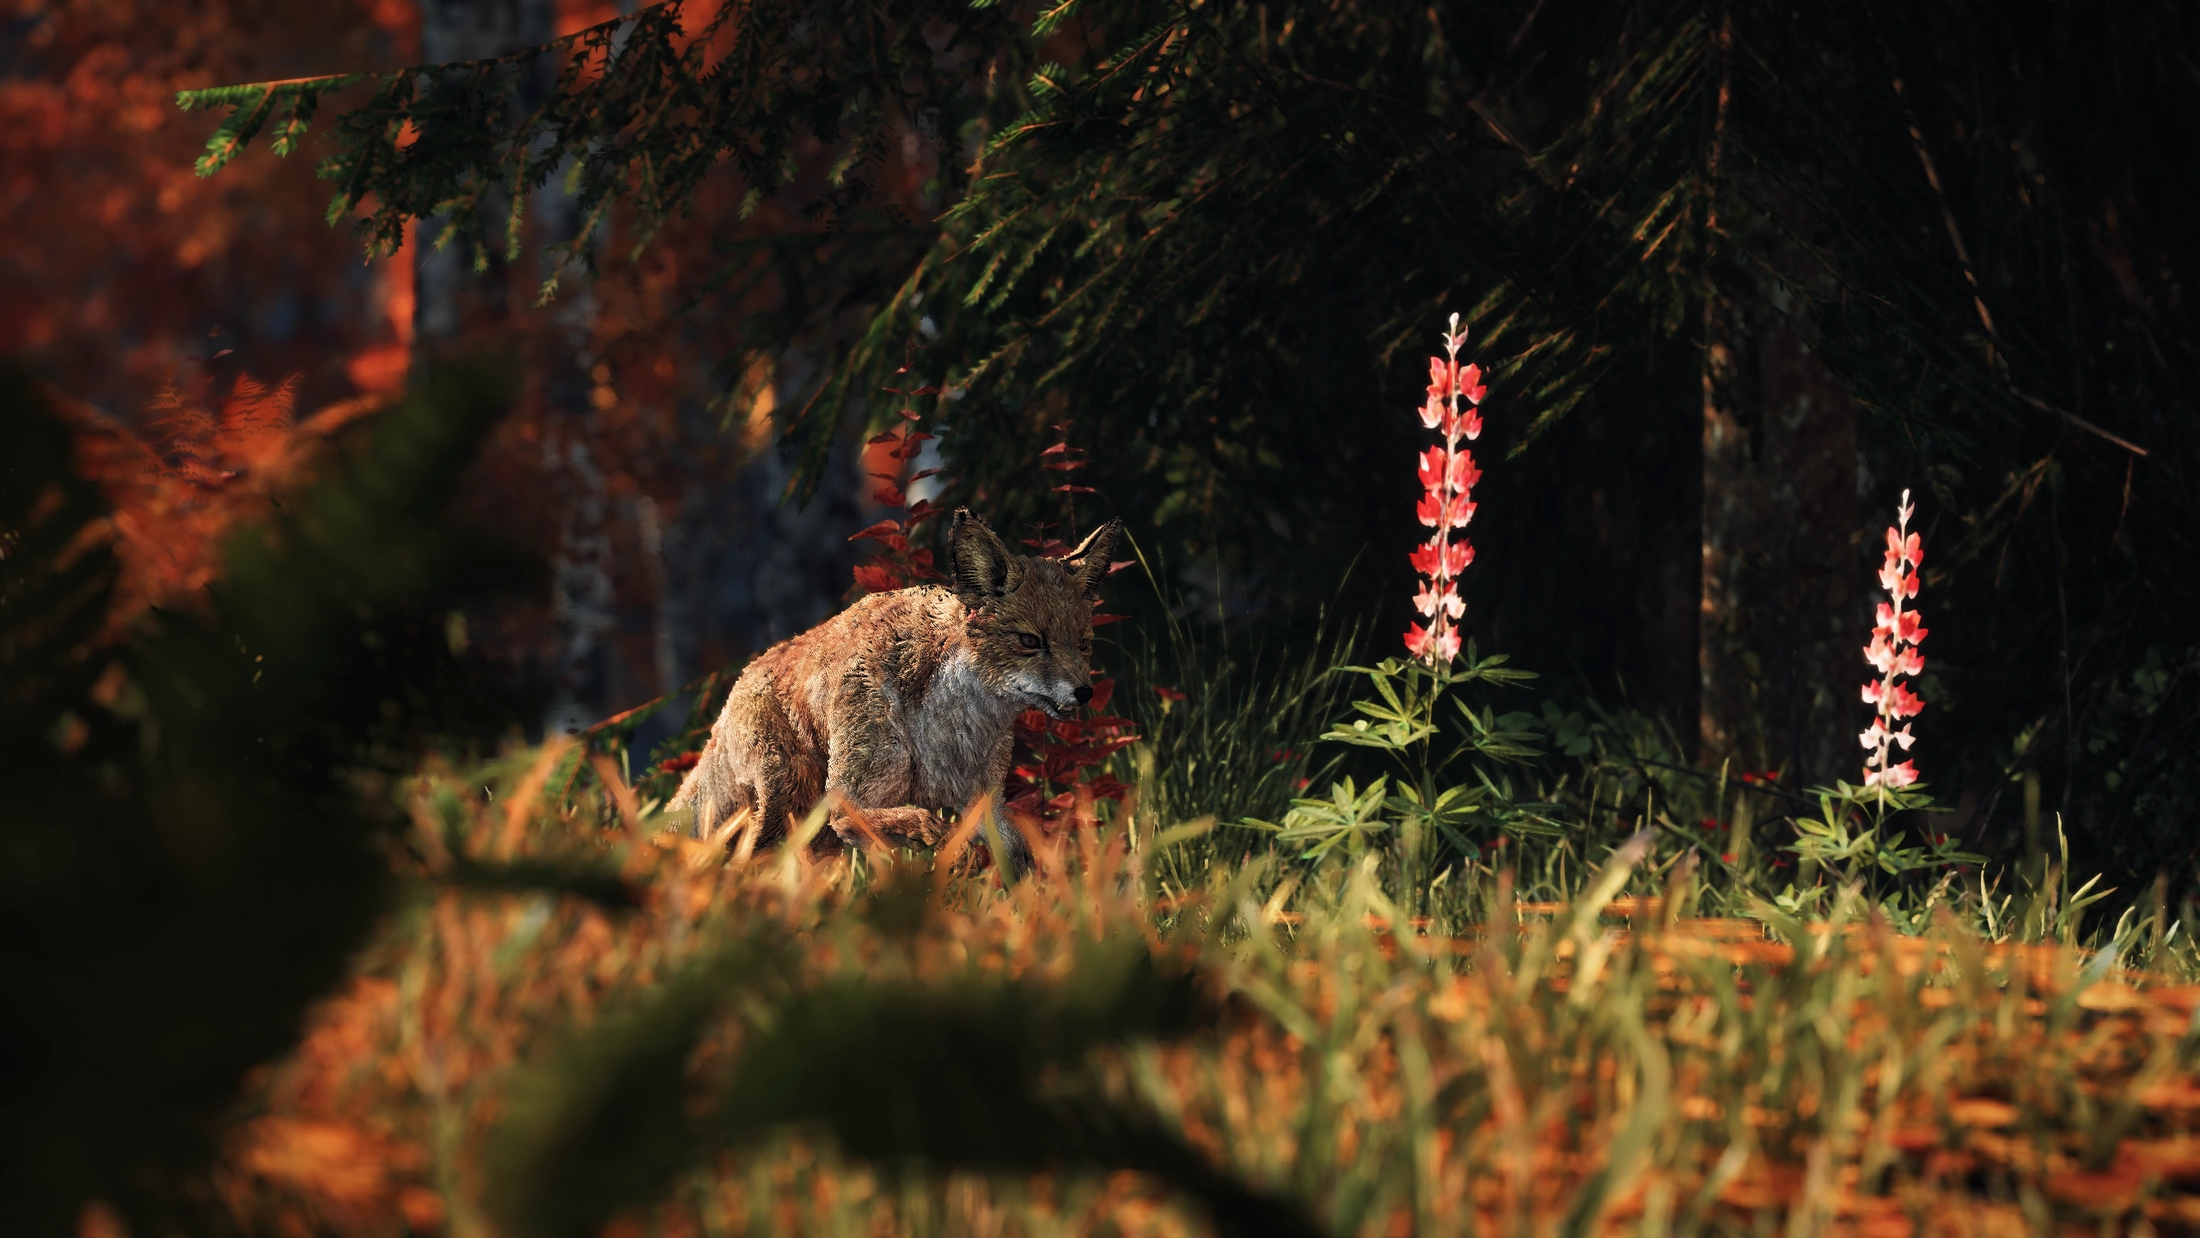
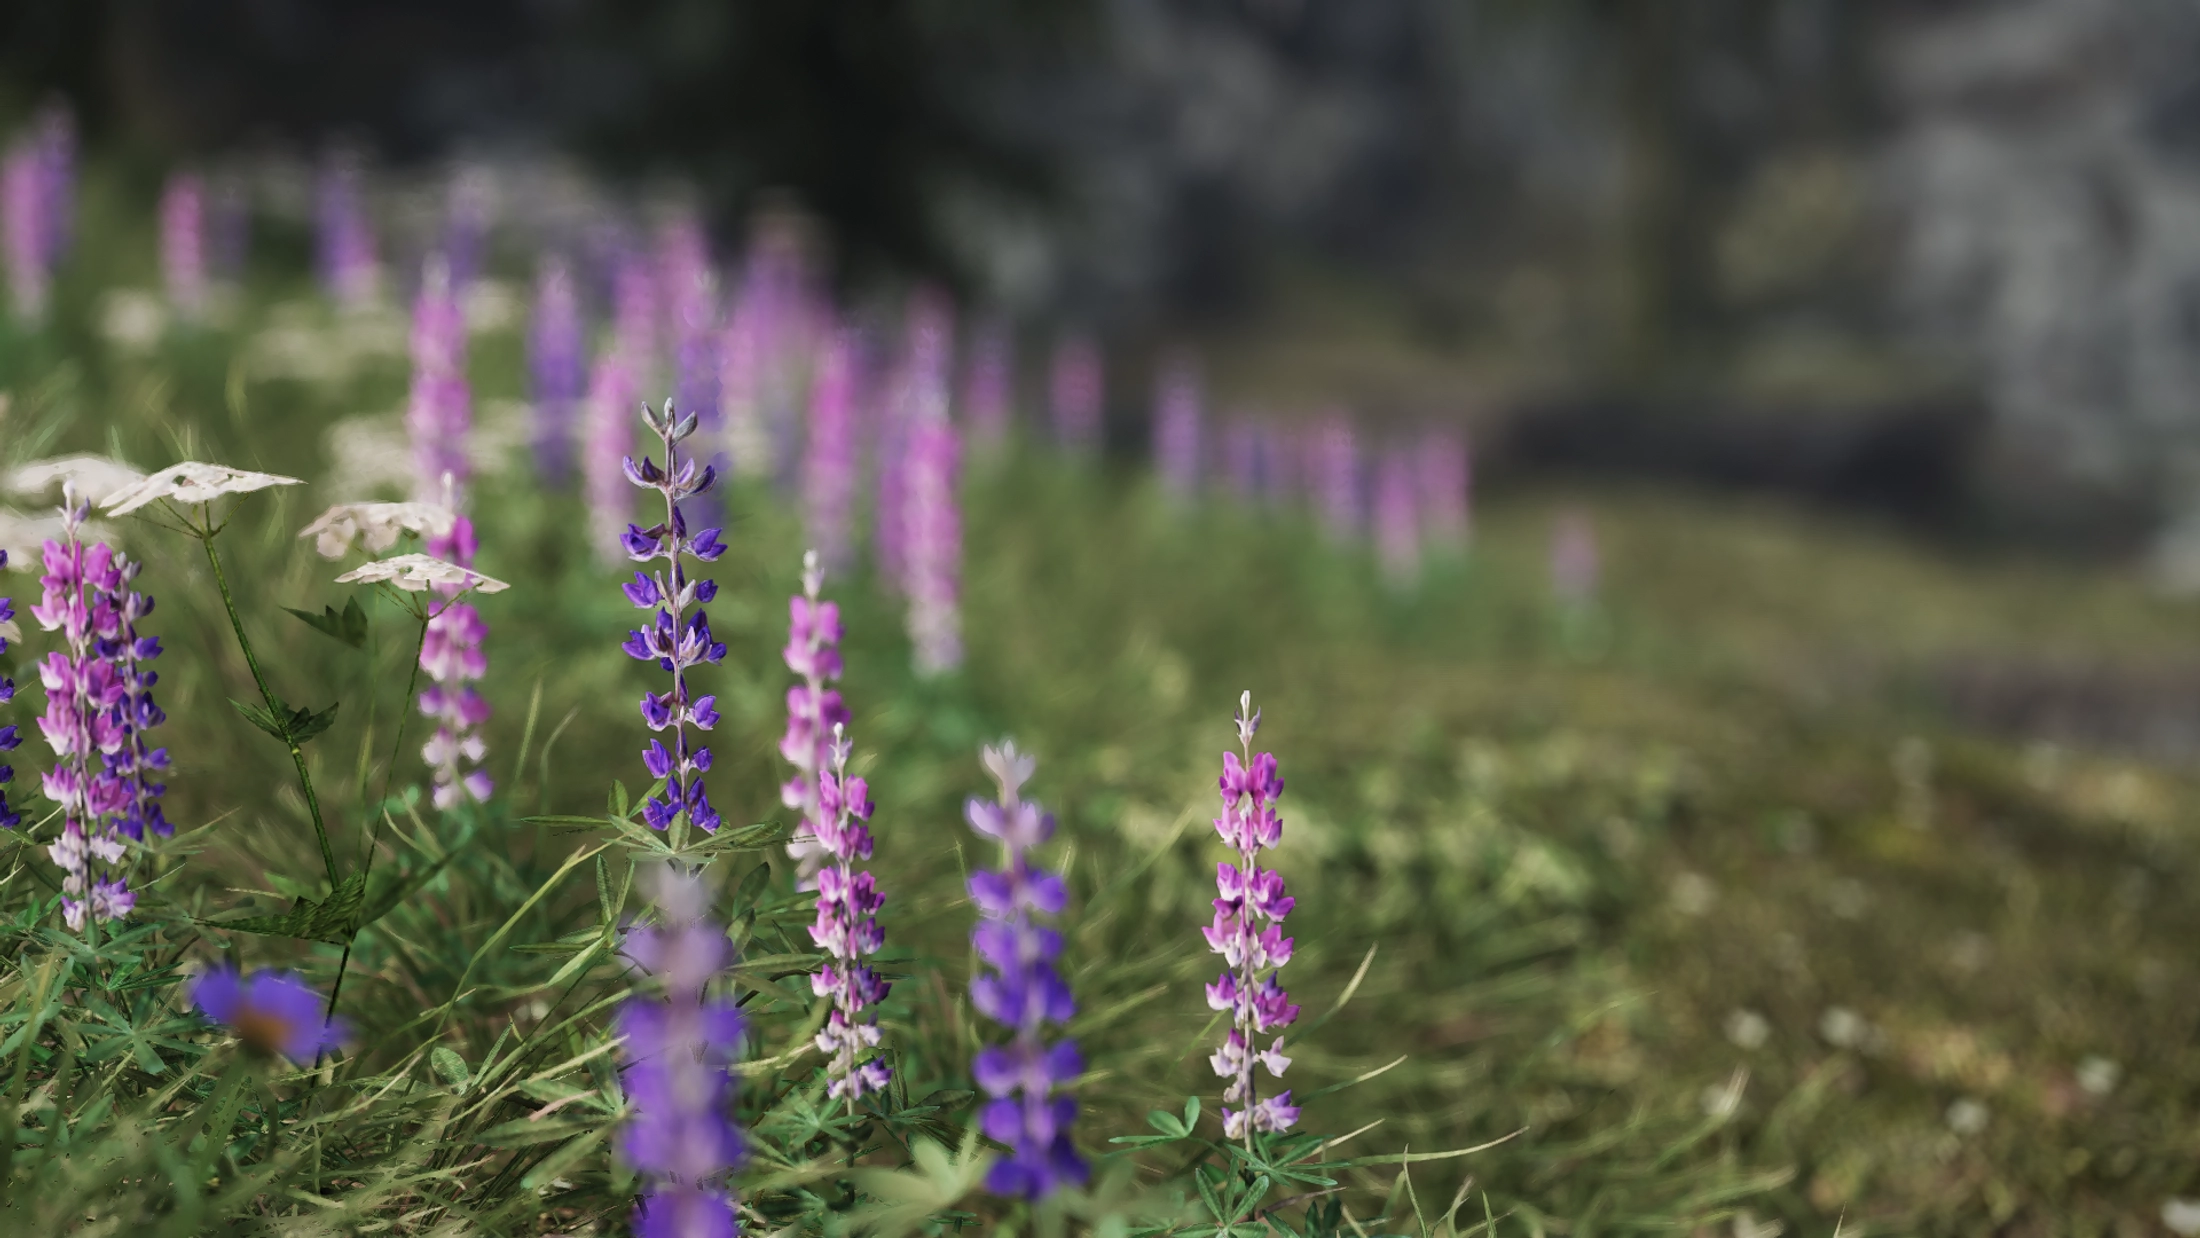
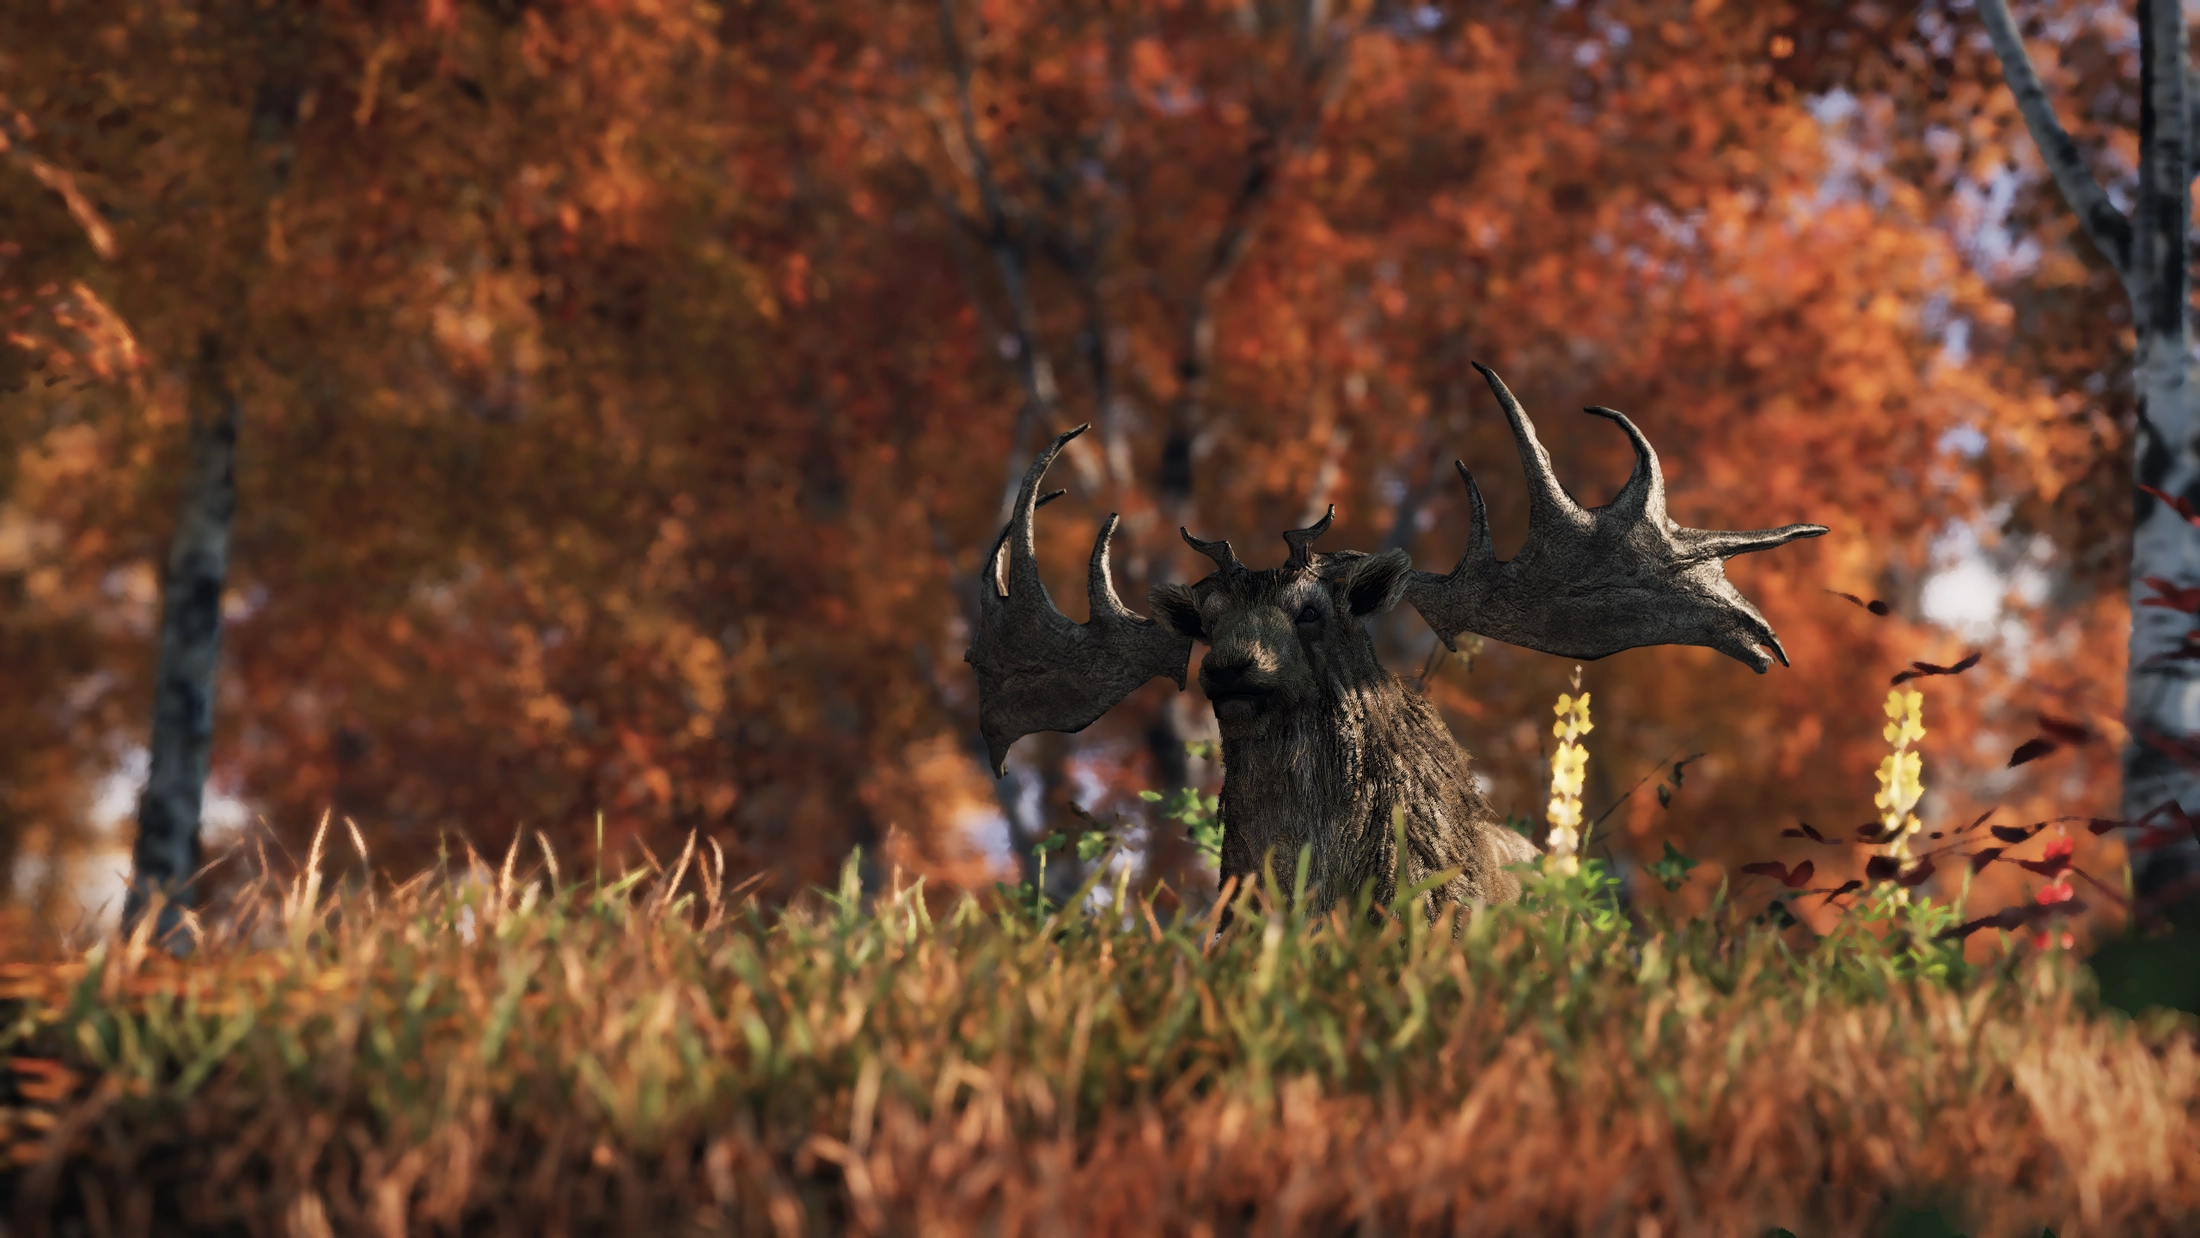
A new Depth of Field
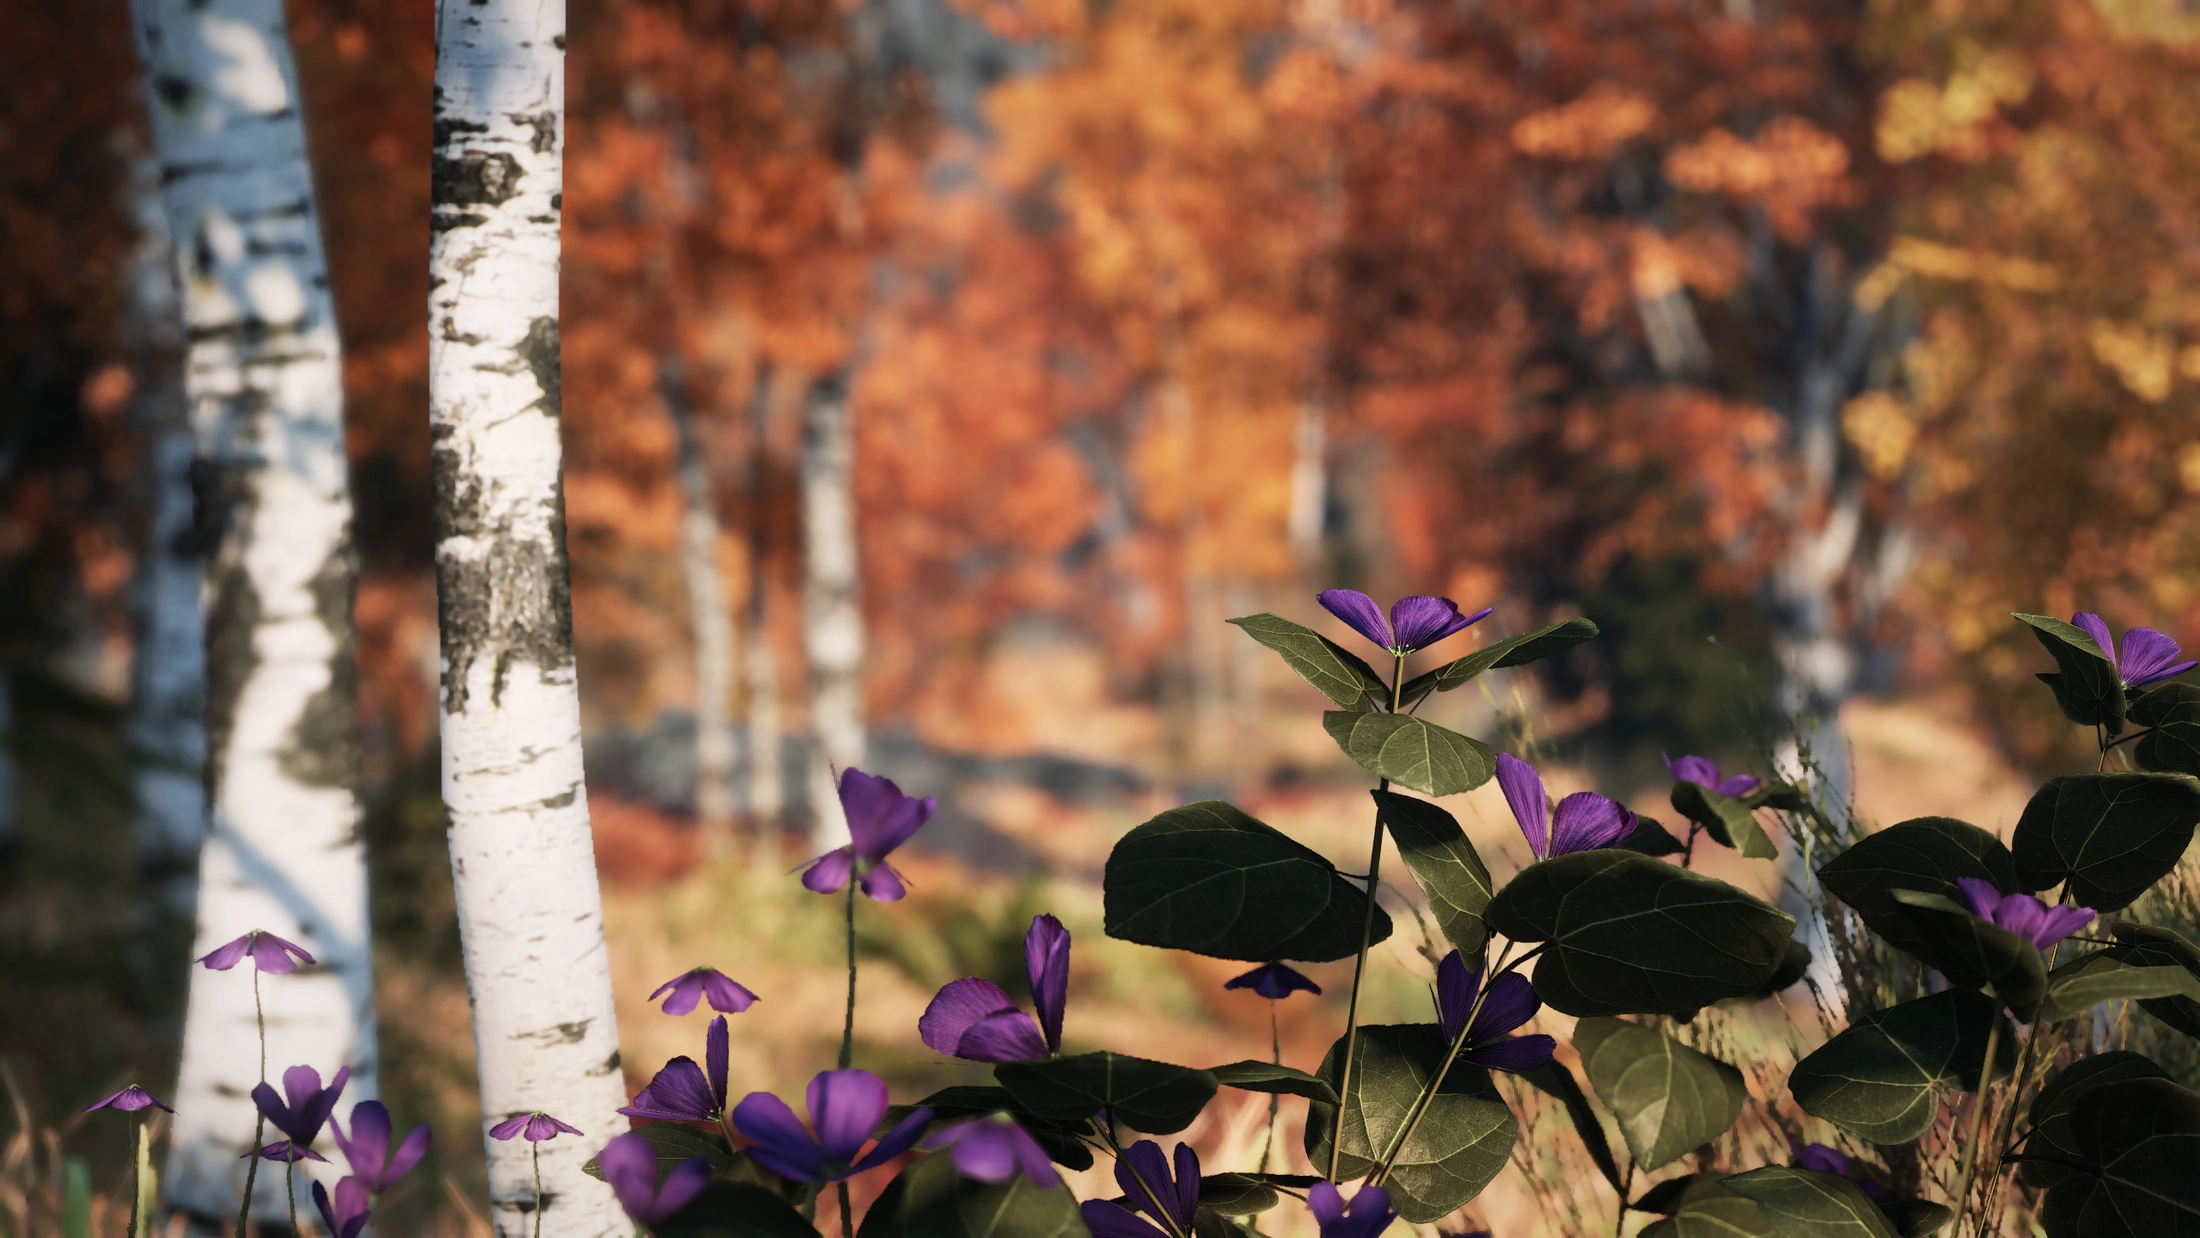
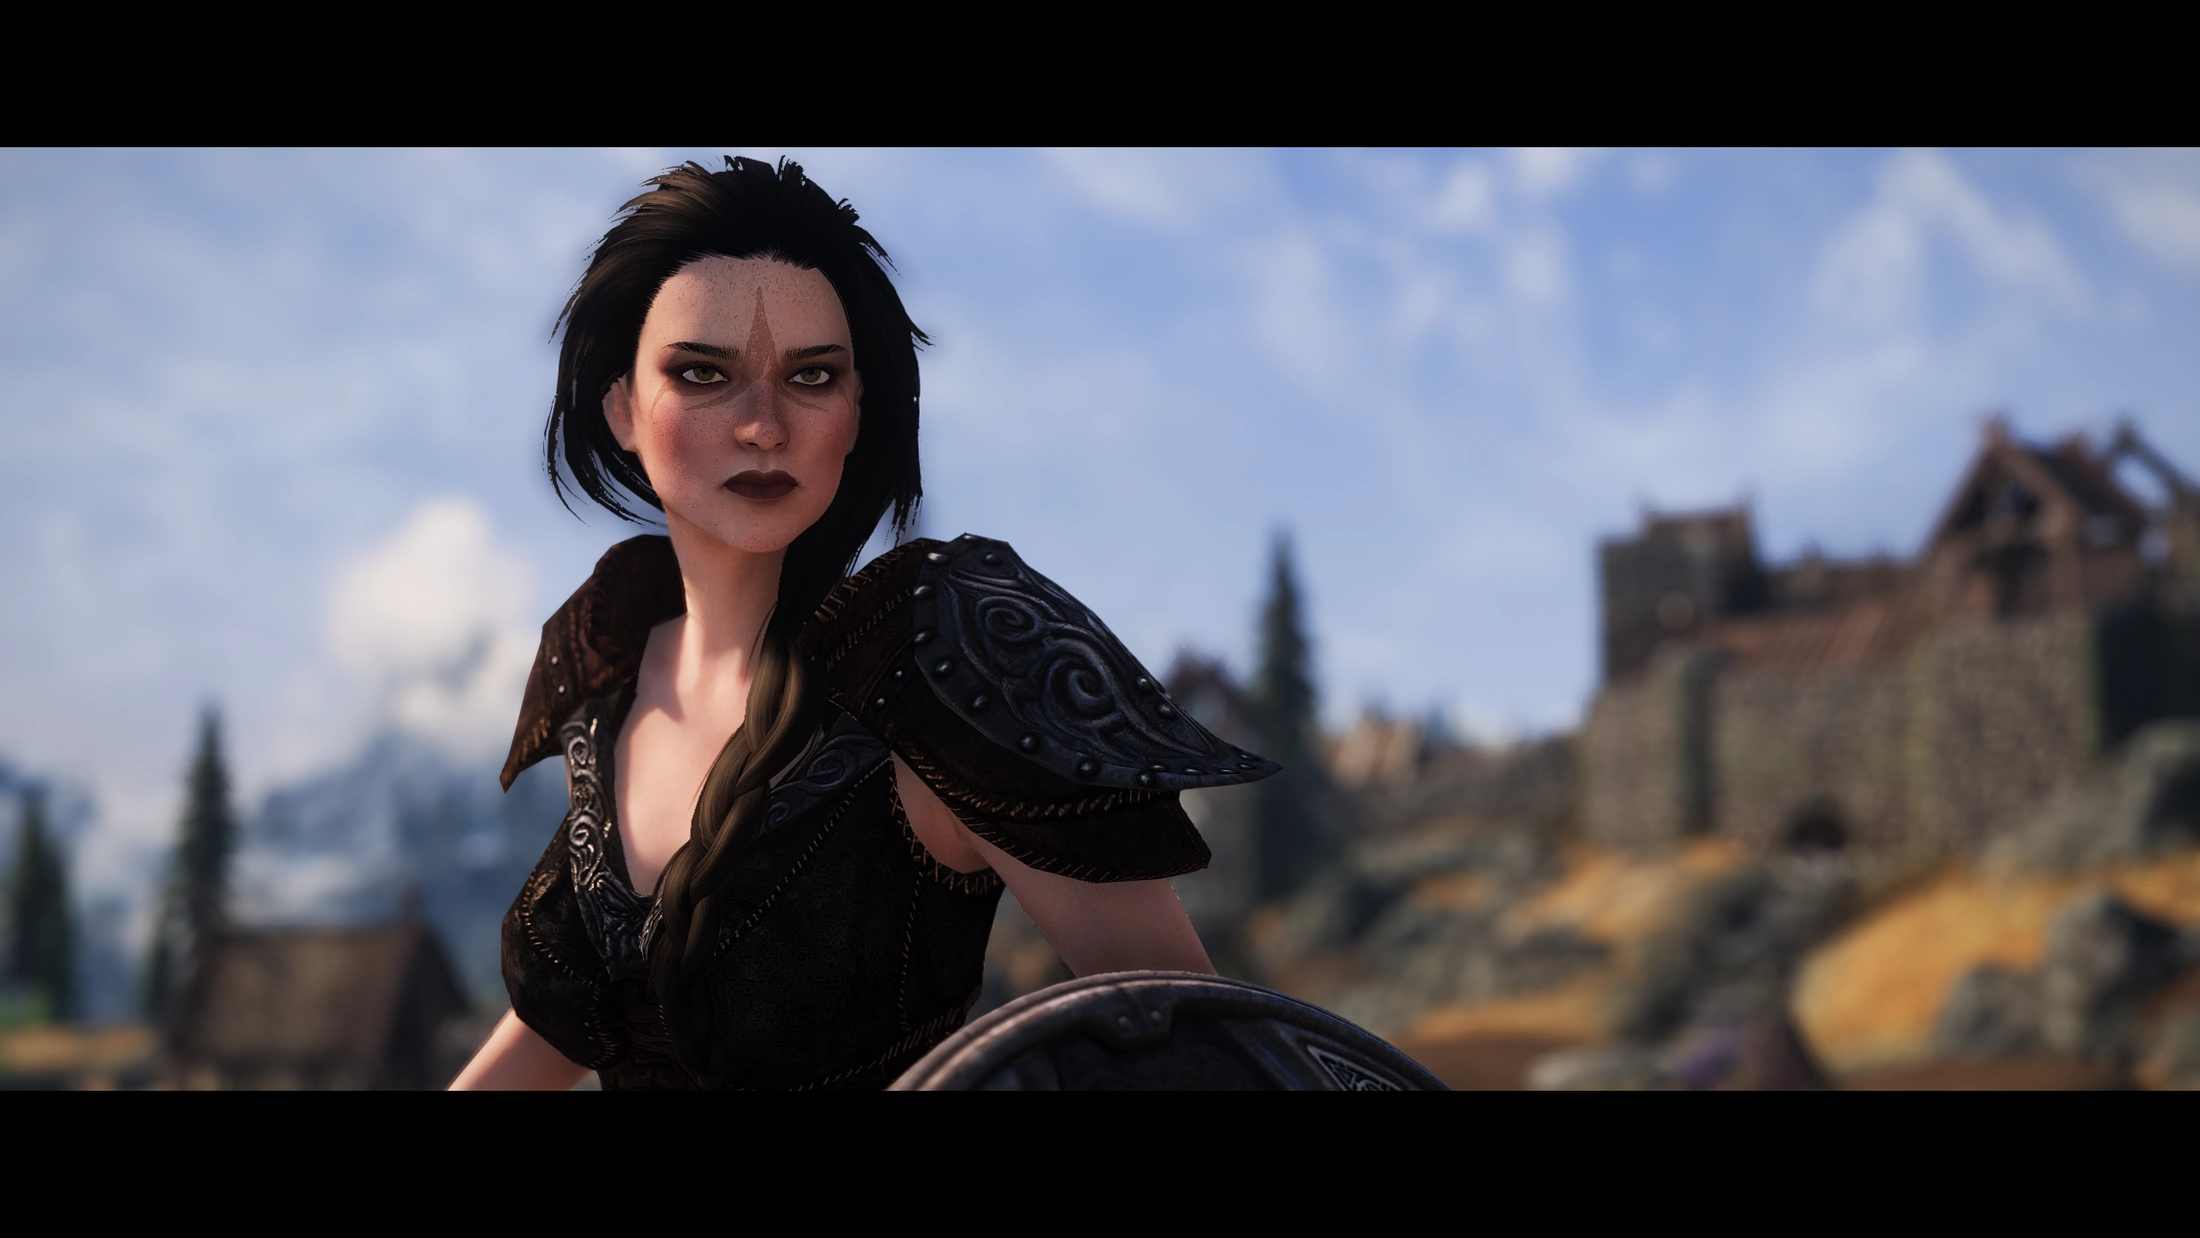
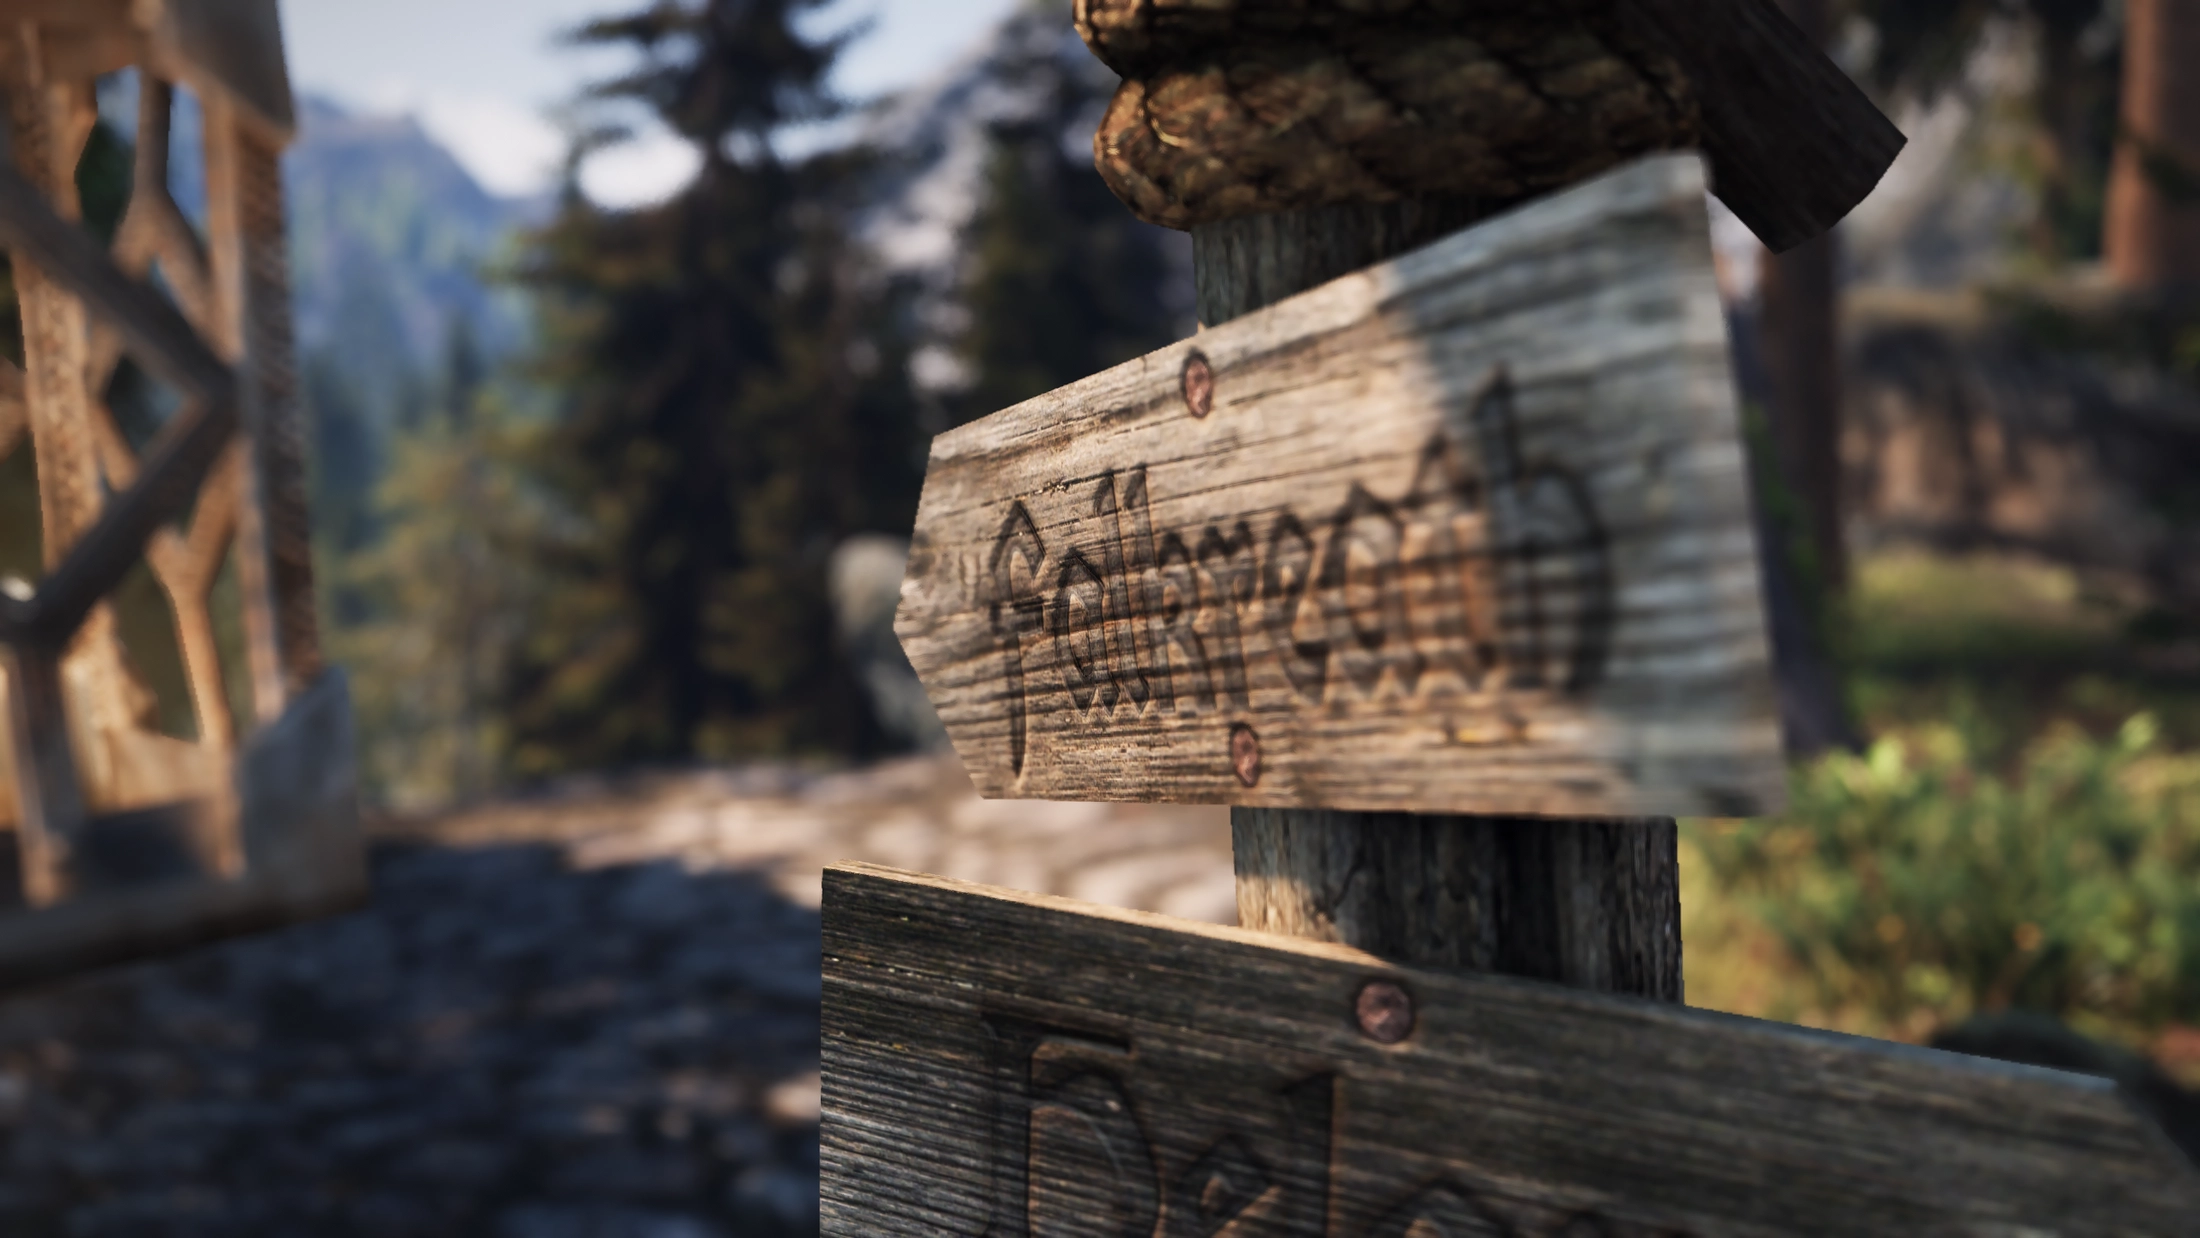
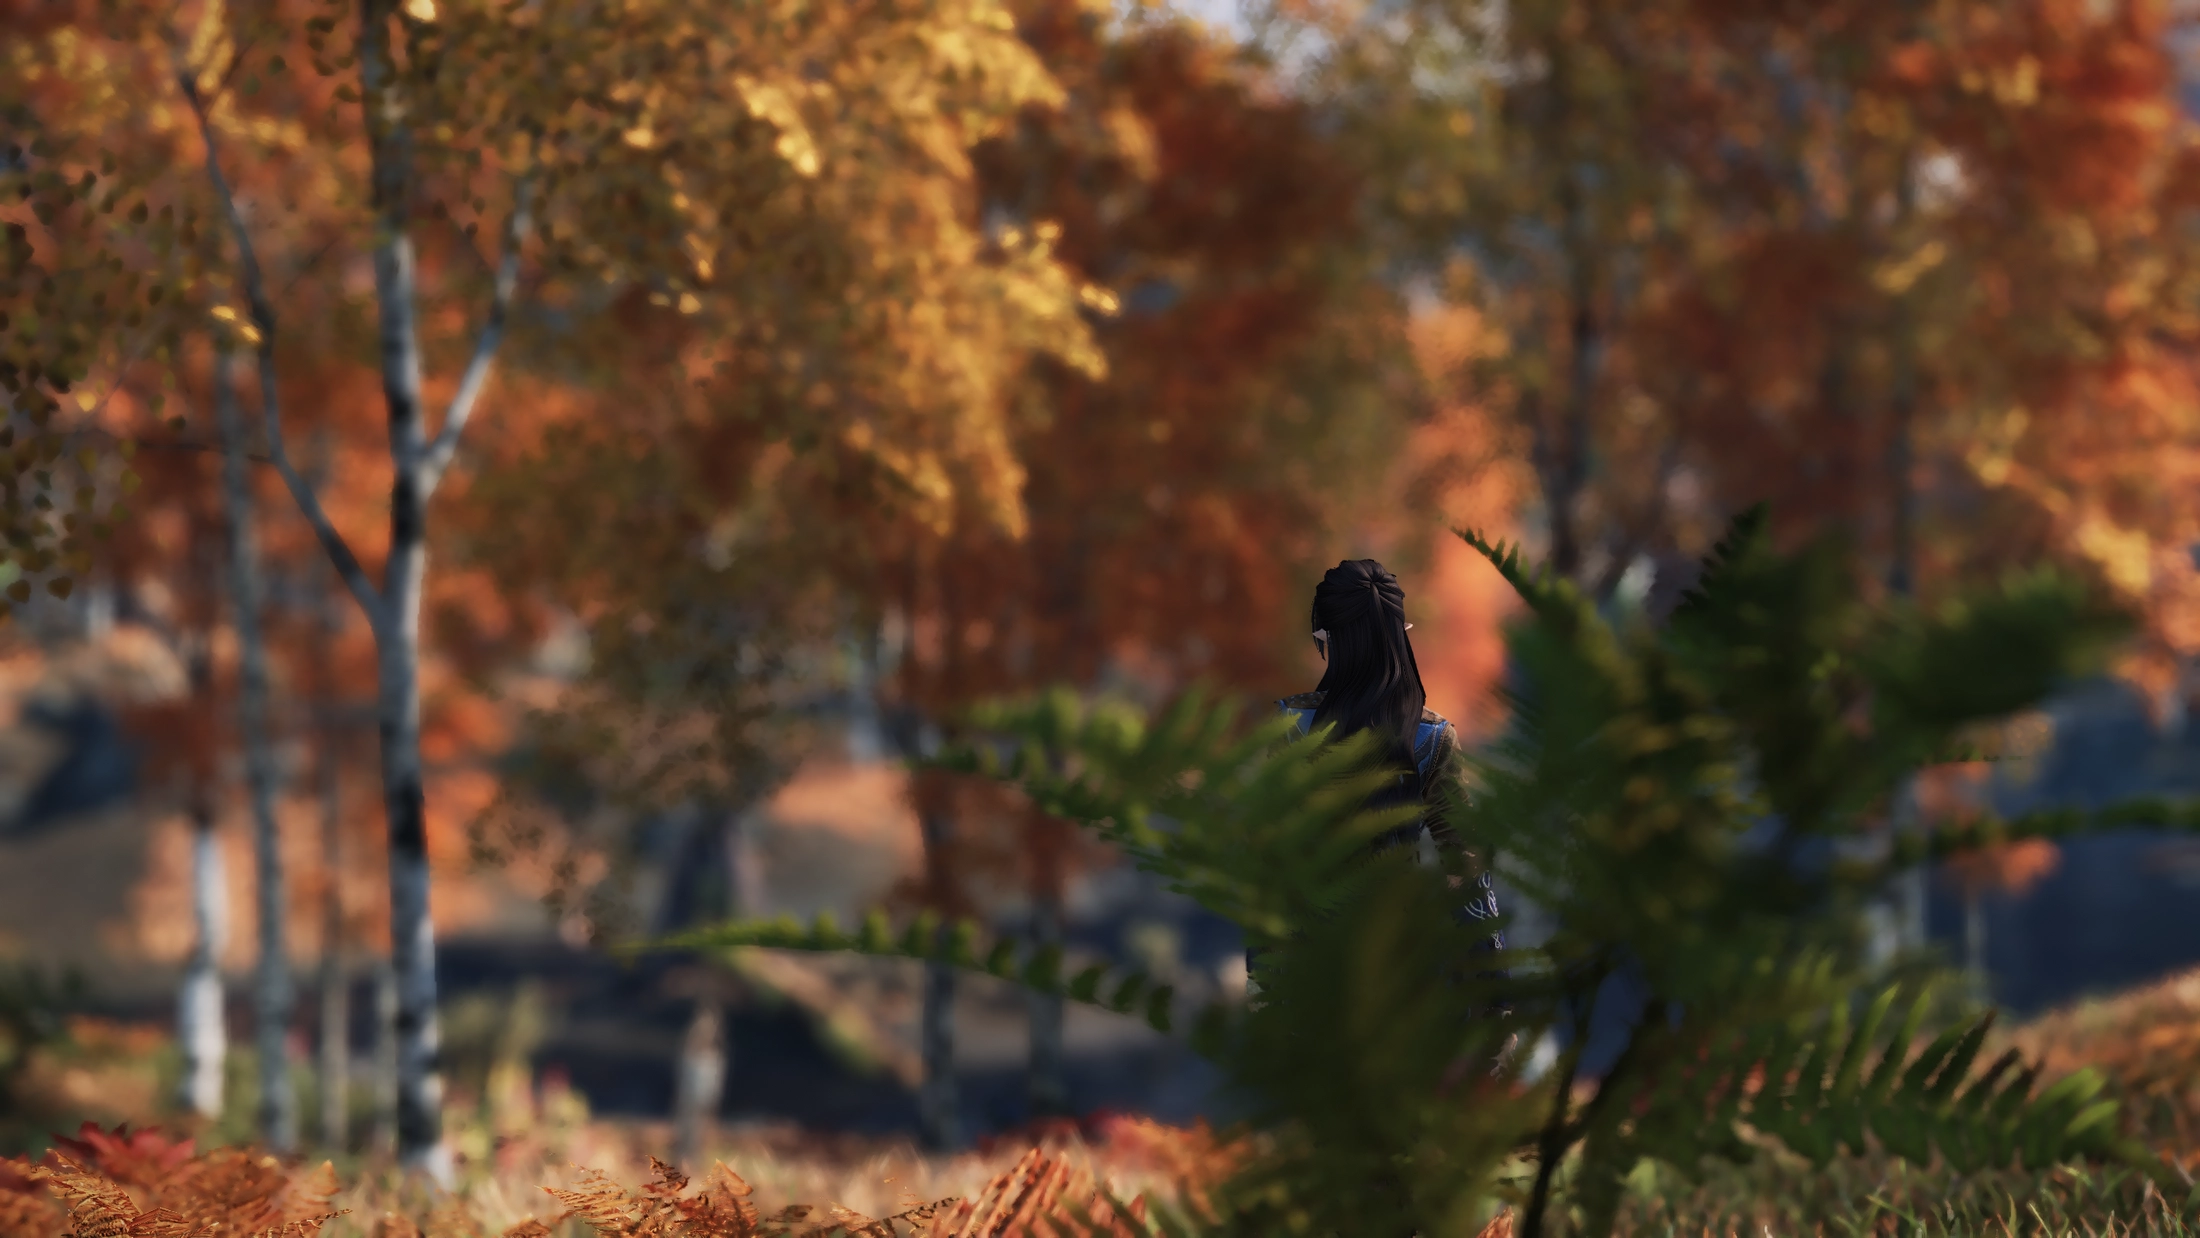
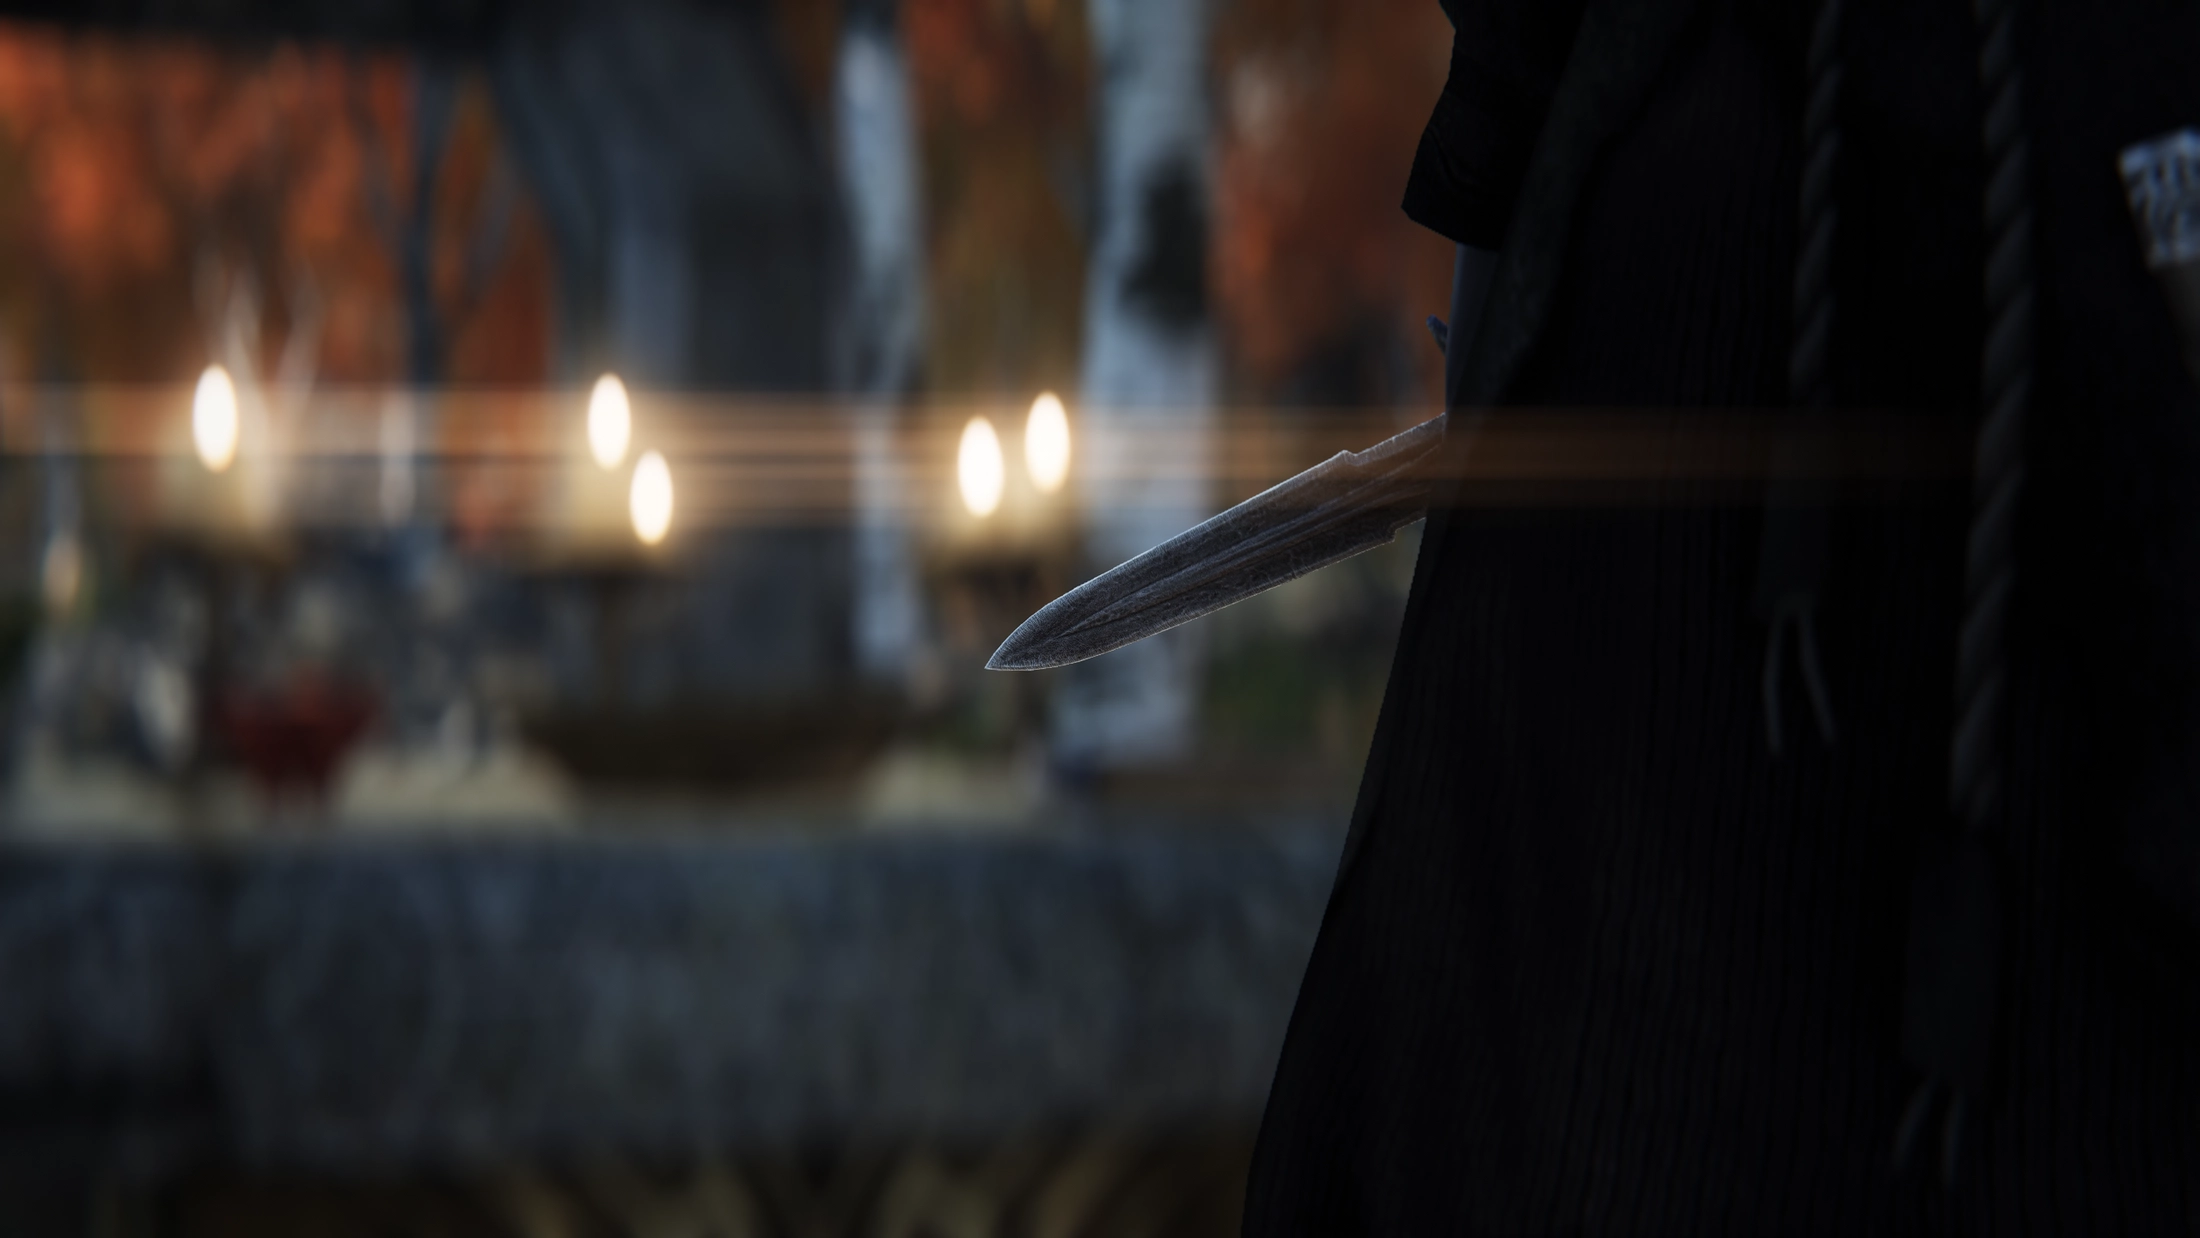
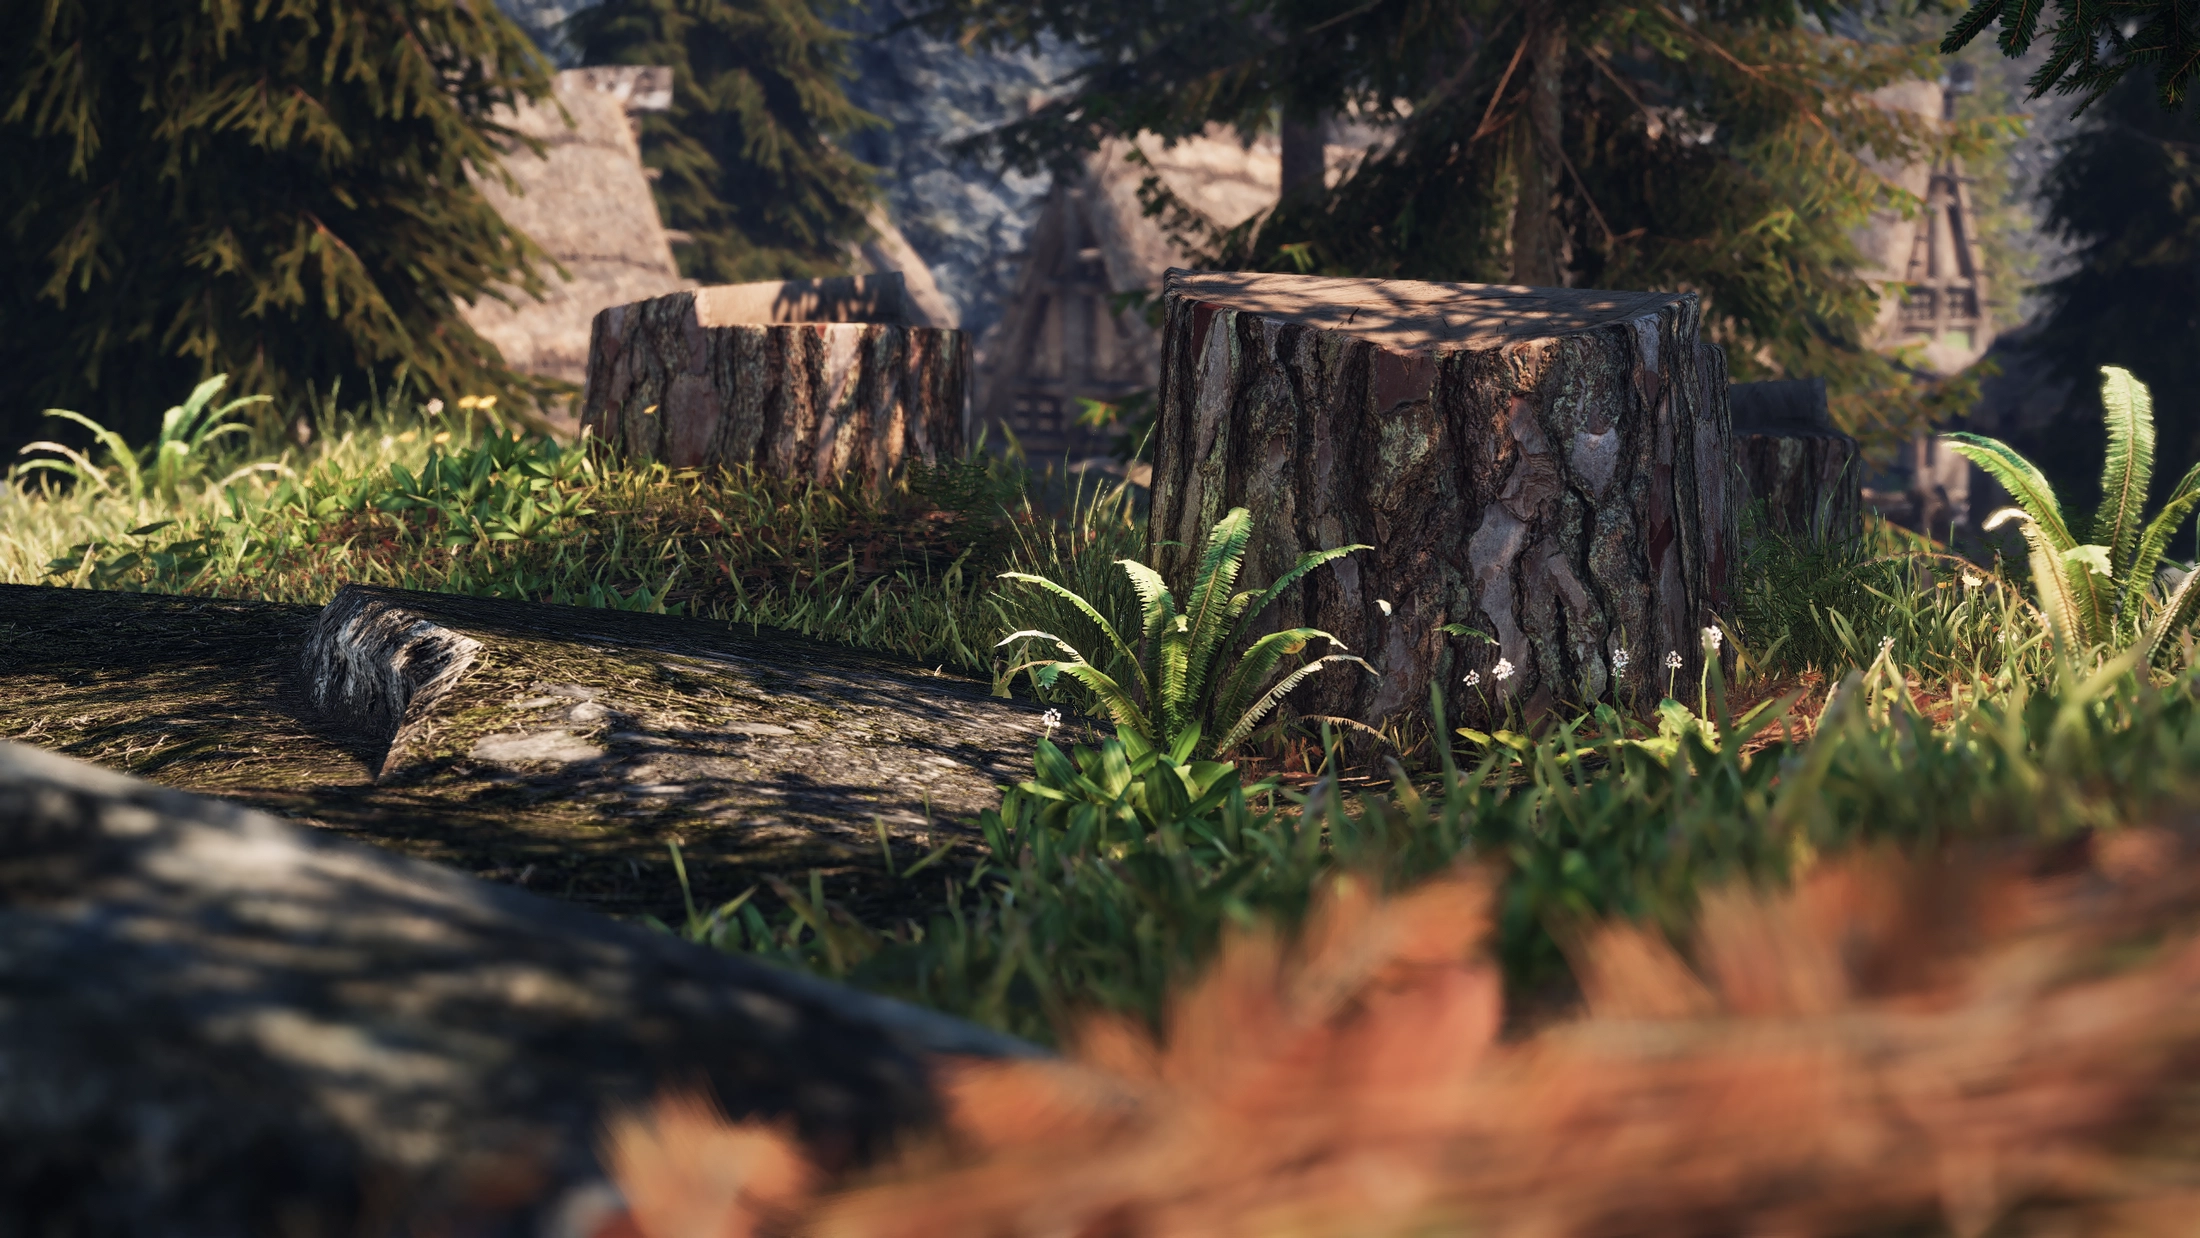
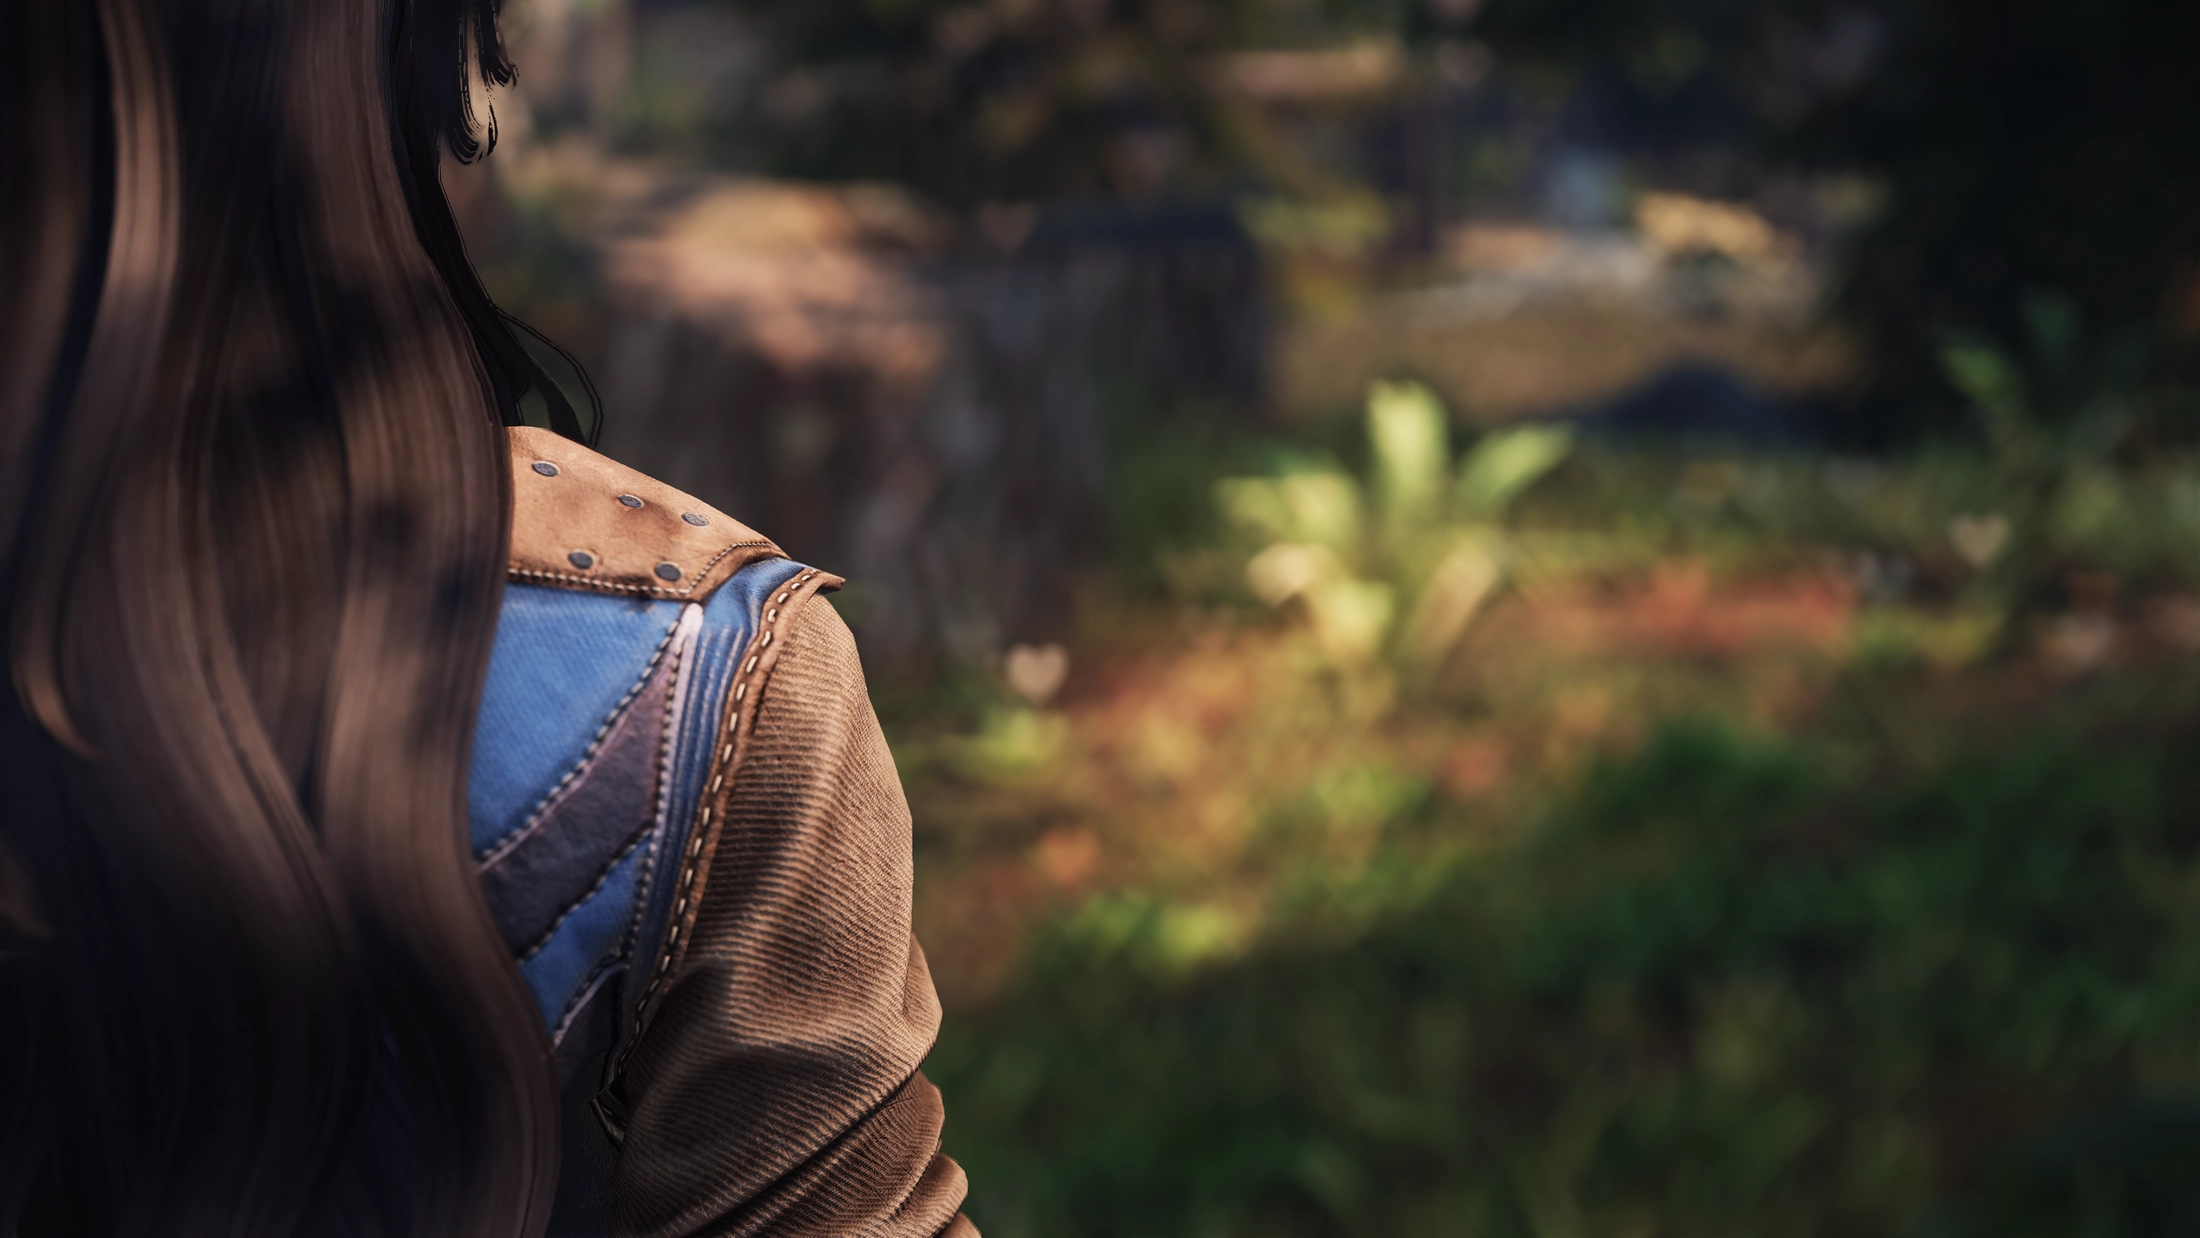
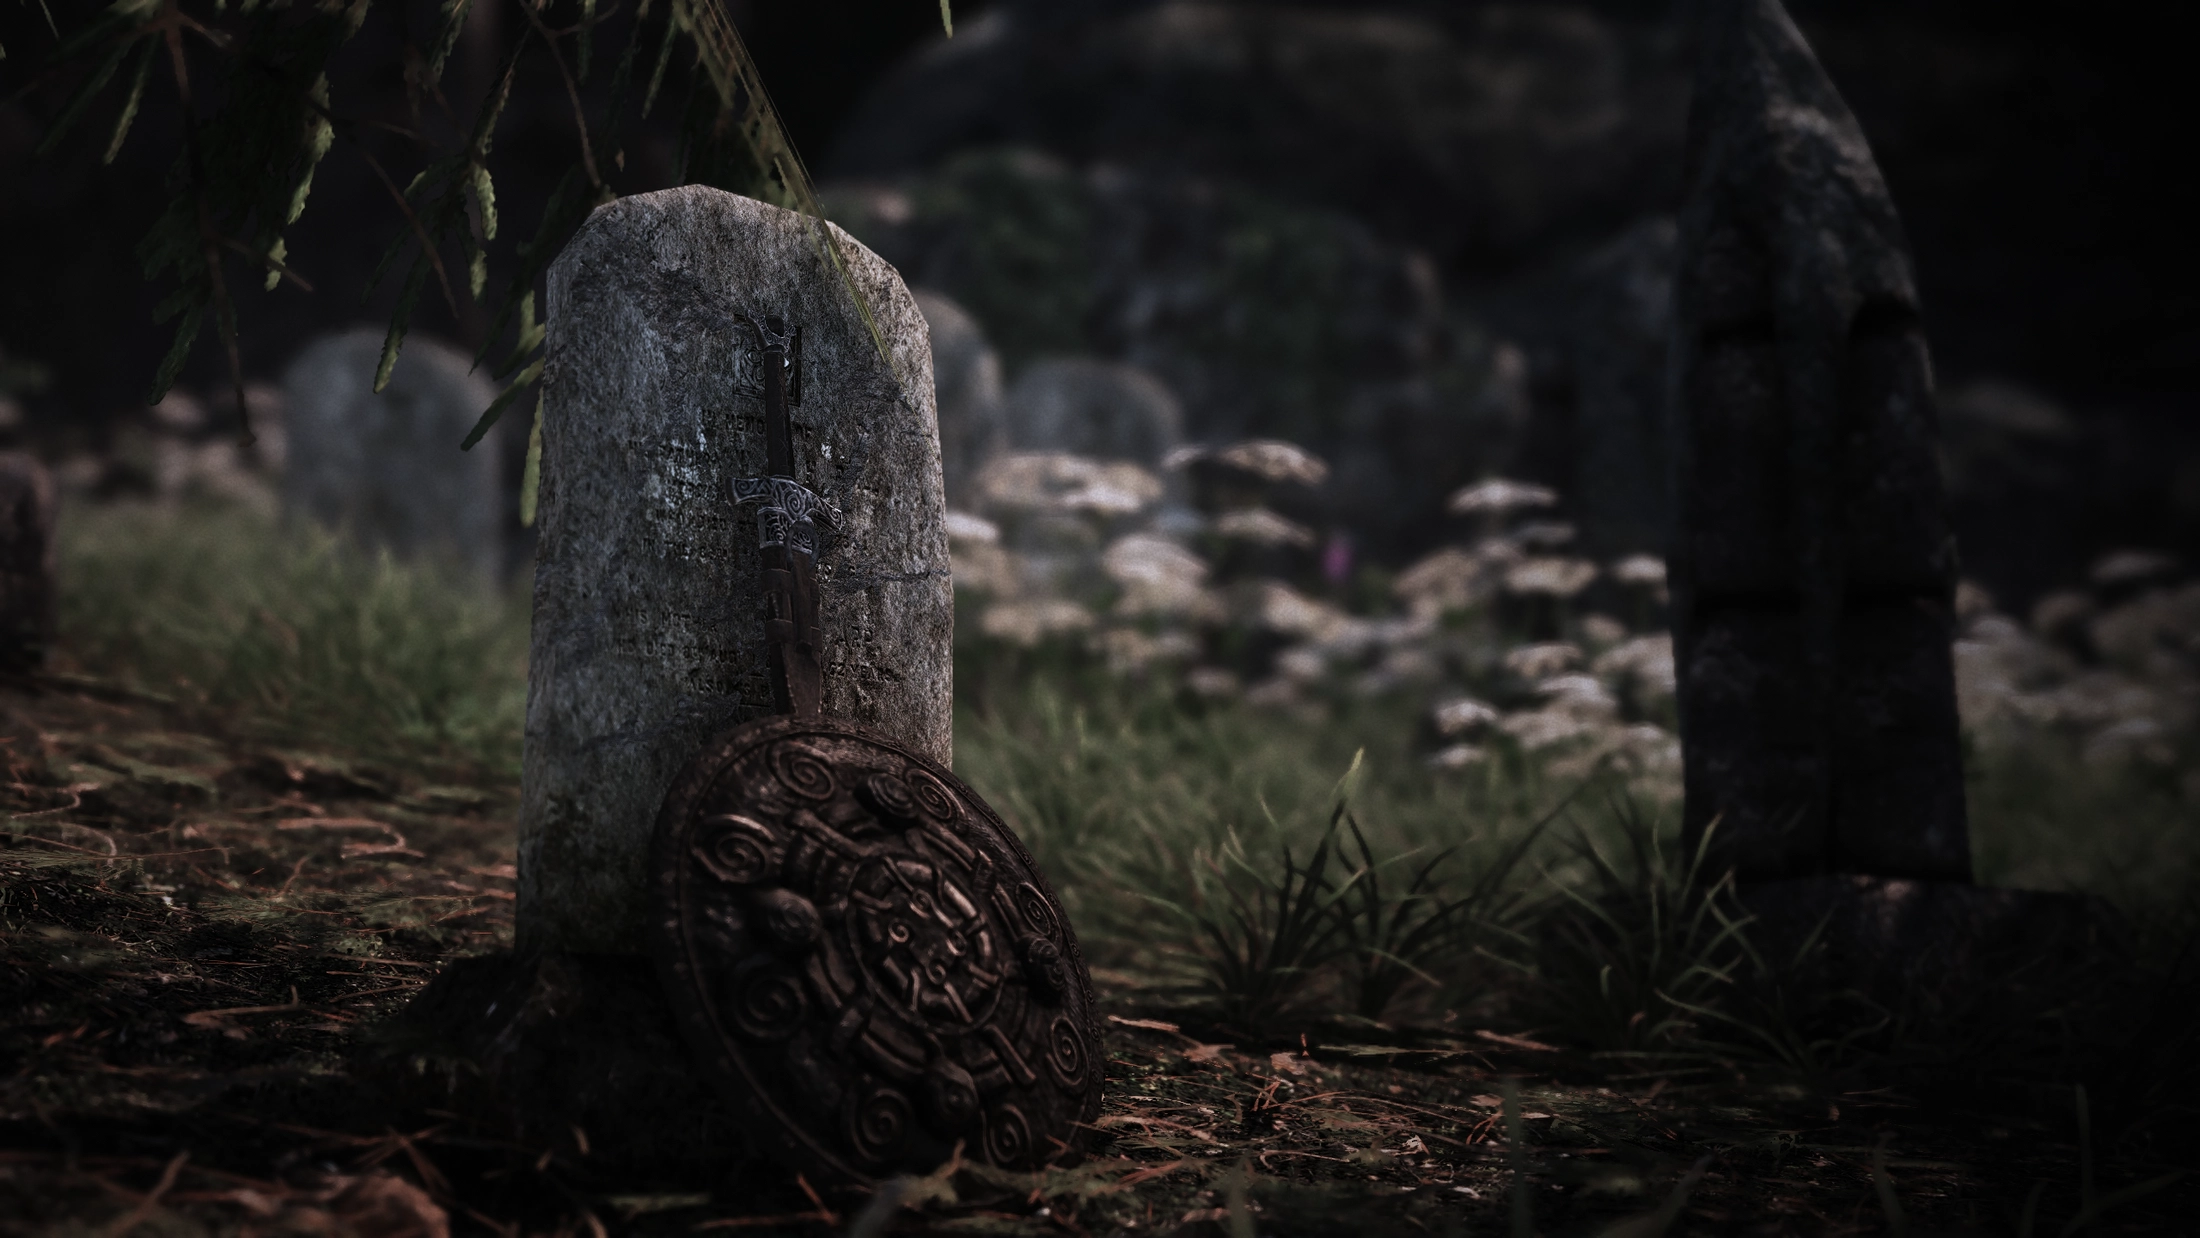
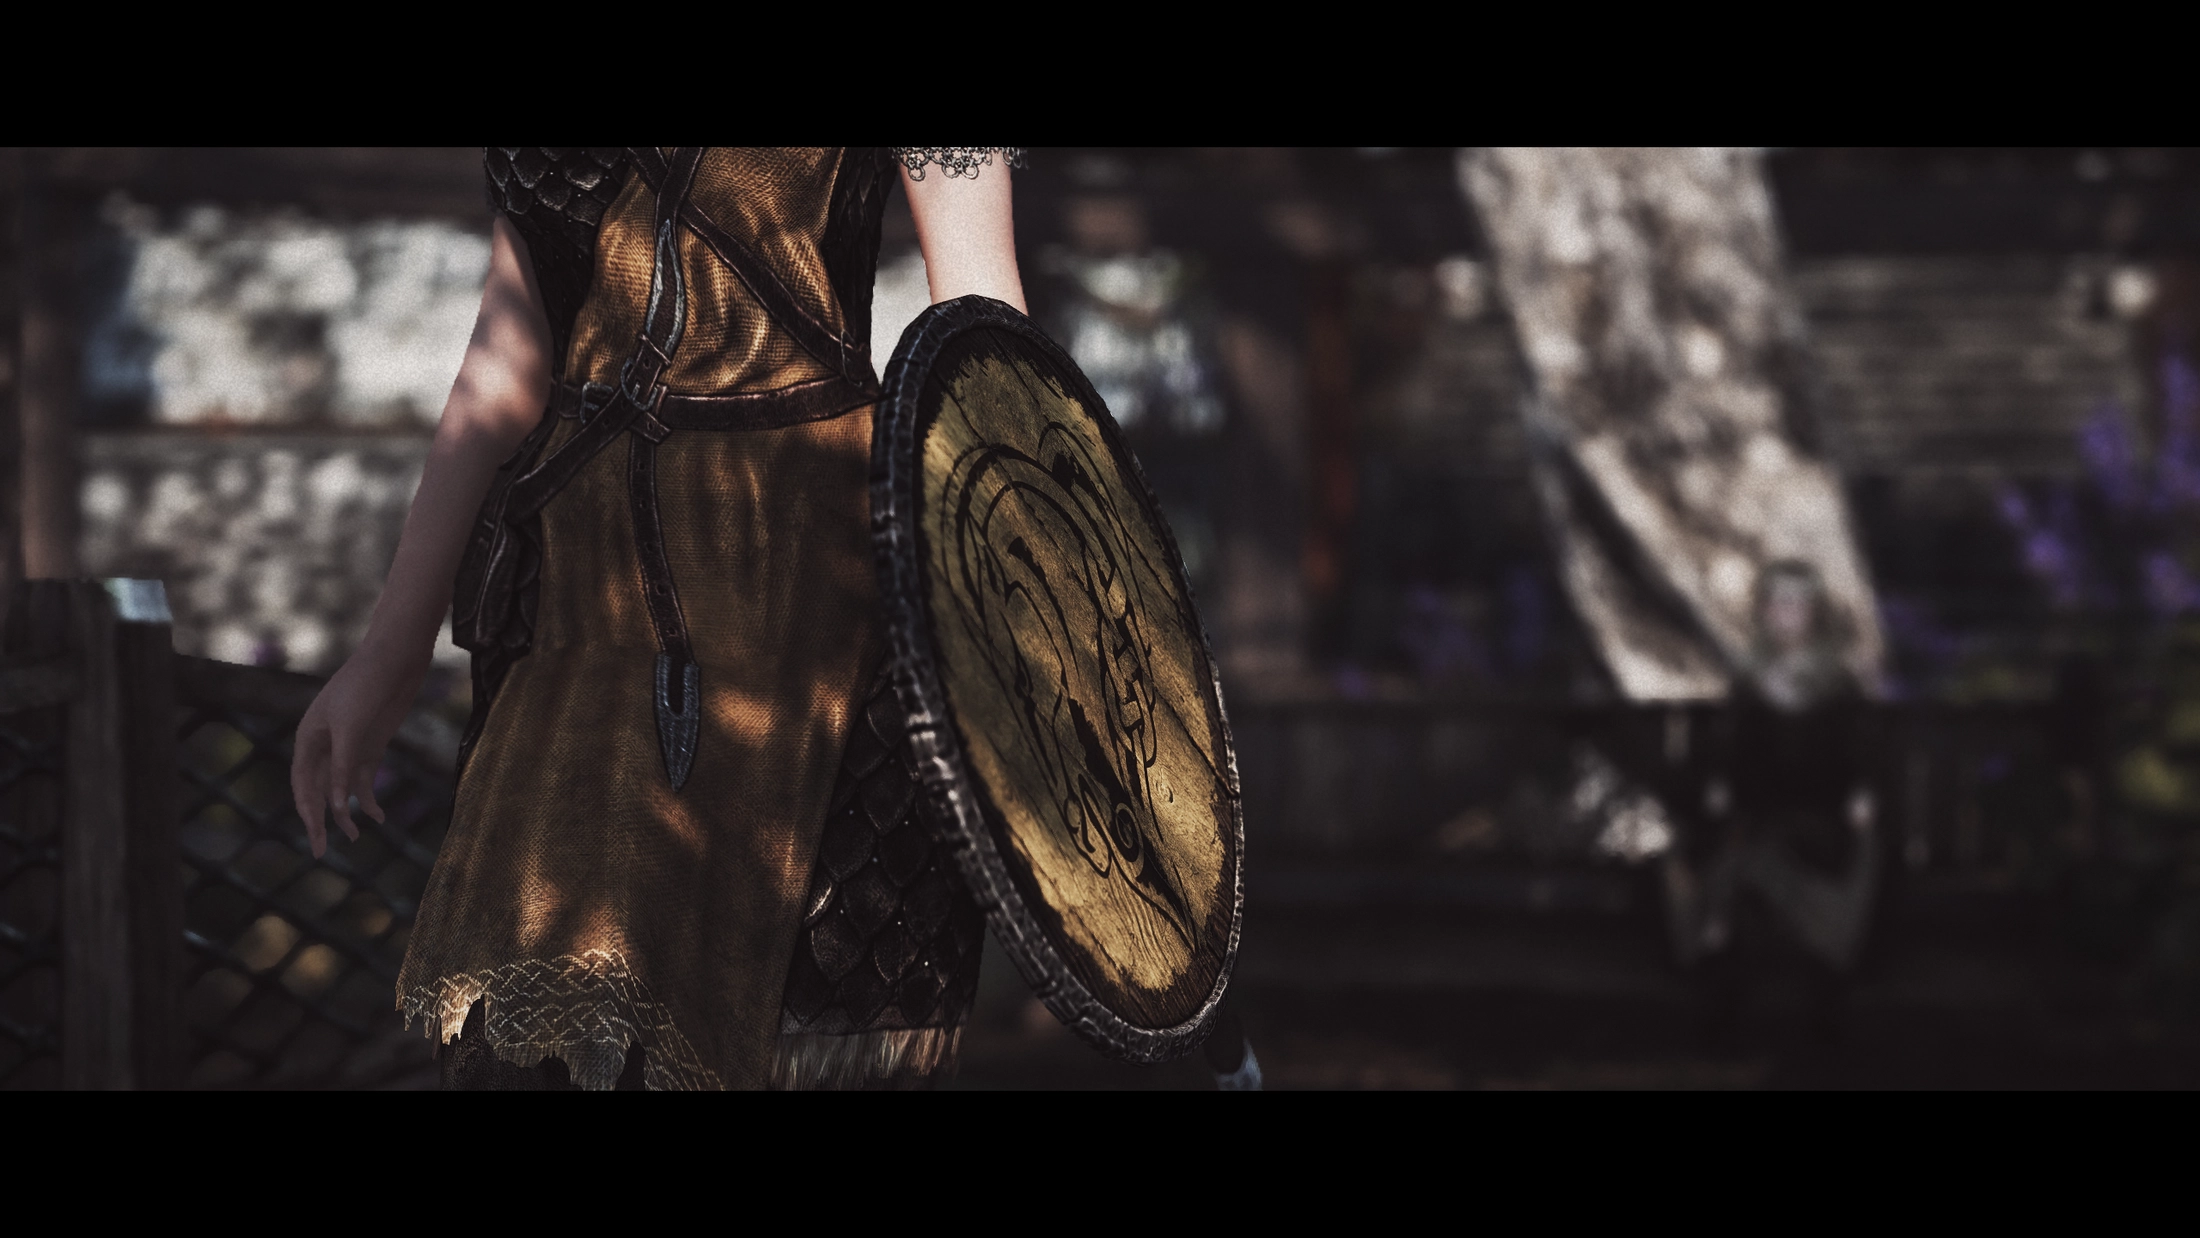
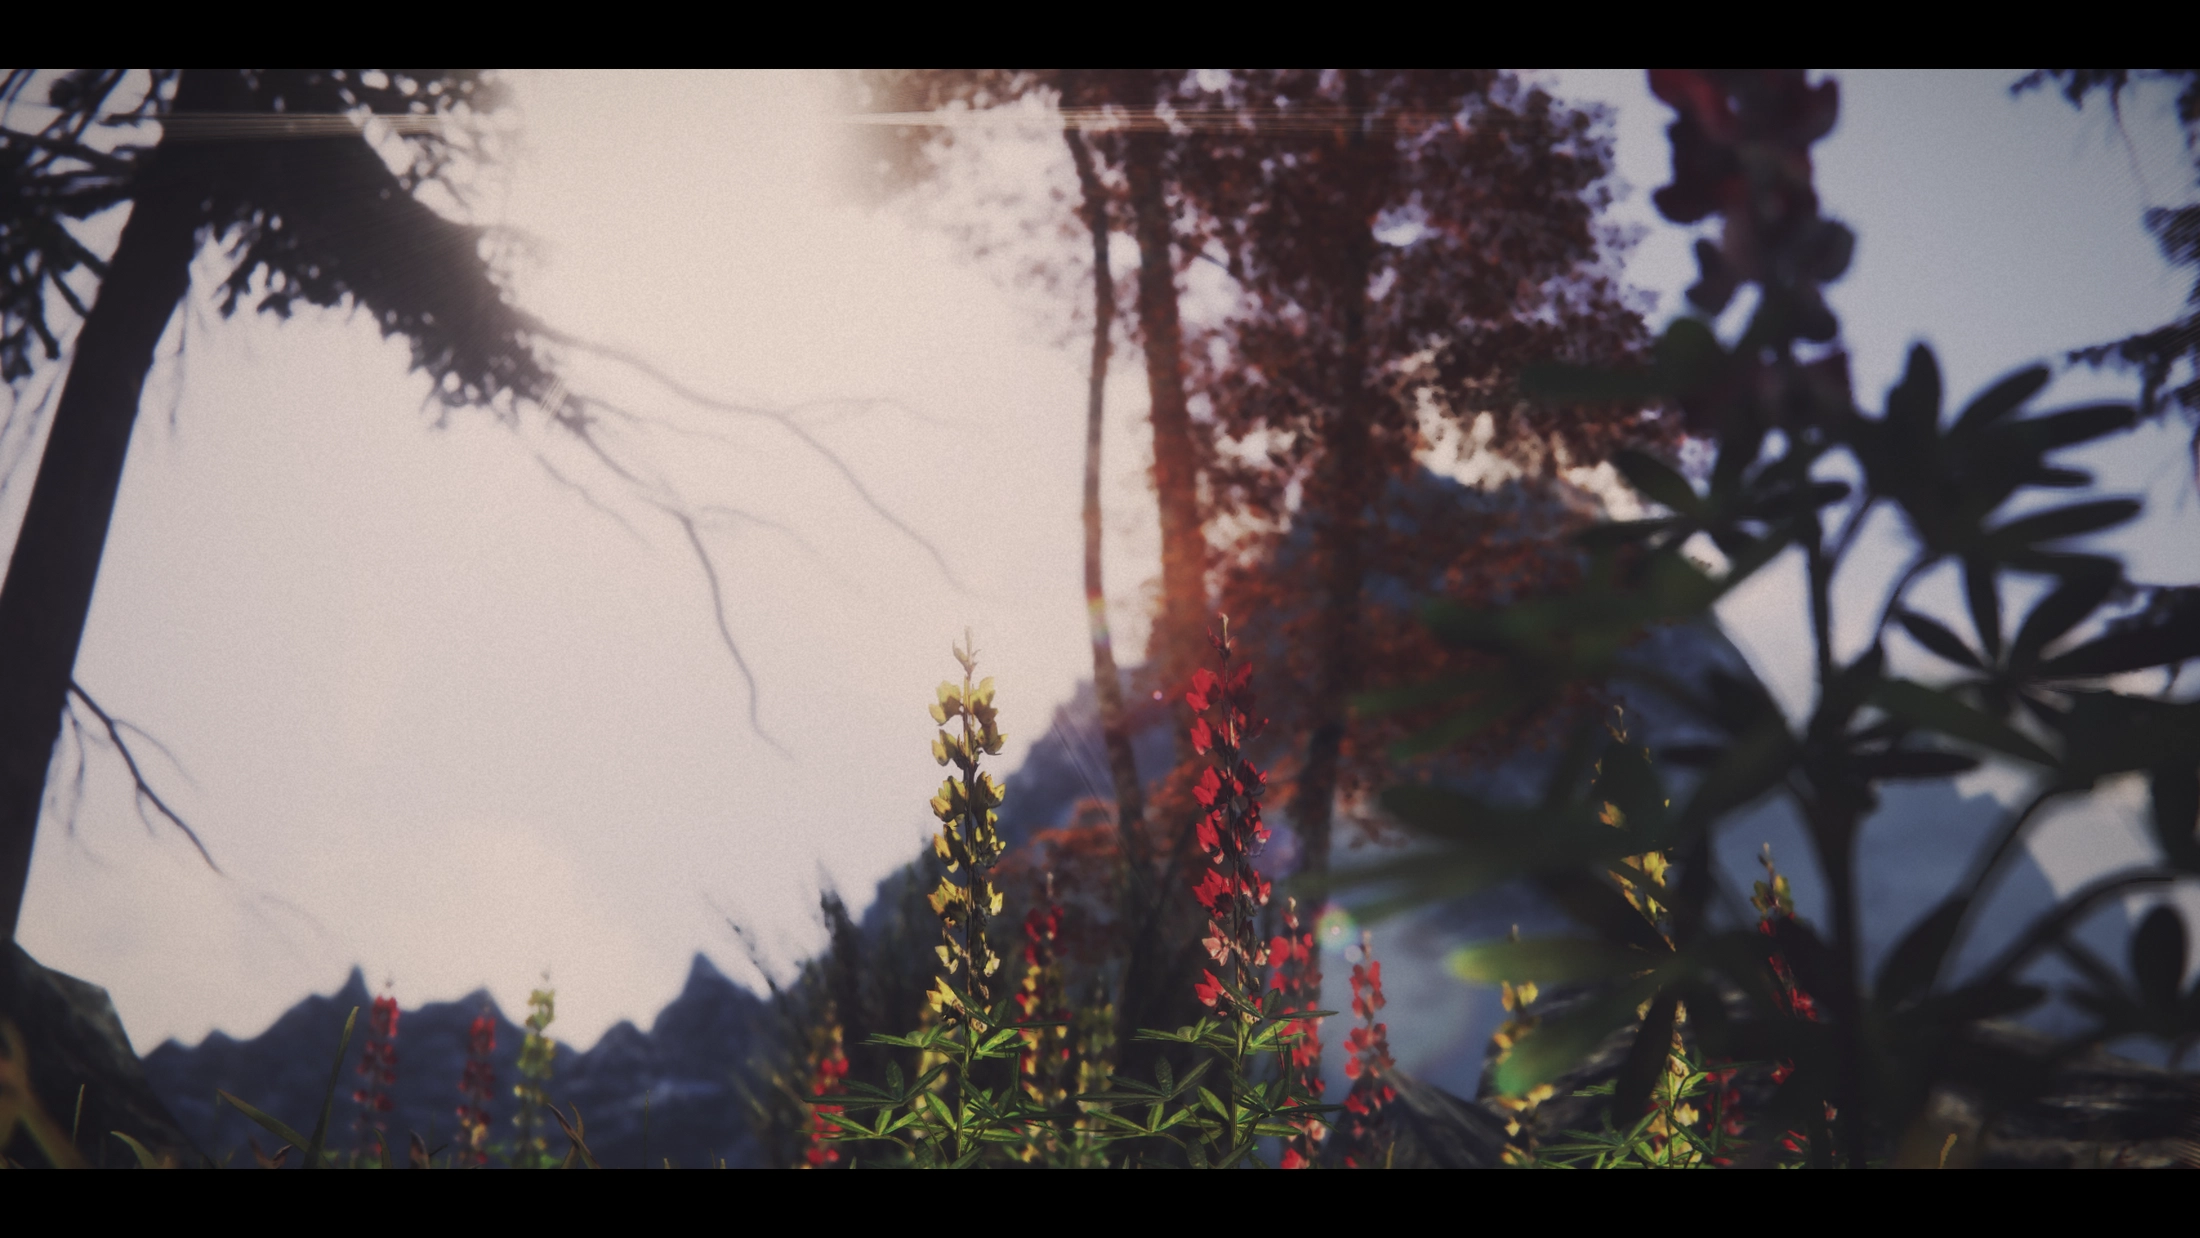
A versatile new DoF shader designed specifically for the constraints of the ENB pipeline.
Providing your game with the most realistic bokeh simulation for ENB yet while improving
performance by up to 3x over the previous shader when comparing similarly sized output shapes.
And on top of that, it costs basically no performance when not actively rendering any bokeh.
TIP: You can click on the active image of a slideshow to view it in a larger format.
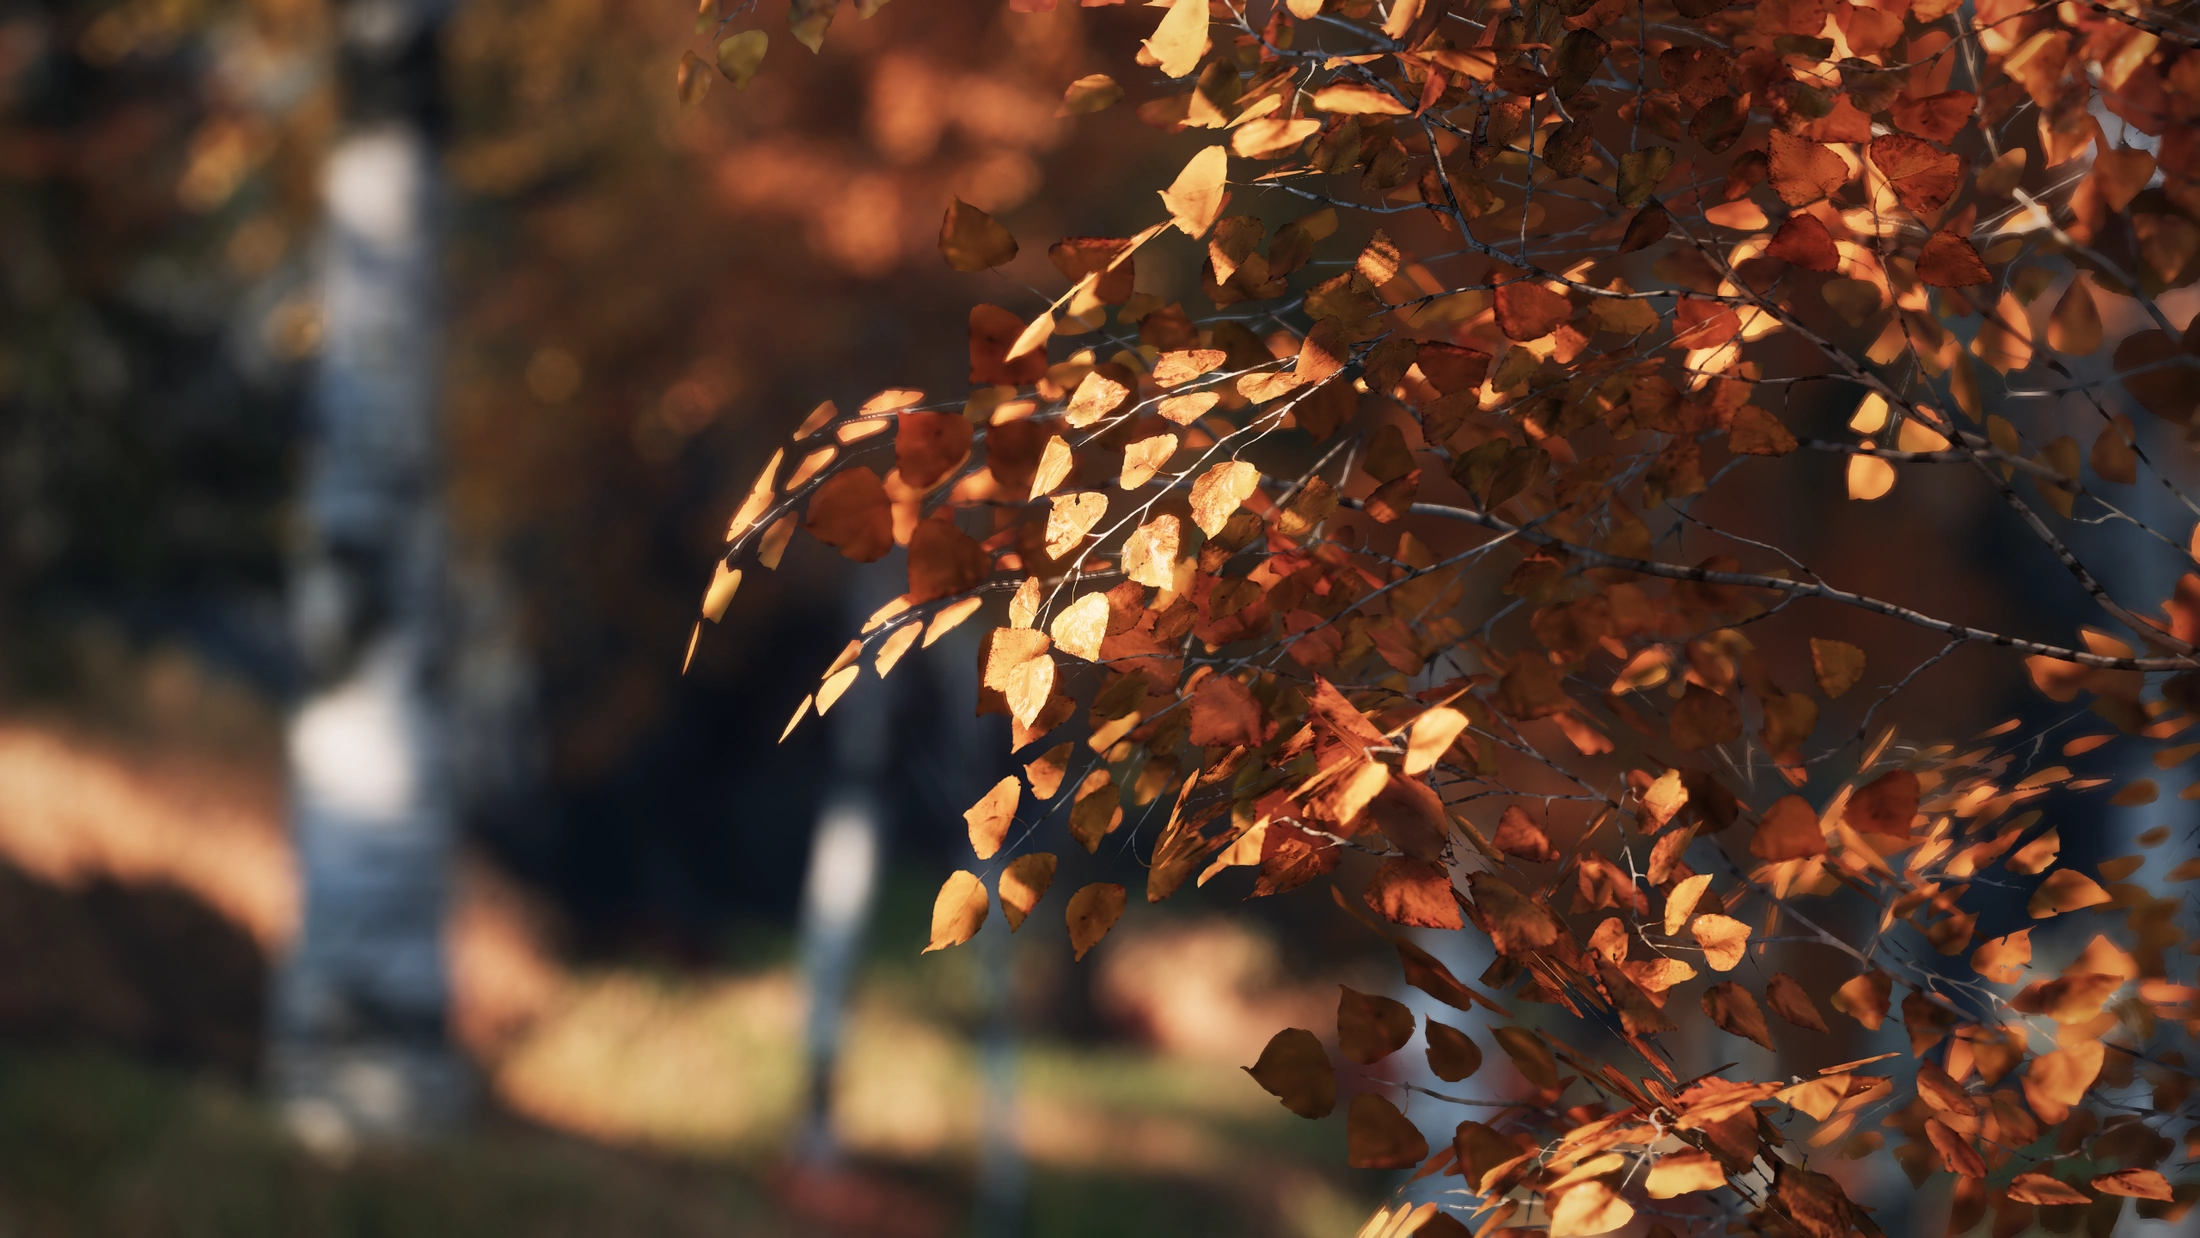
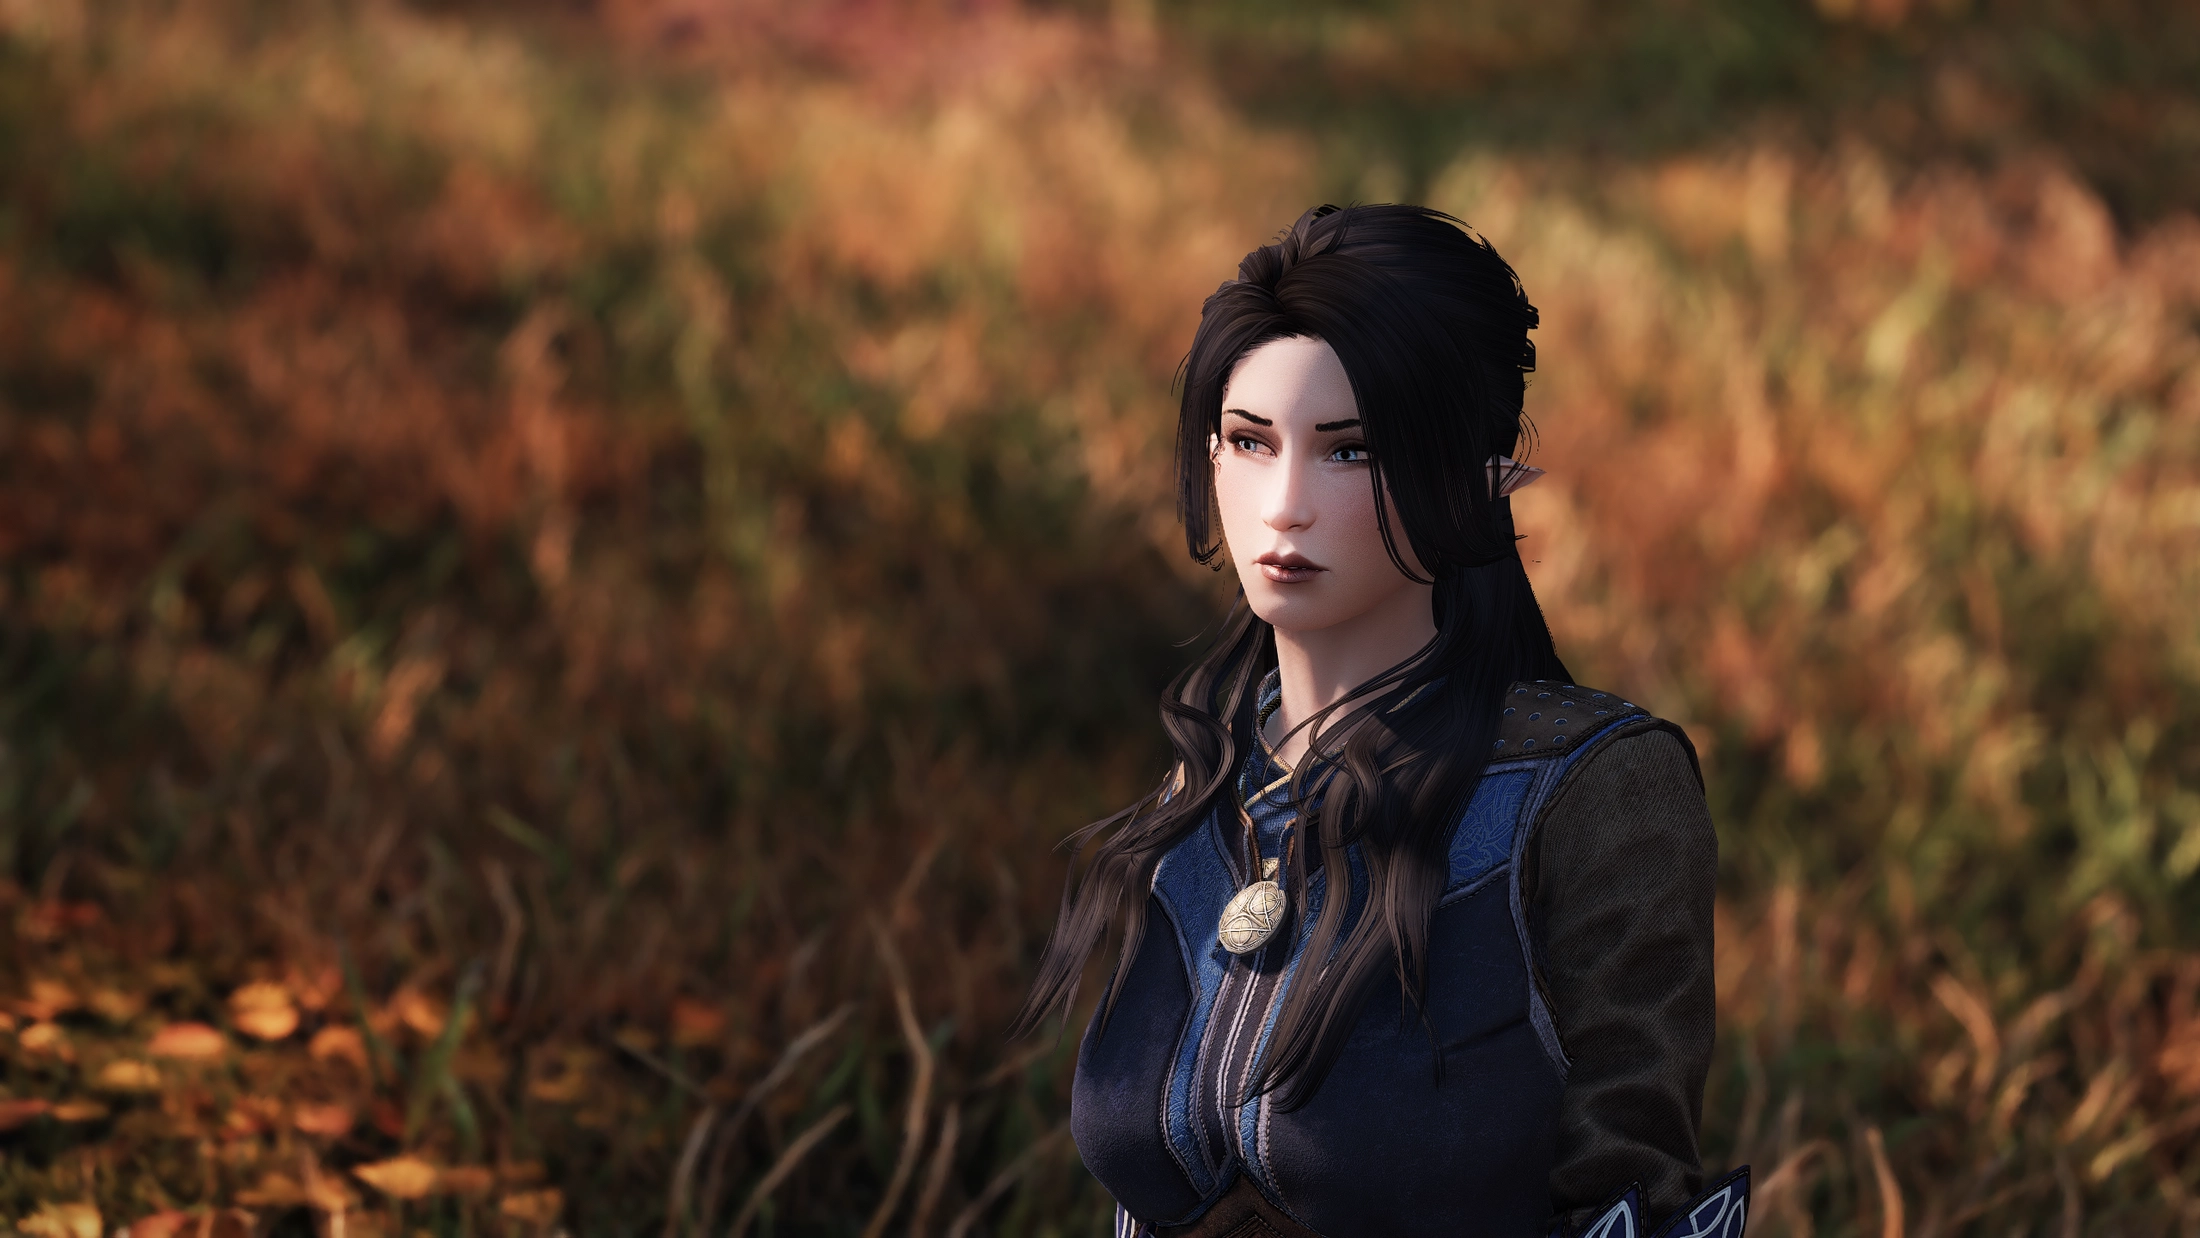
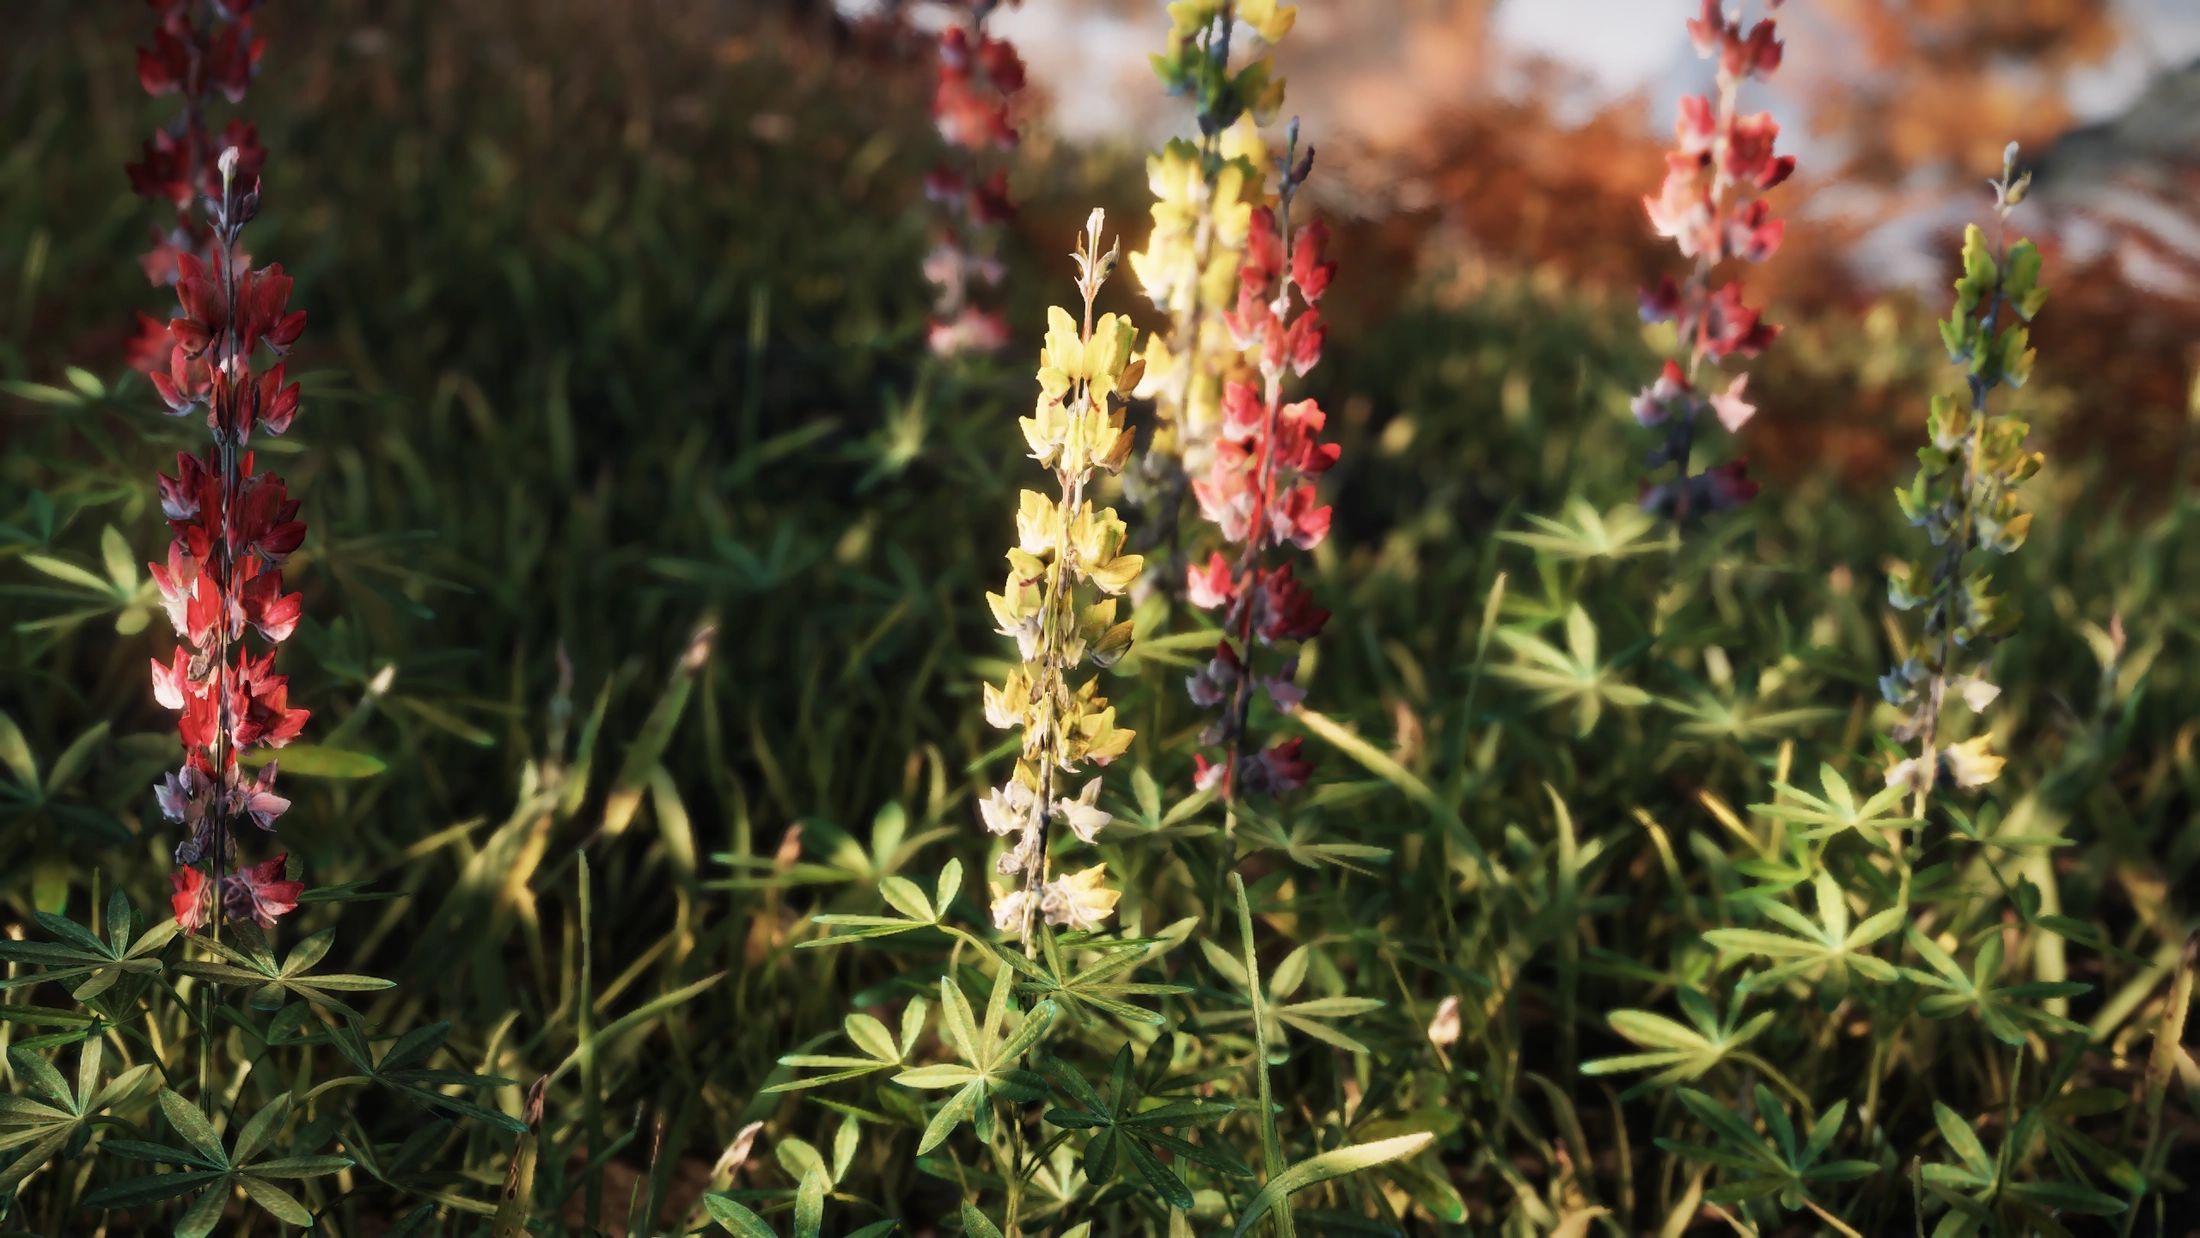
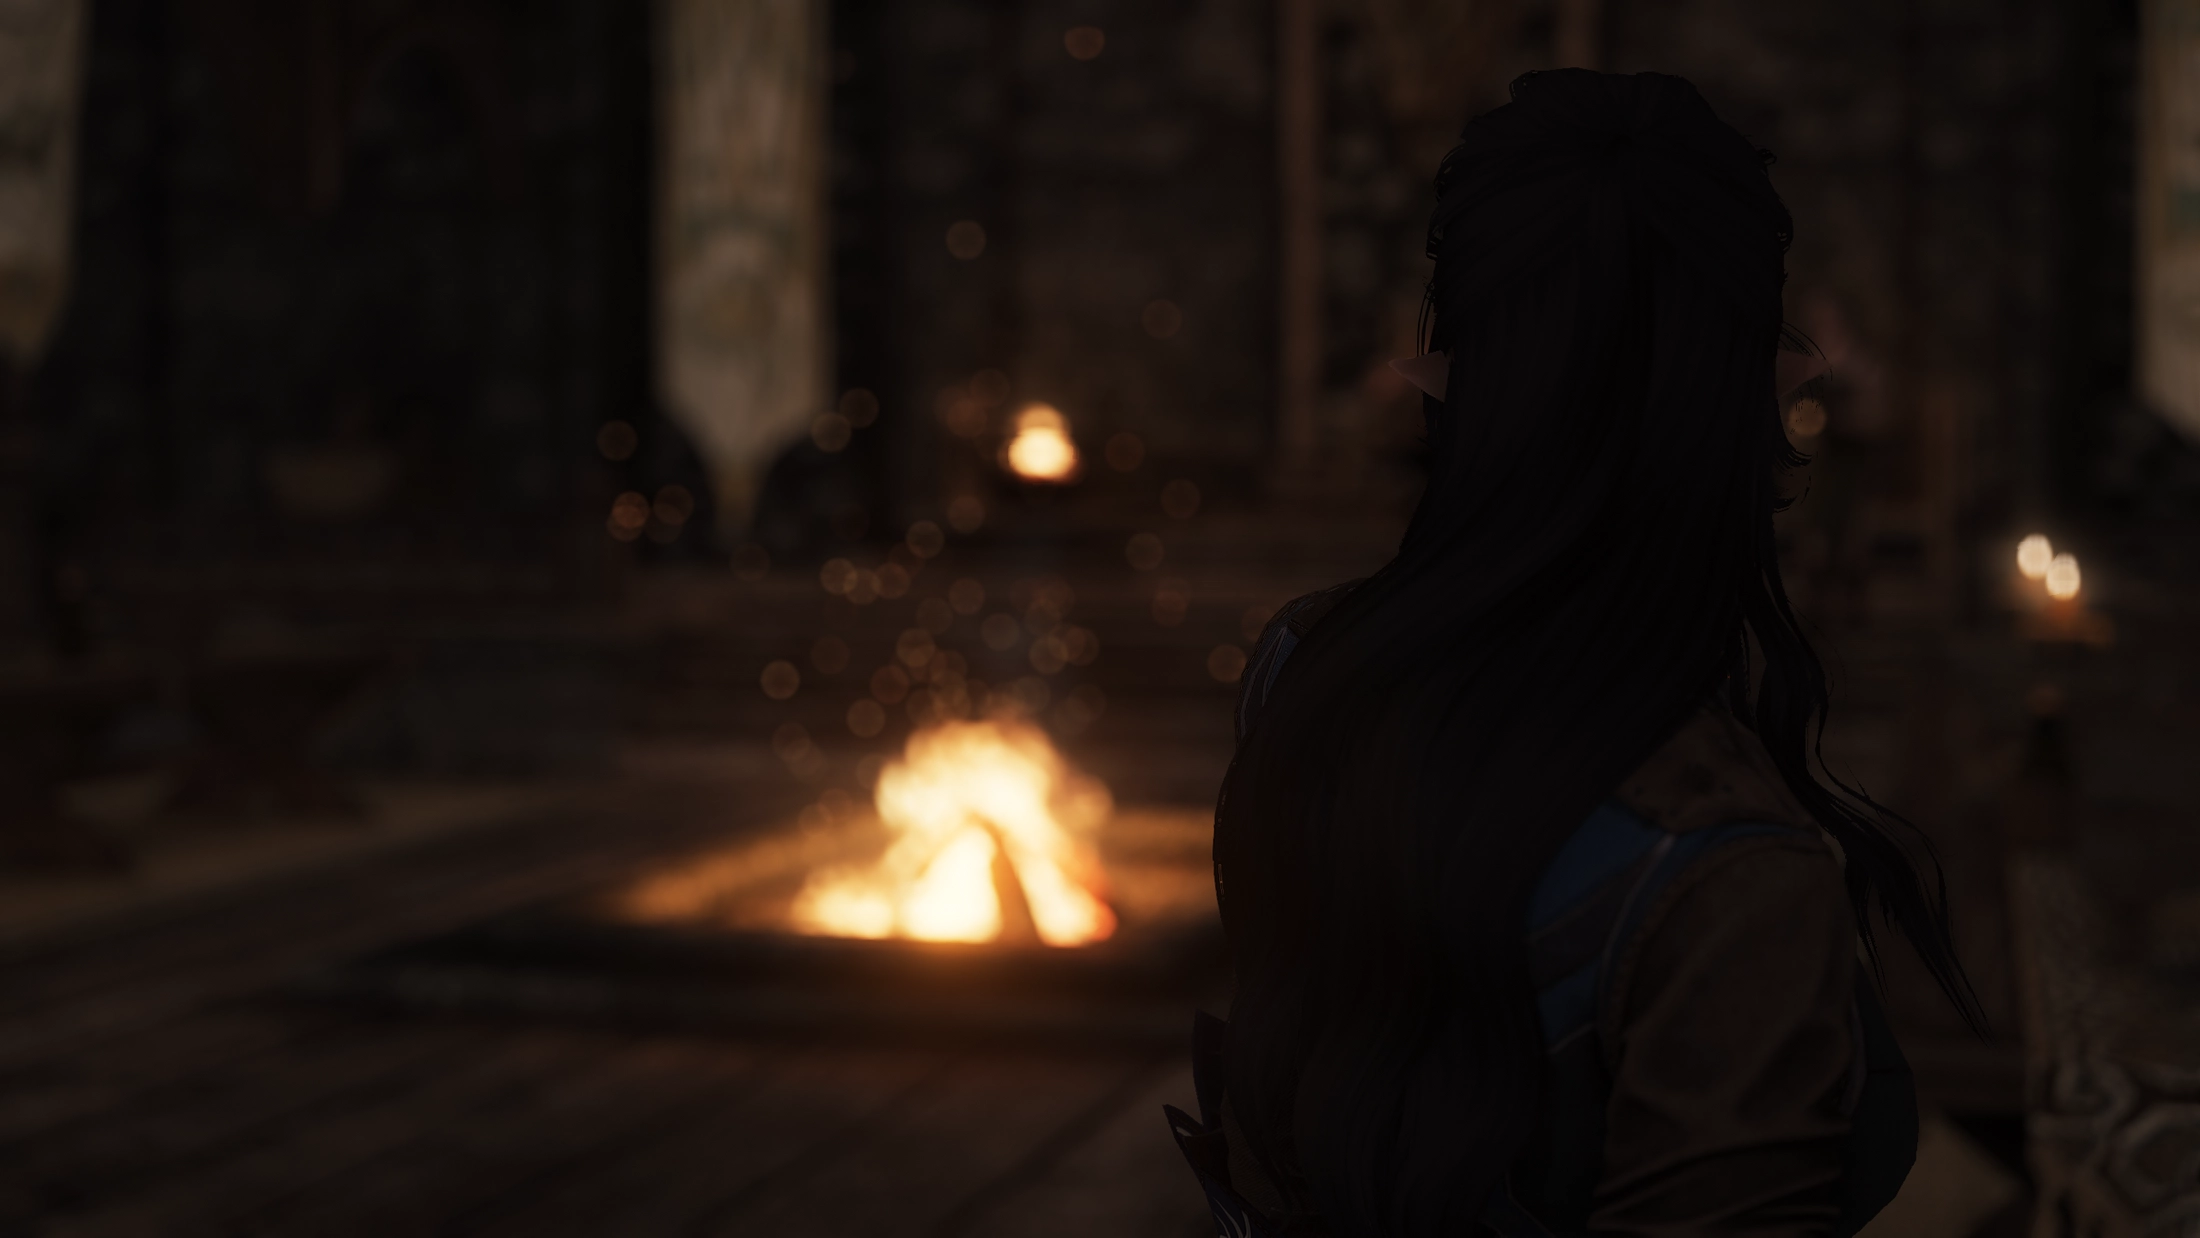
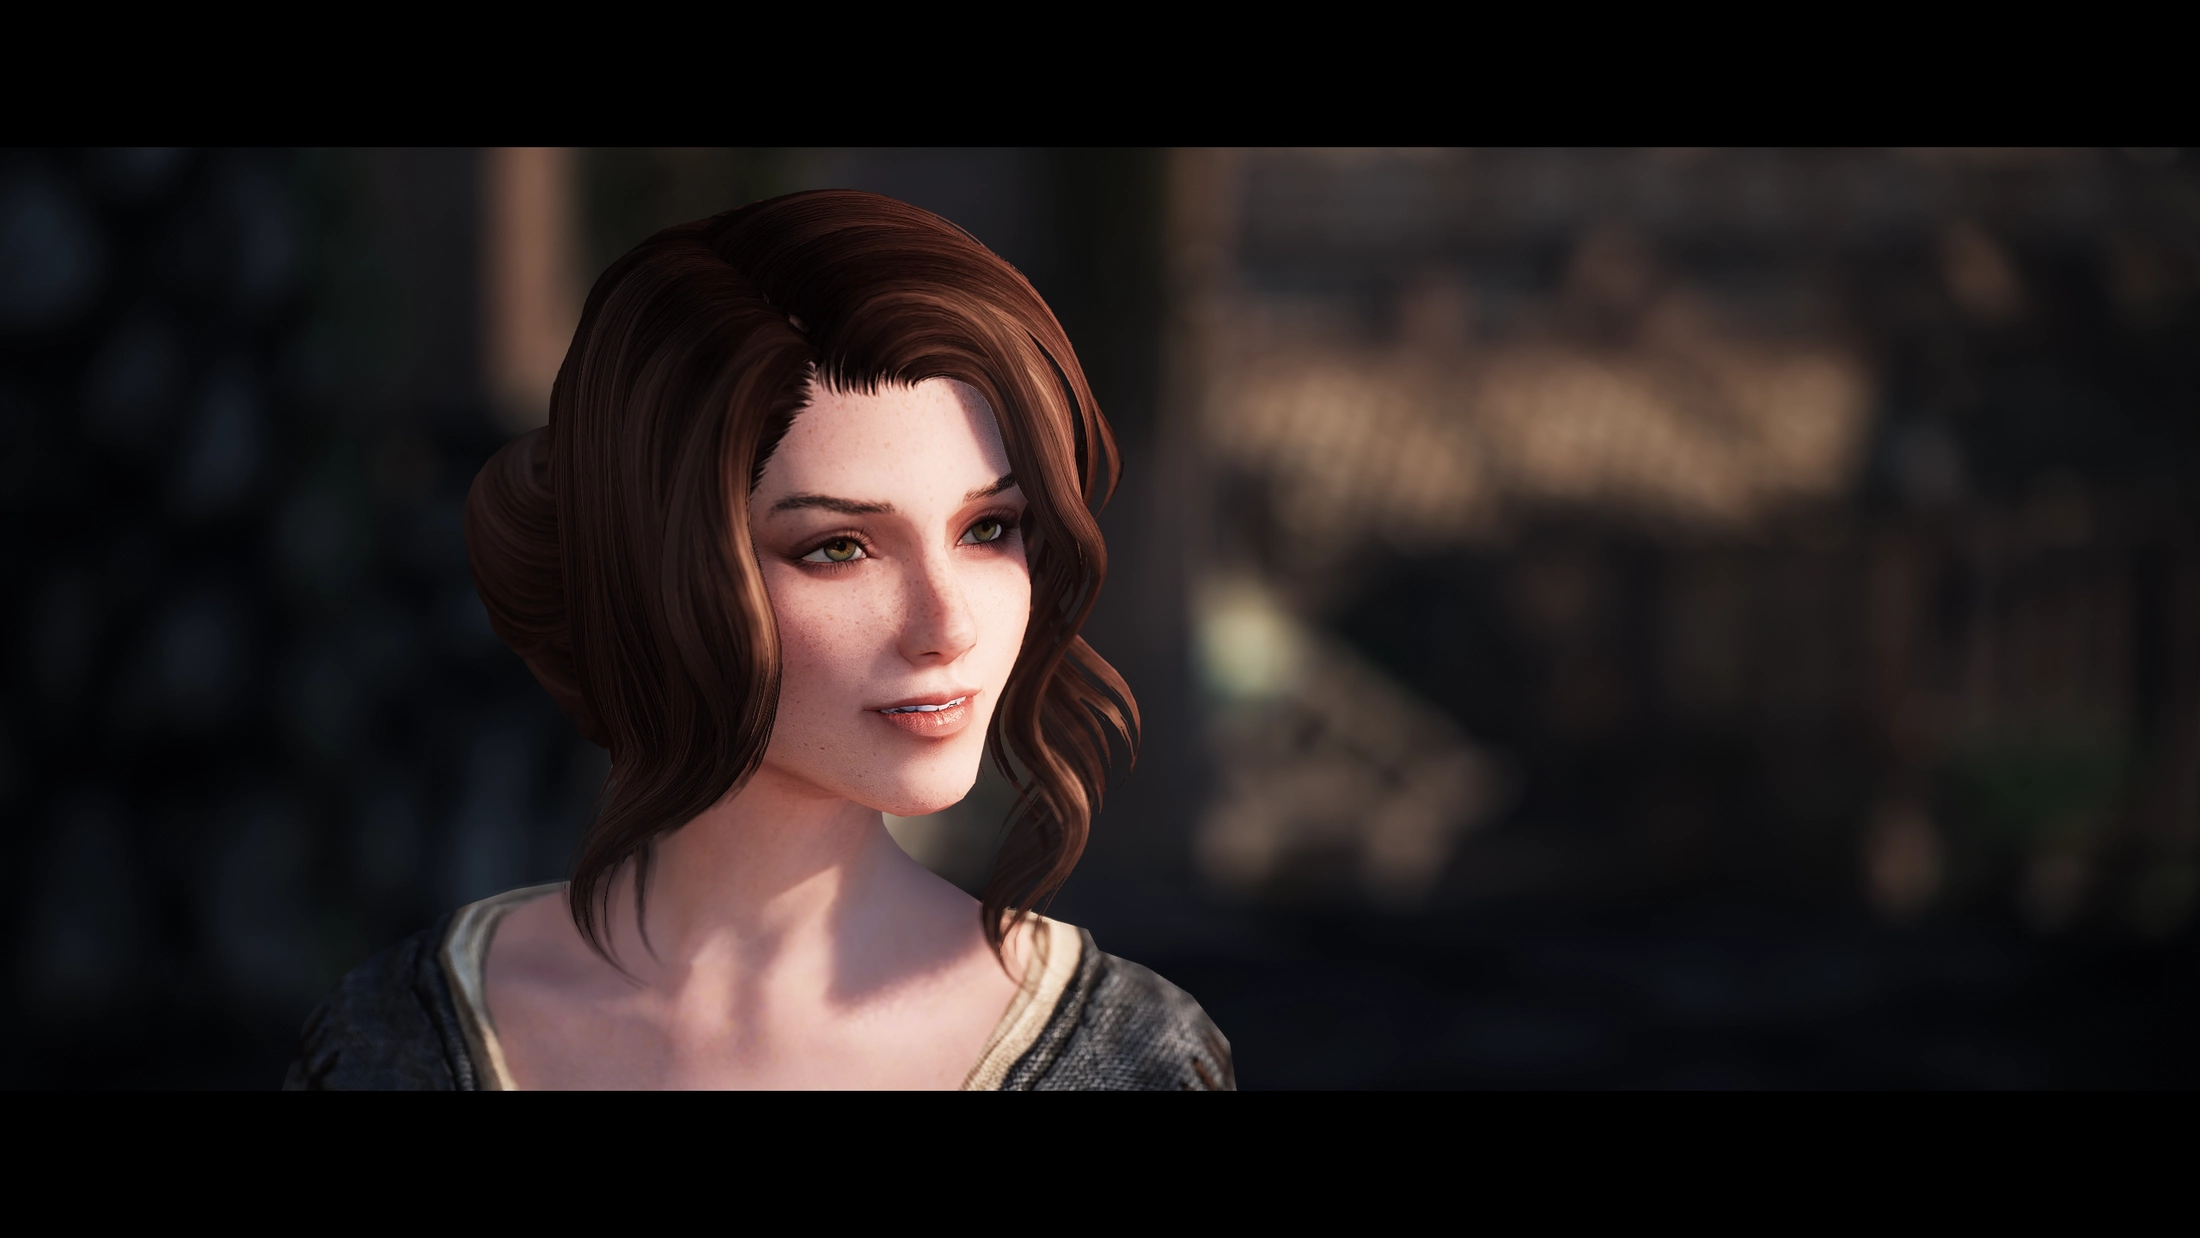
Getting (not so) physical
The shader supports three camera modes for you to choose from on the fly: Two physical and a custom one.
The custom mode lets you choose bokeh size, near/far scale and the hyperfocus distance freely without any real world camera/lens restrictions. It should be more intuititive than the old settings while being familiar enough to allow quick migration.
If you prefer controls that are closer to that of an actual camera however, one of the two physical modes will be a better fit.
While both physical modes use the same underlying simulation and let you adjust the aperture size, one takes
feeling like a camera operator a step further: By deriving the camera focal length from the current in-game FOV,
it requires thoughtful positioning of your virtual camera, leading to more natural and plausible results both perspective and
bokeh wise.
If you would rather not deal with the added complexity of FOV adjustments, you can simply fall back to the second
physical mode. This lets you input a static focal length directly to get the perfect shot.
One thing to keep in mind: Because Skyrim doesn’t use unit systems with consistent mapping to real world meassurements and has wonky scaling in general, everything beyond the camera system emulation is merely an approximation. Meaning the metric inputs are only fully accurate up to that point and in relation to each other.
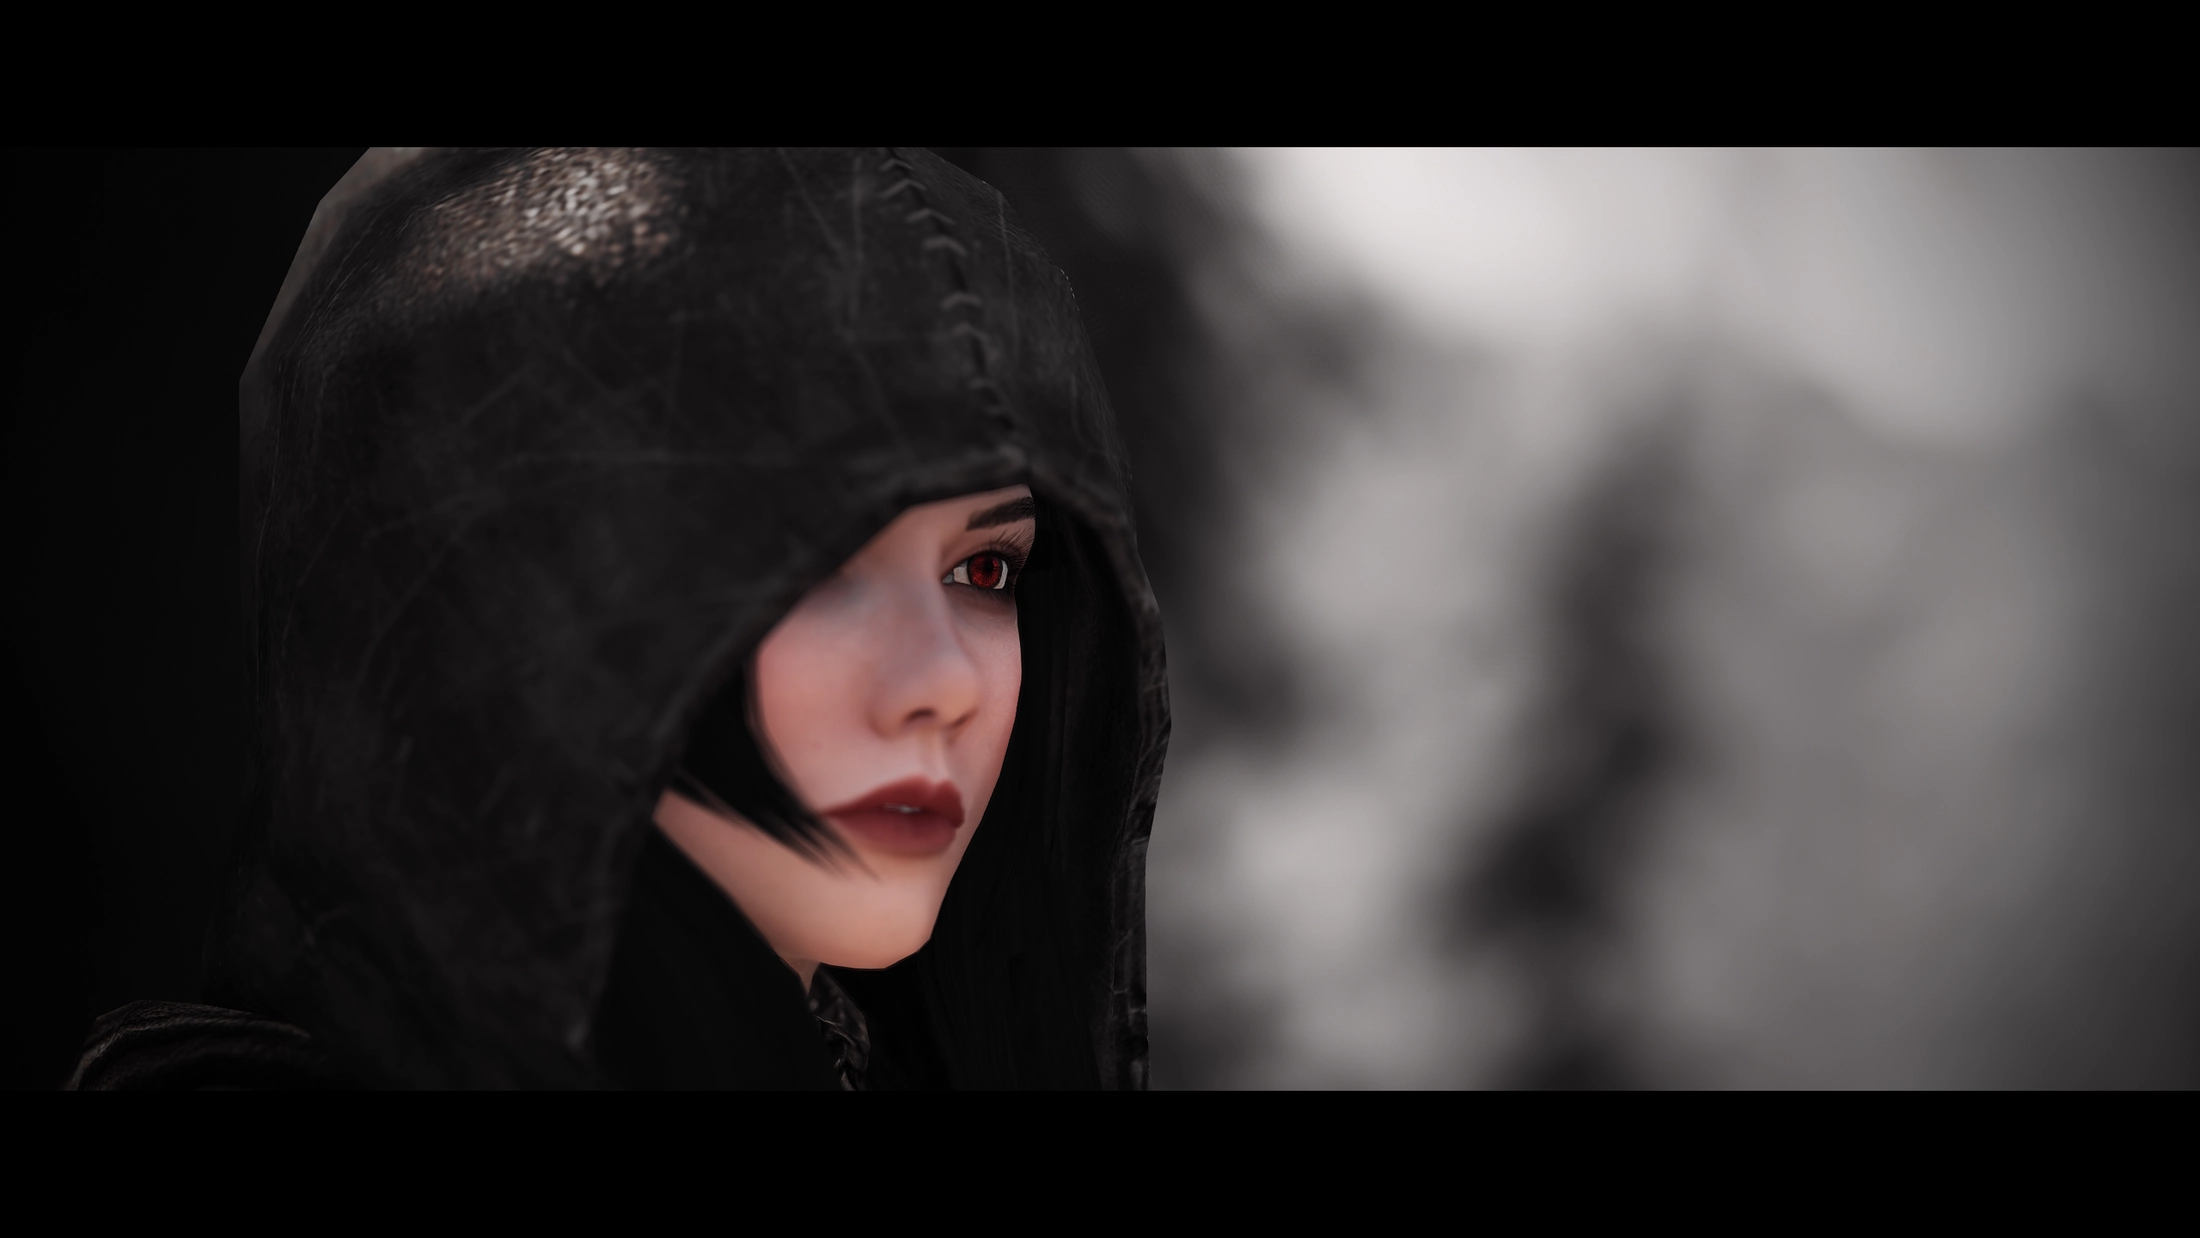
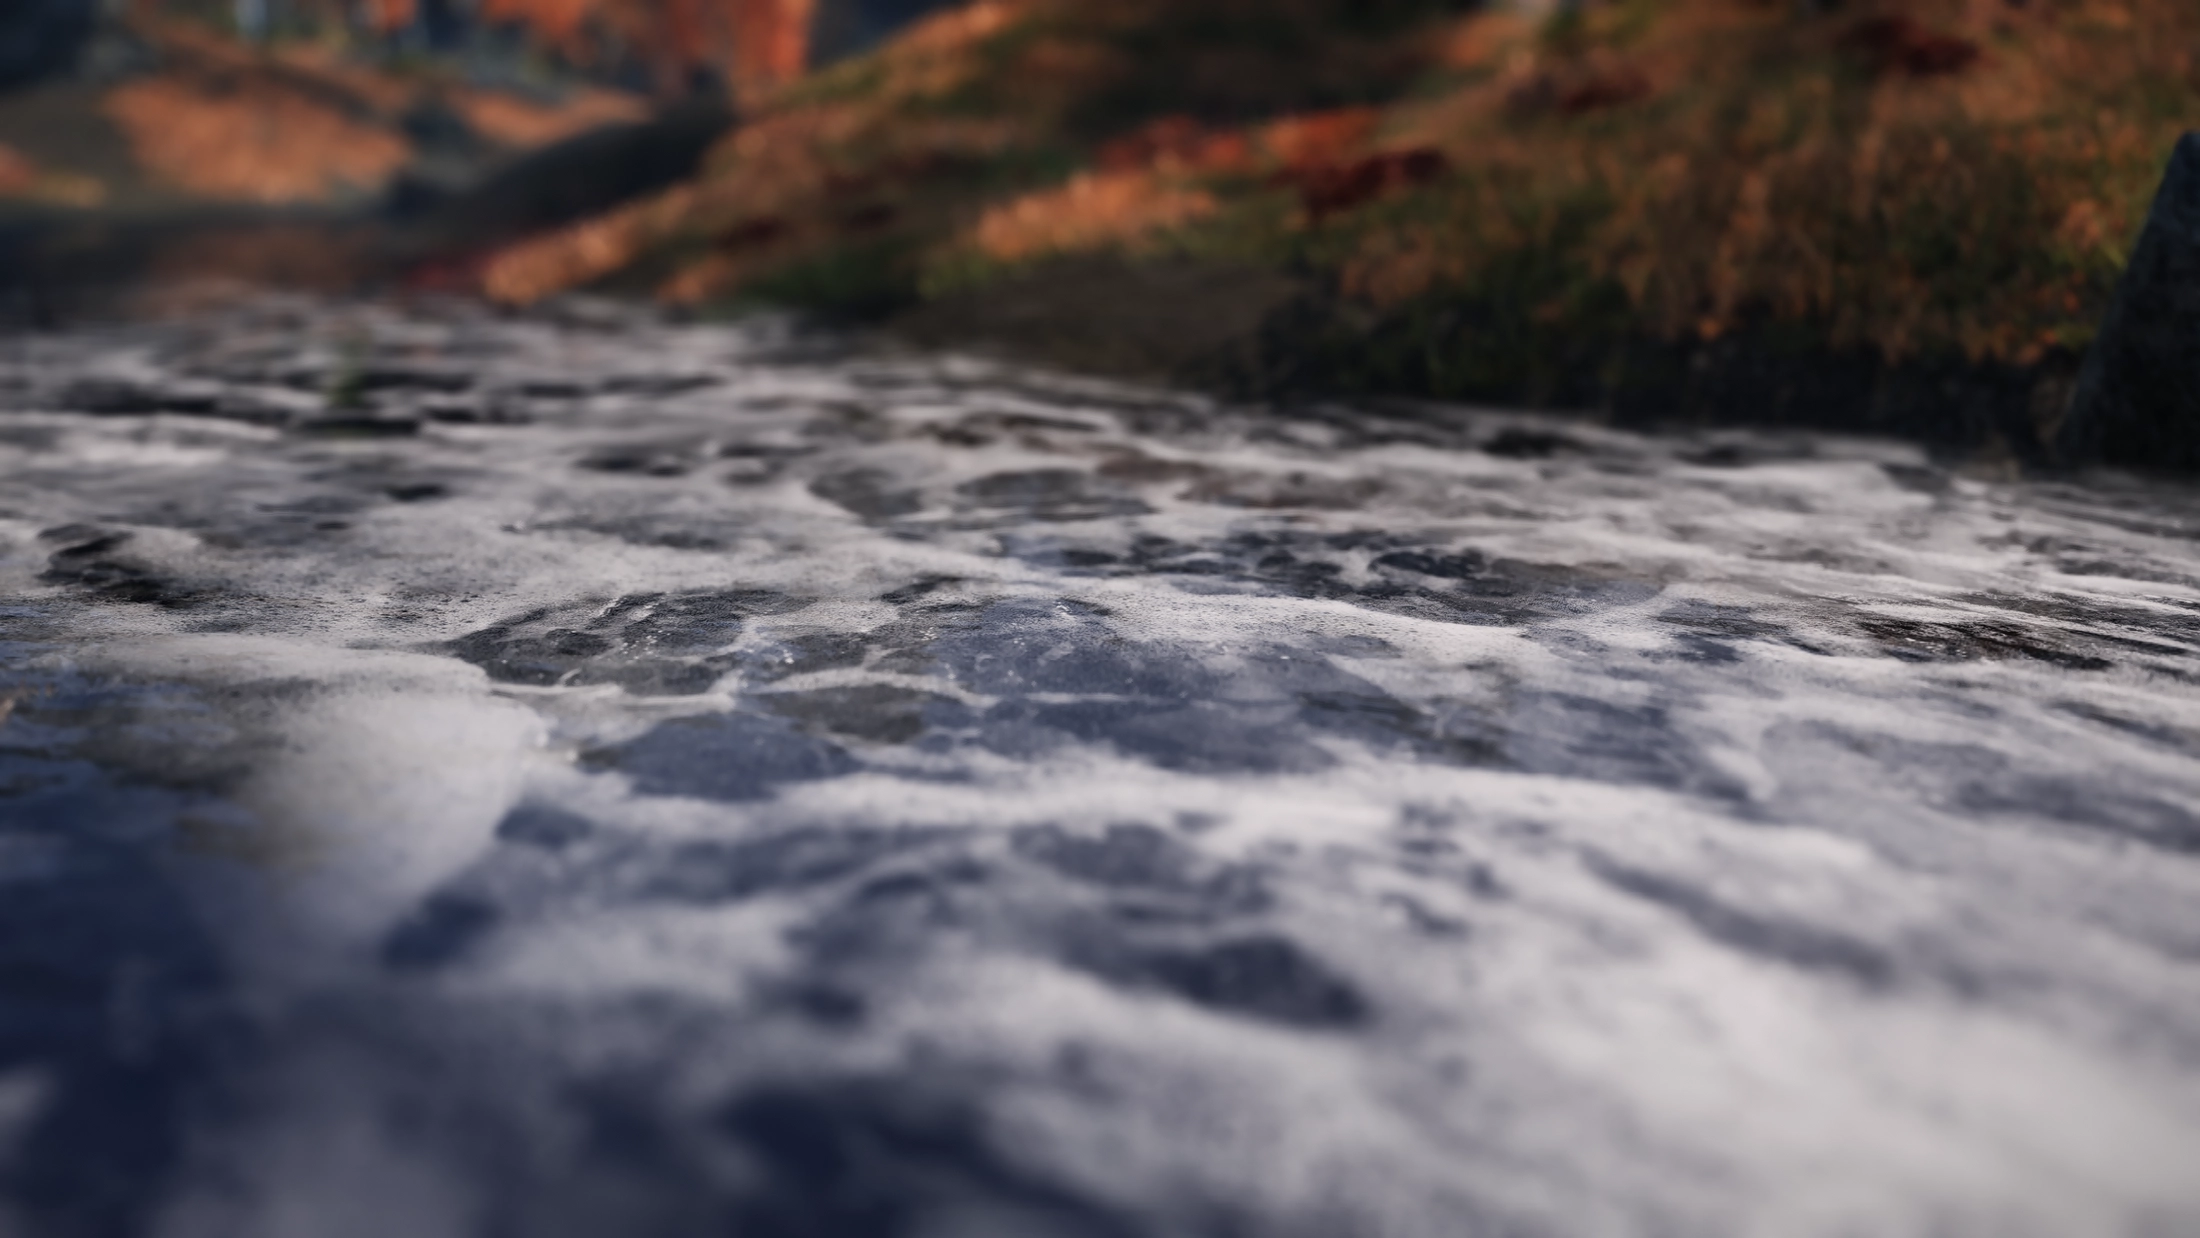
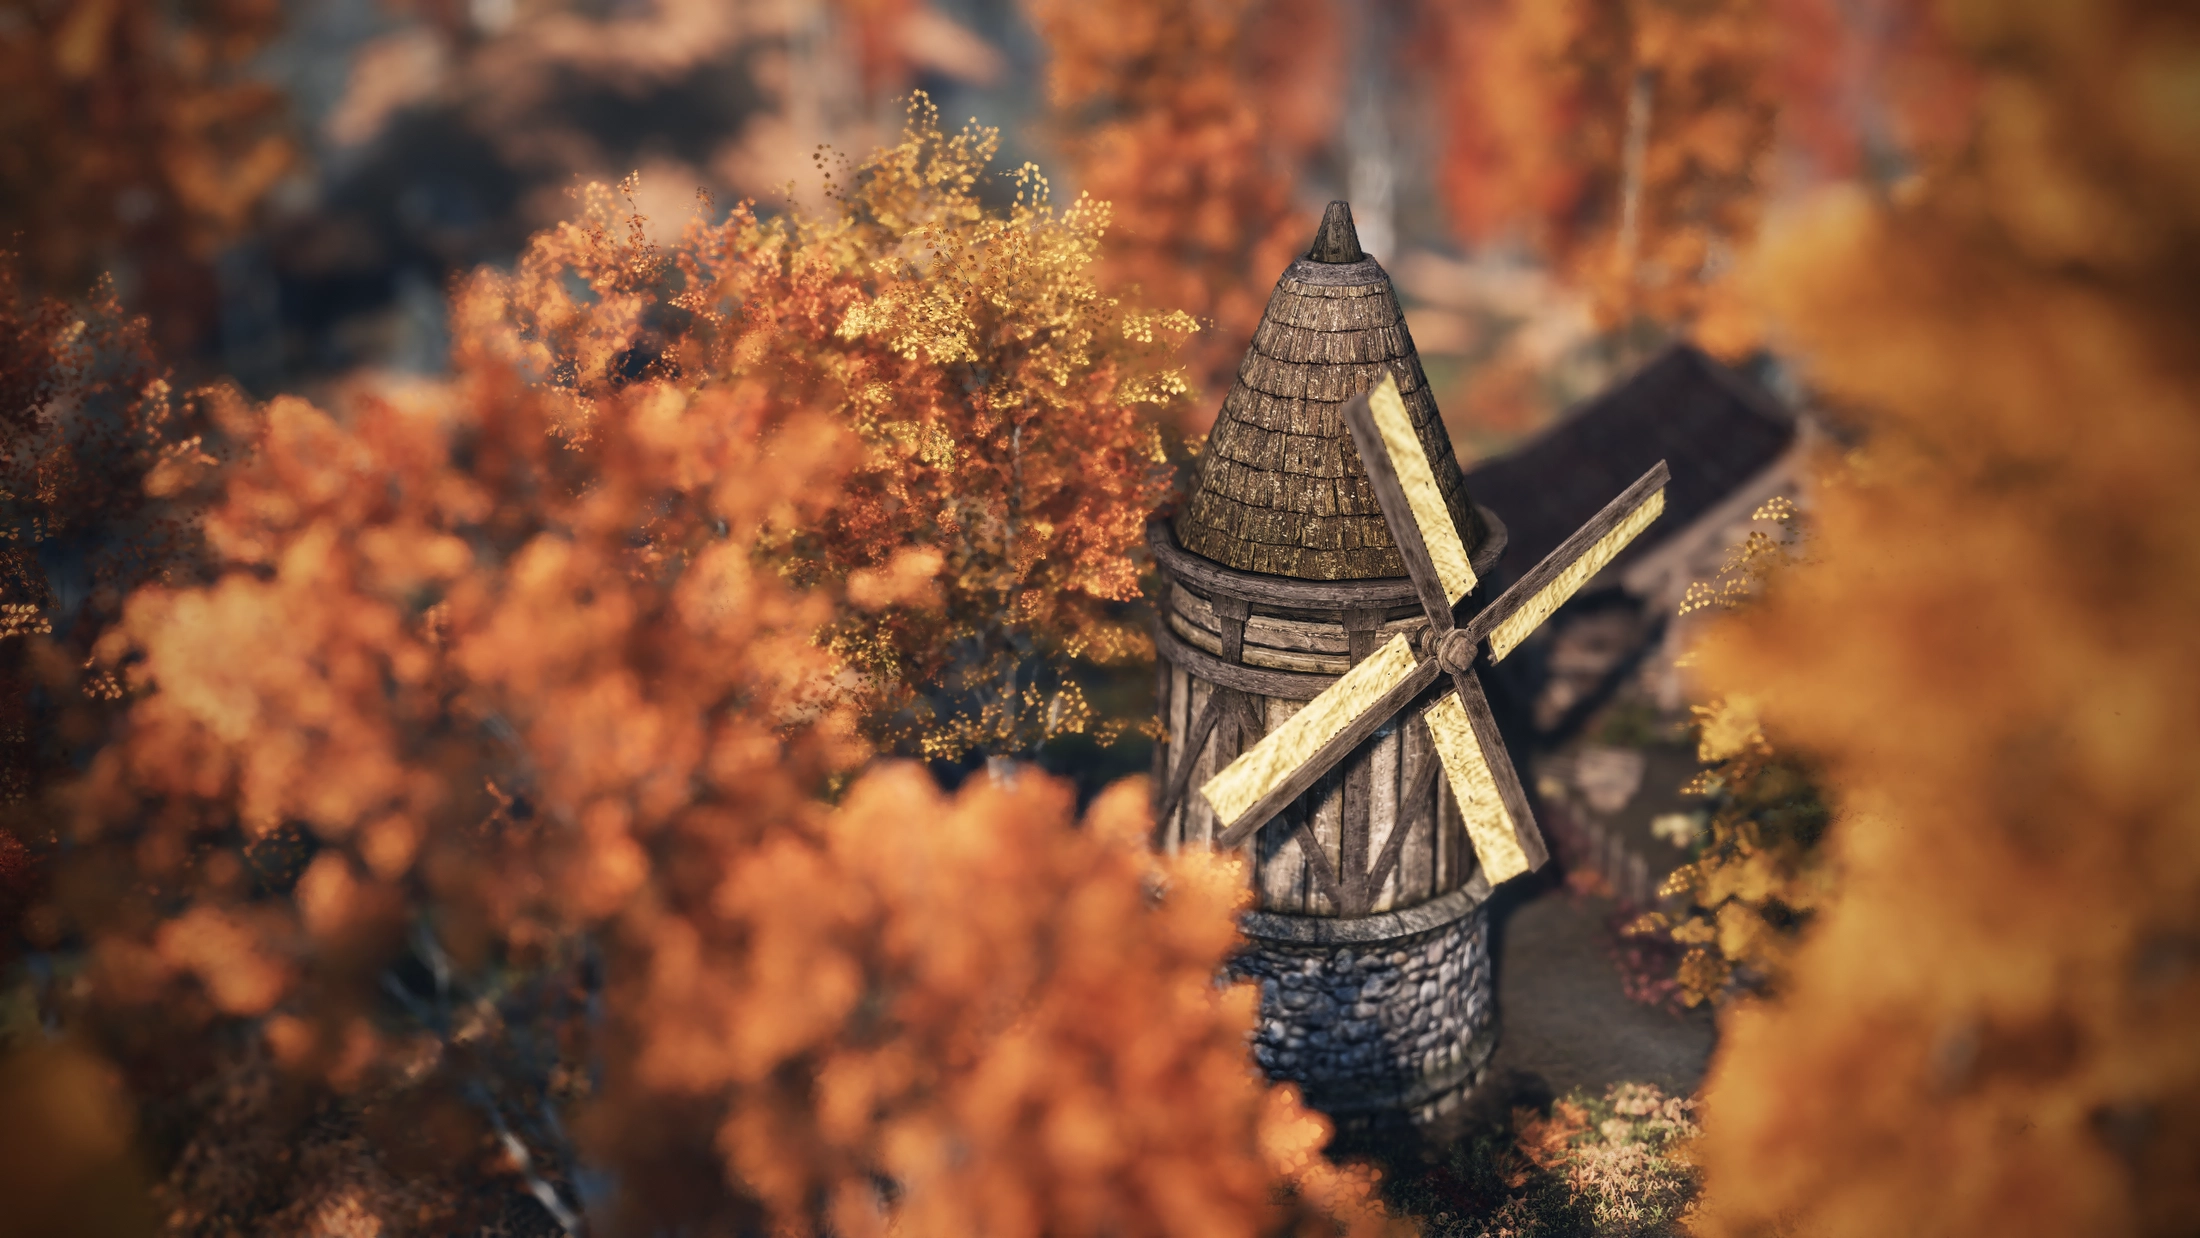
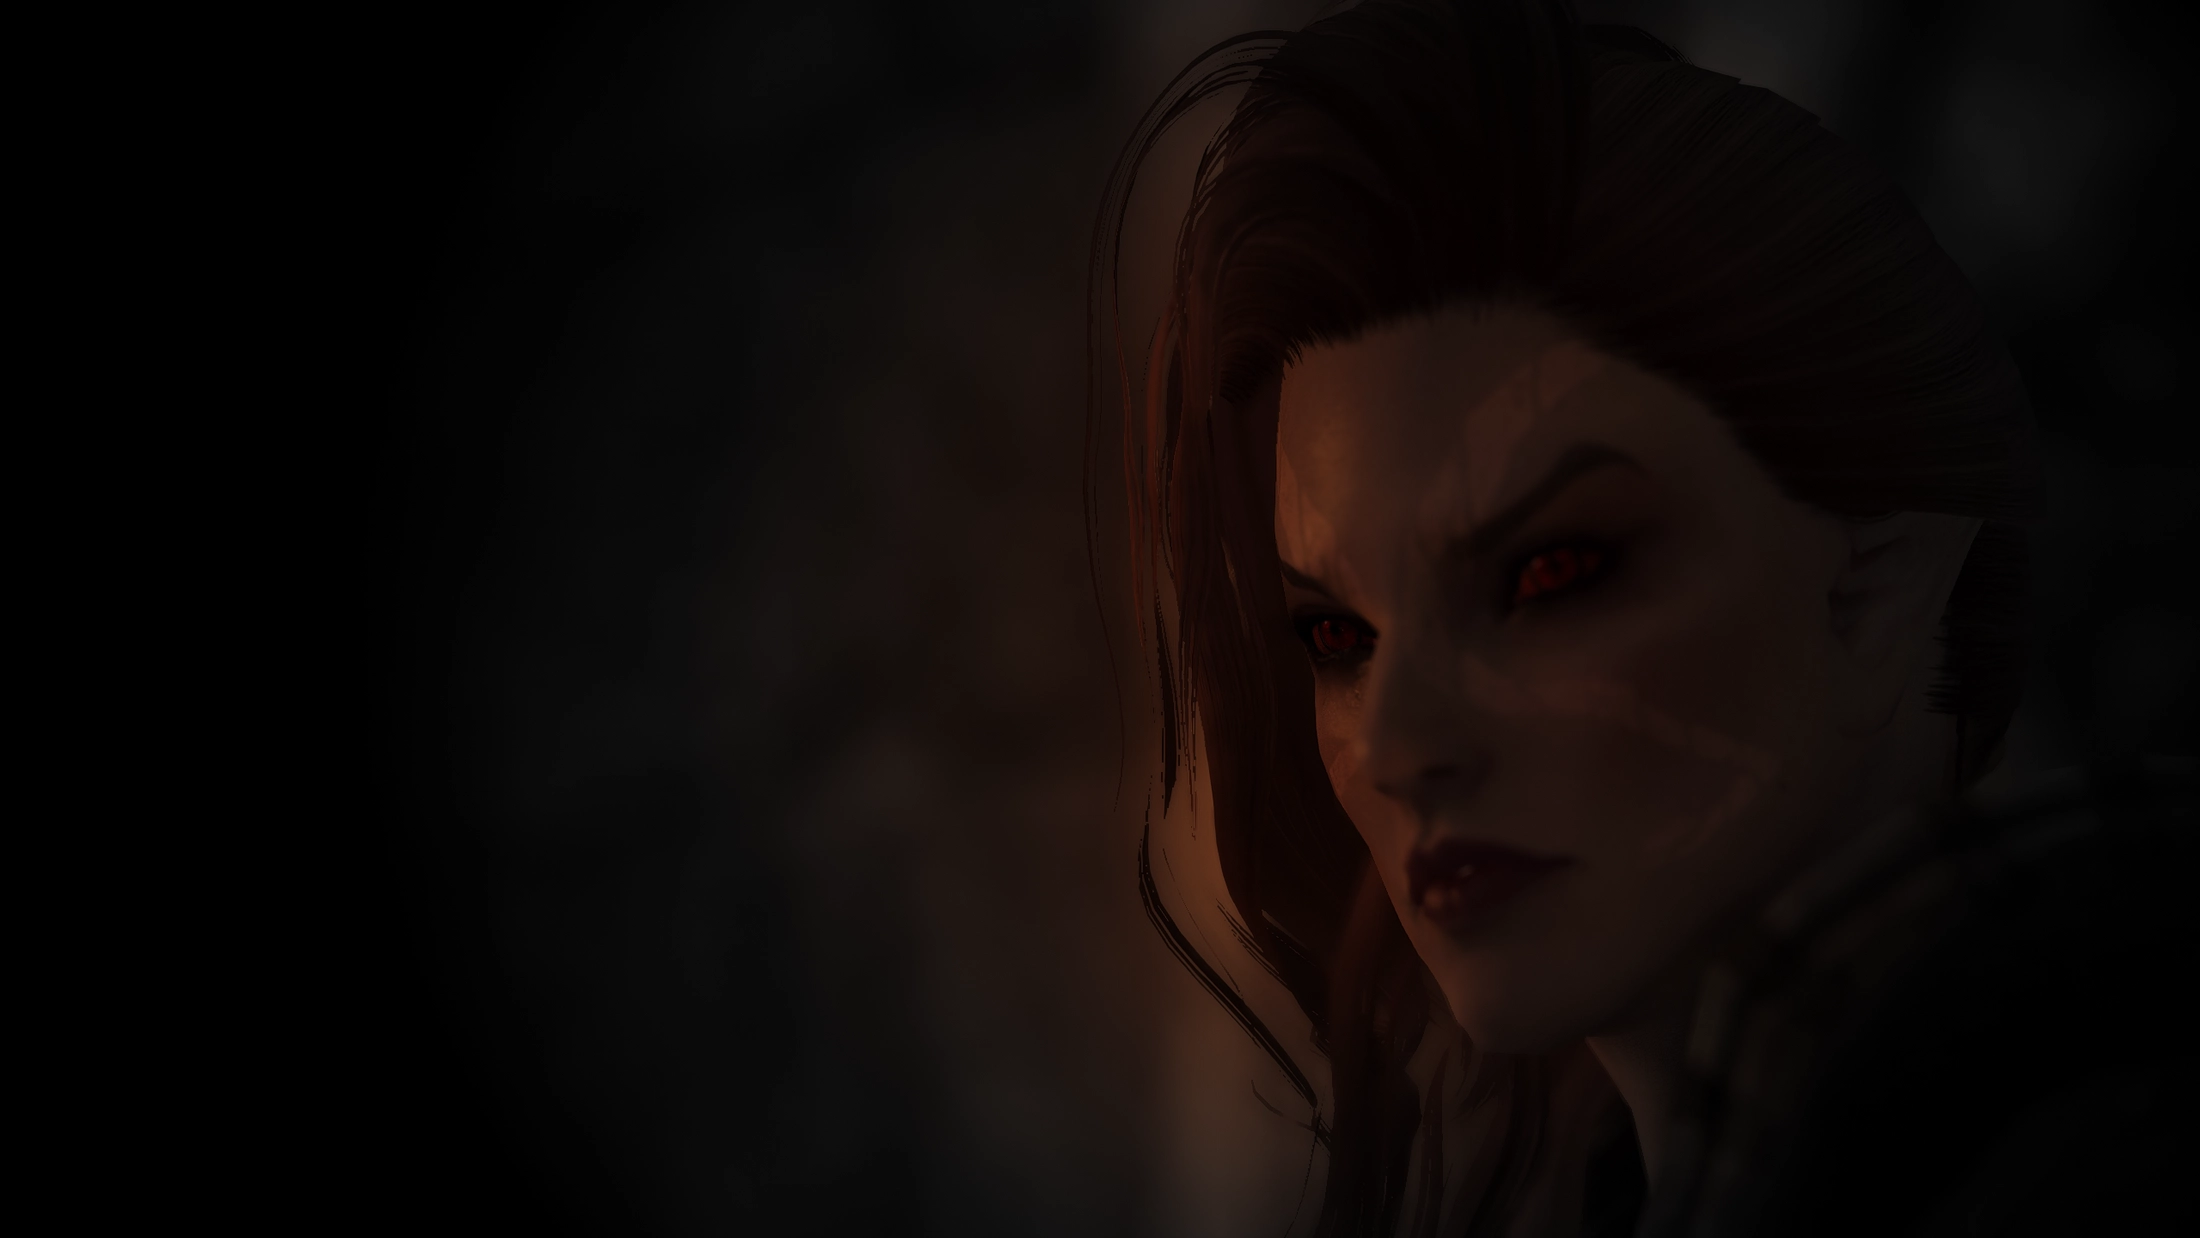
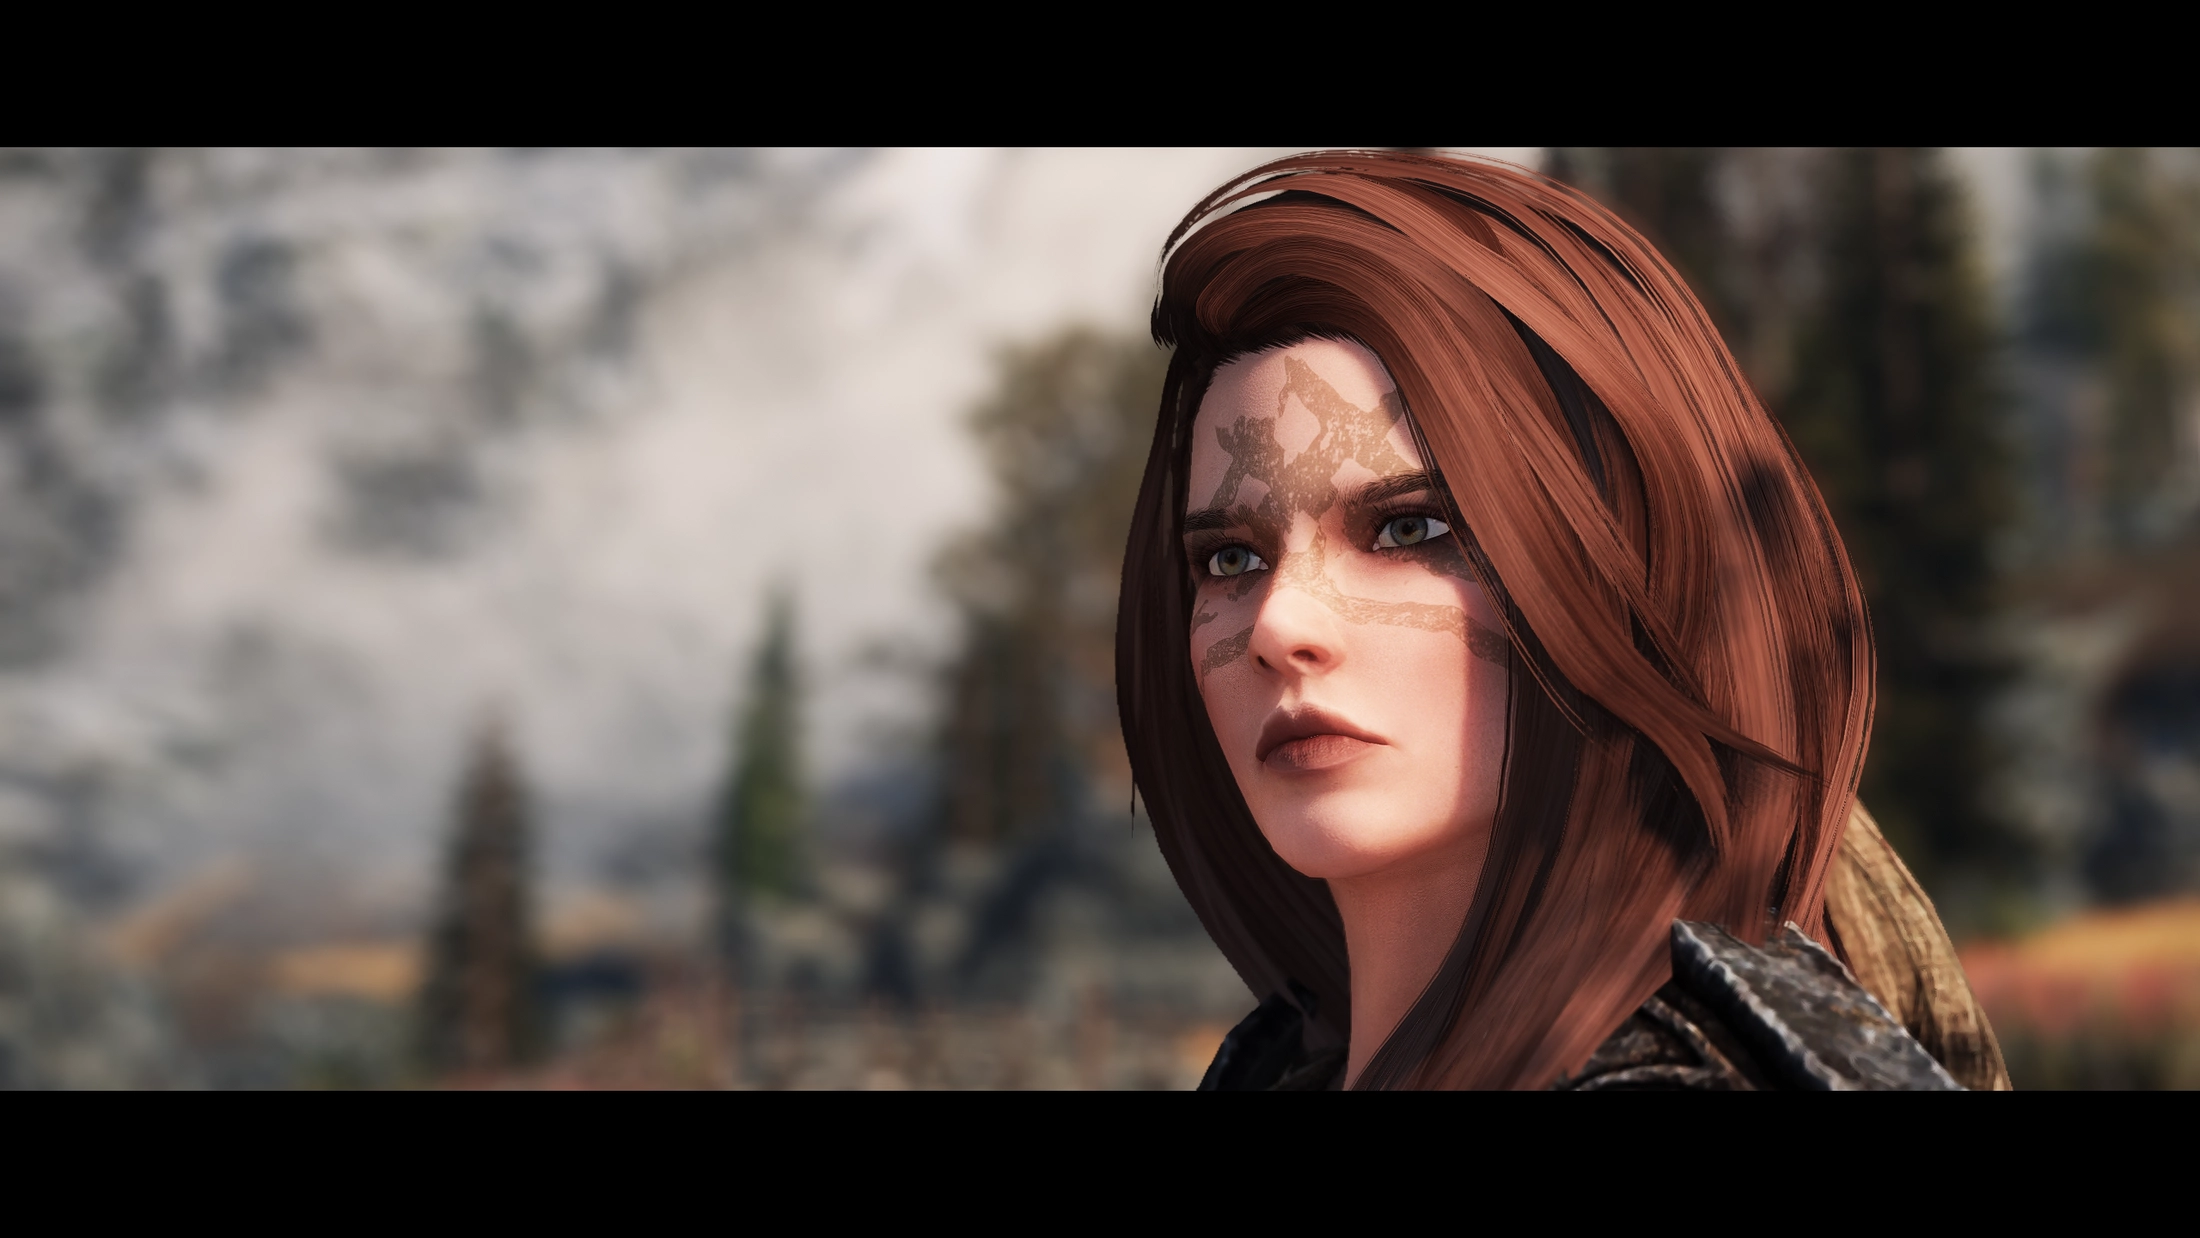
As clear as Bokeh
The bokeh itself also received important updates. All bokeh shapes now actually blend into each other depending
on both their size and depth, which mimics what they do in real cameras much more accurately.
This means bokeh now actually “bleeds” into the background (like the in-focus areas) natively.
Combined with improvements to down- and upscaling, you can get near full resolution quality at a quarter the cost.
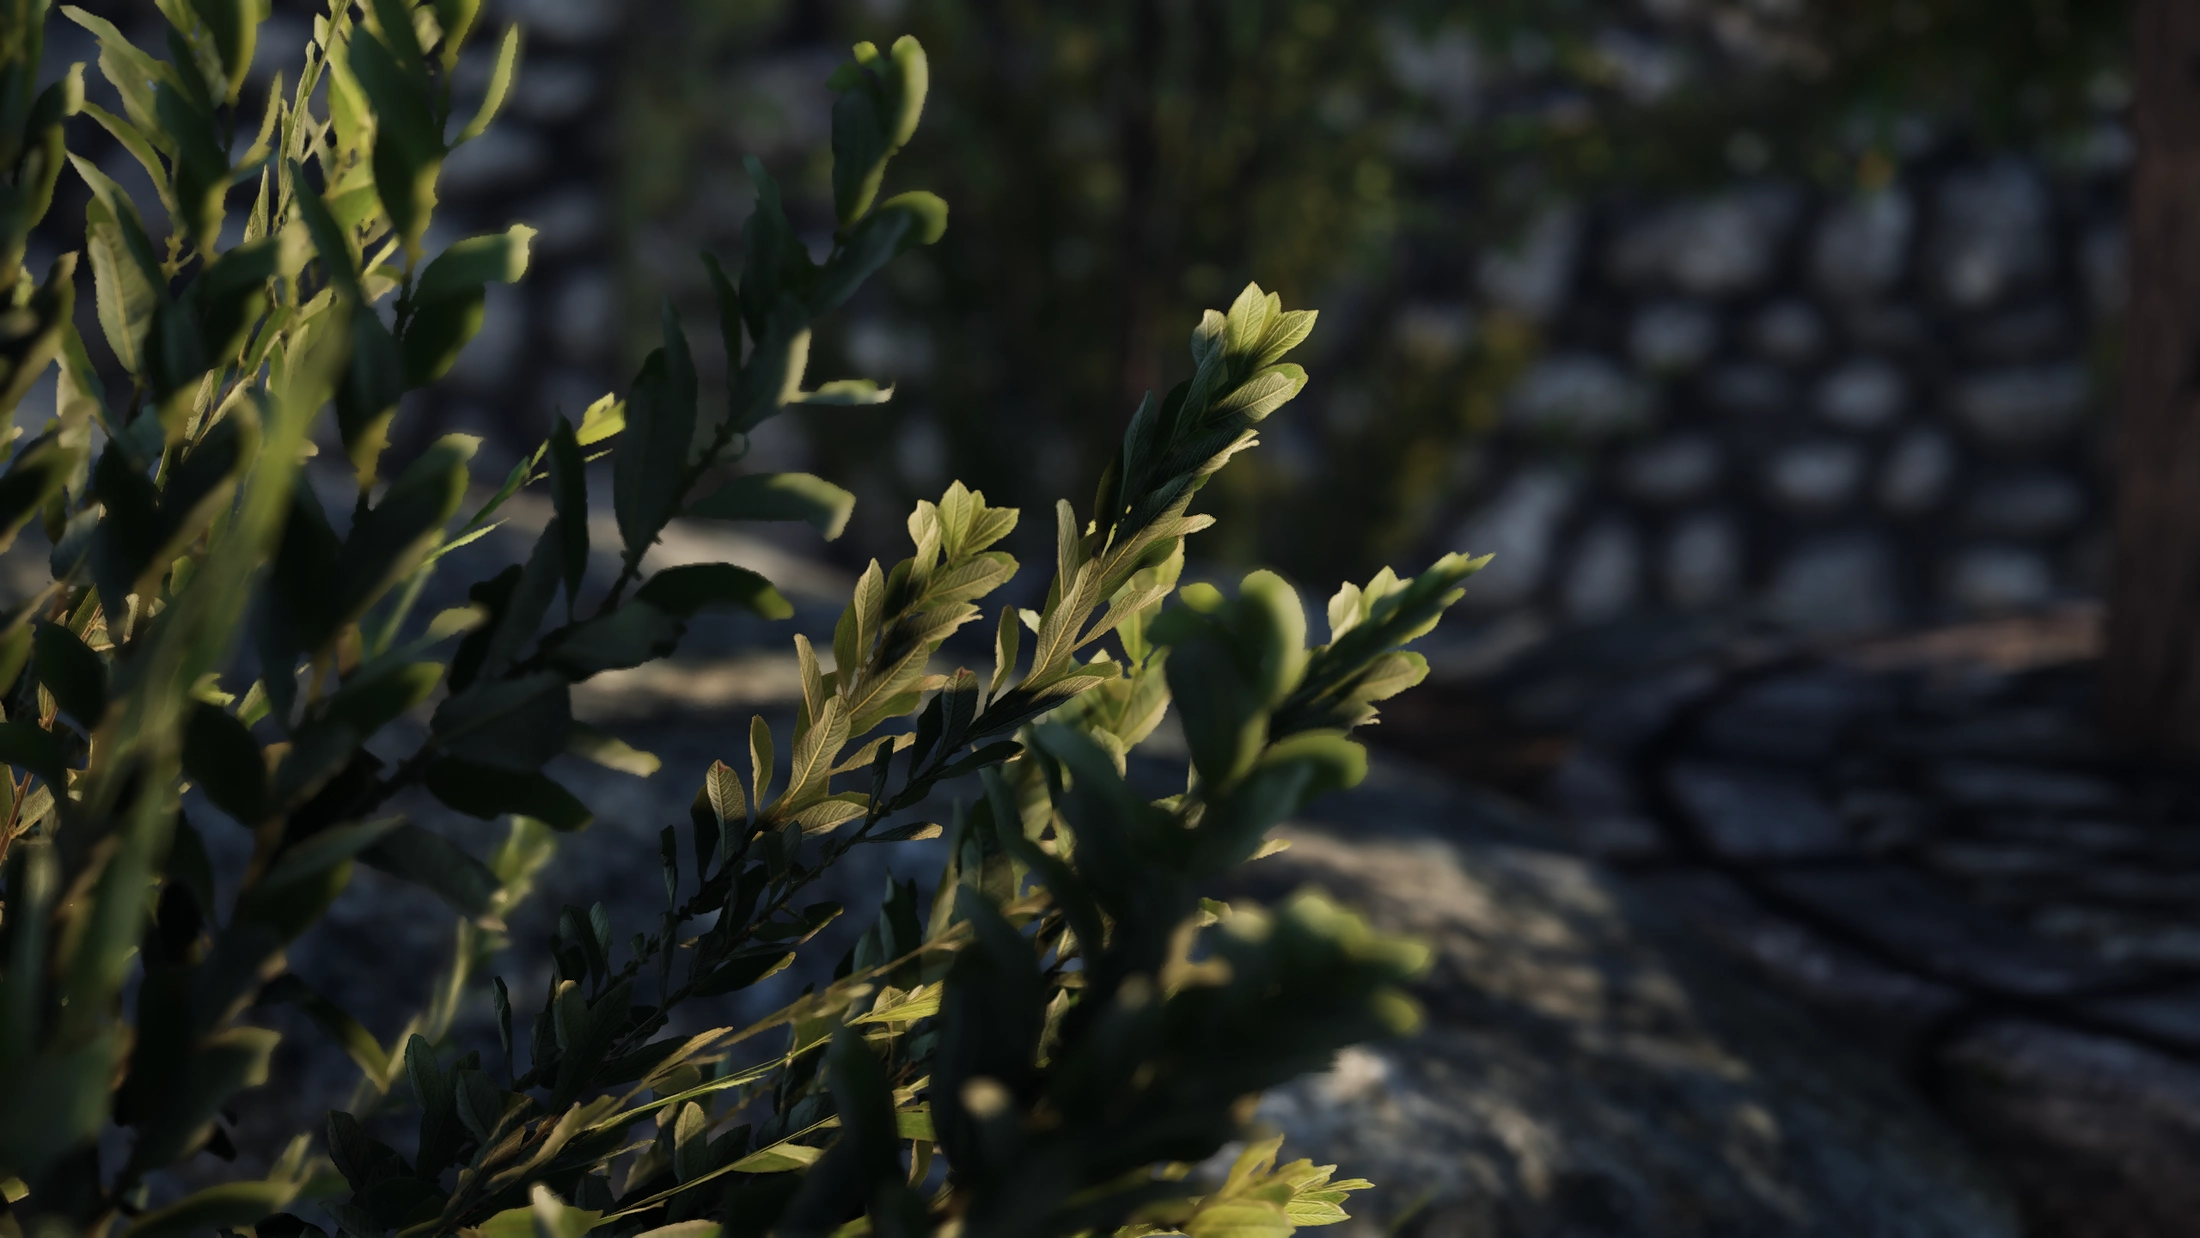
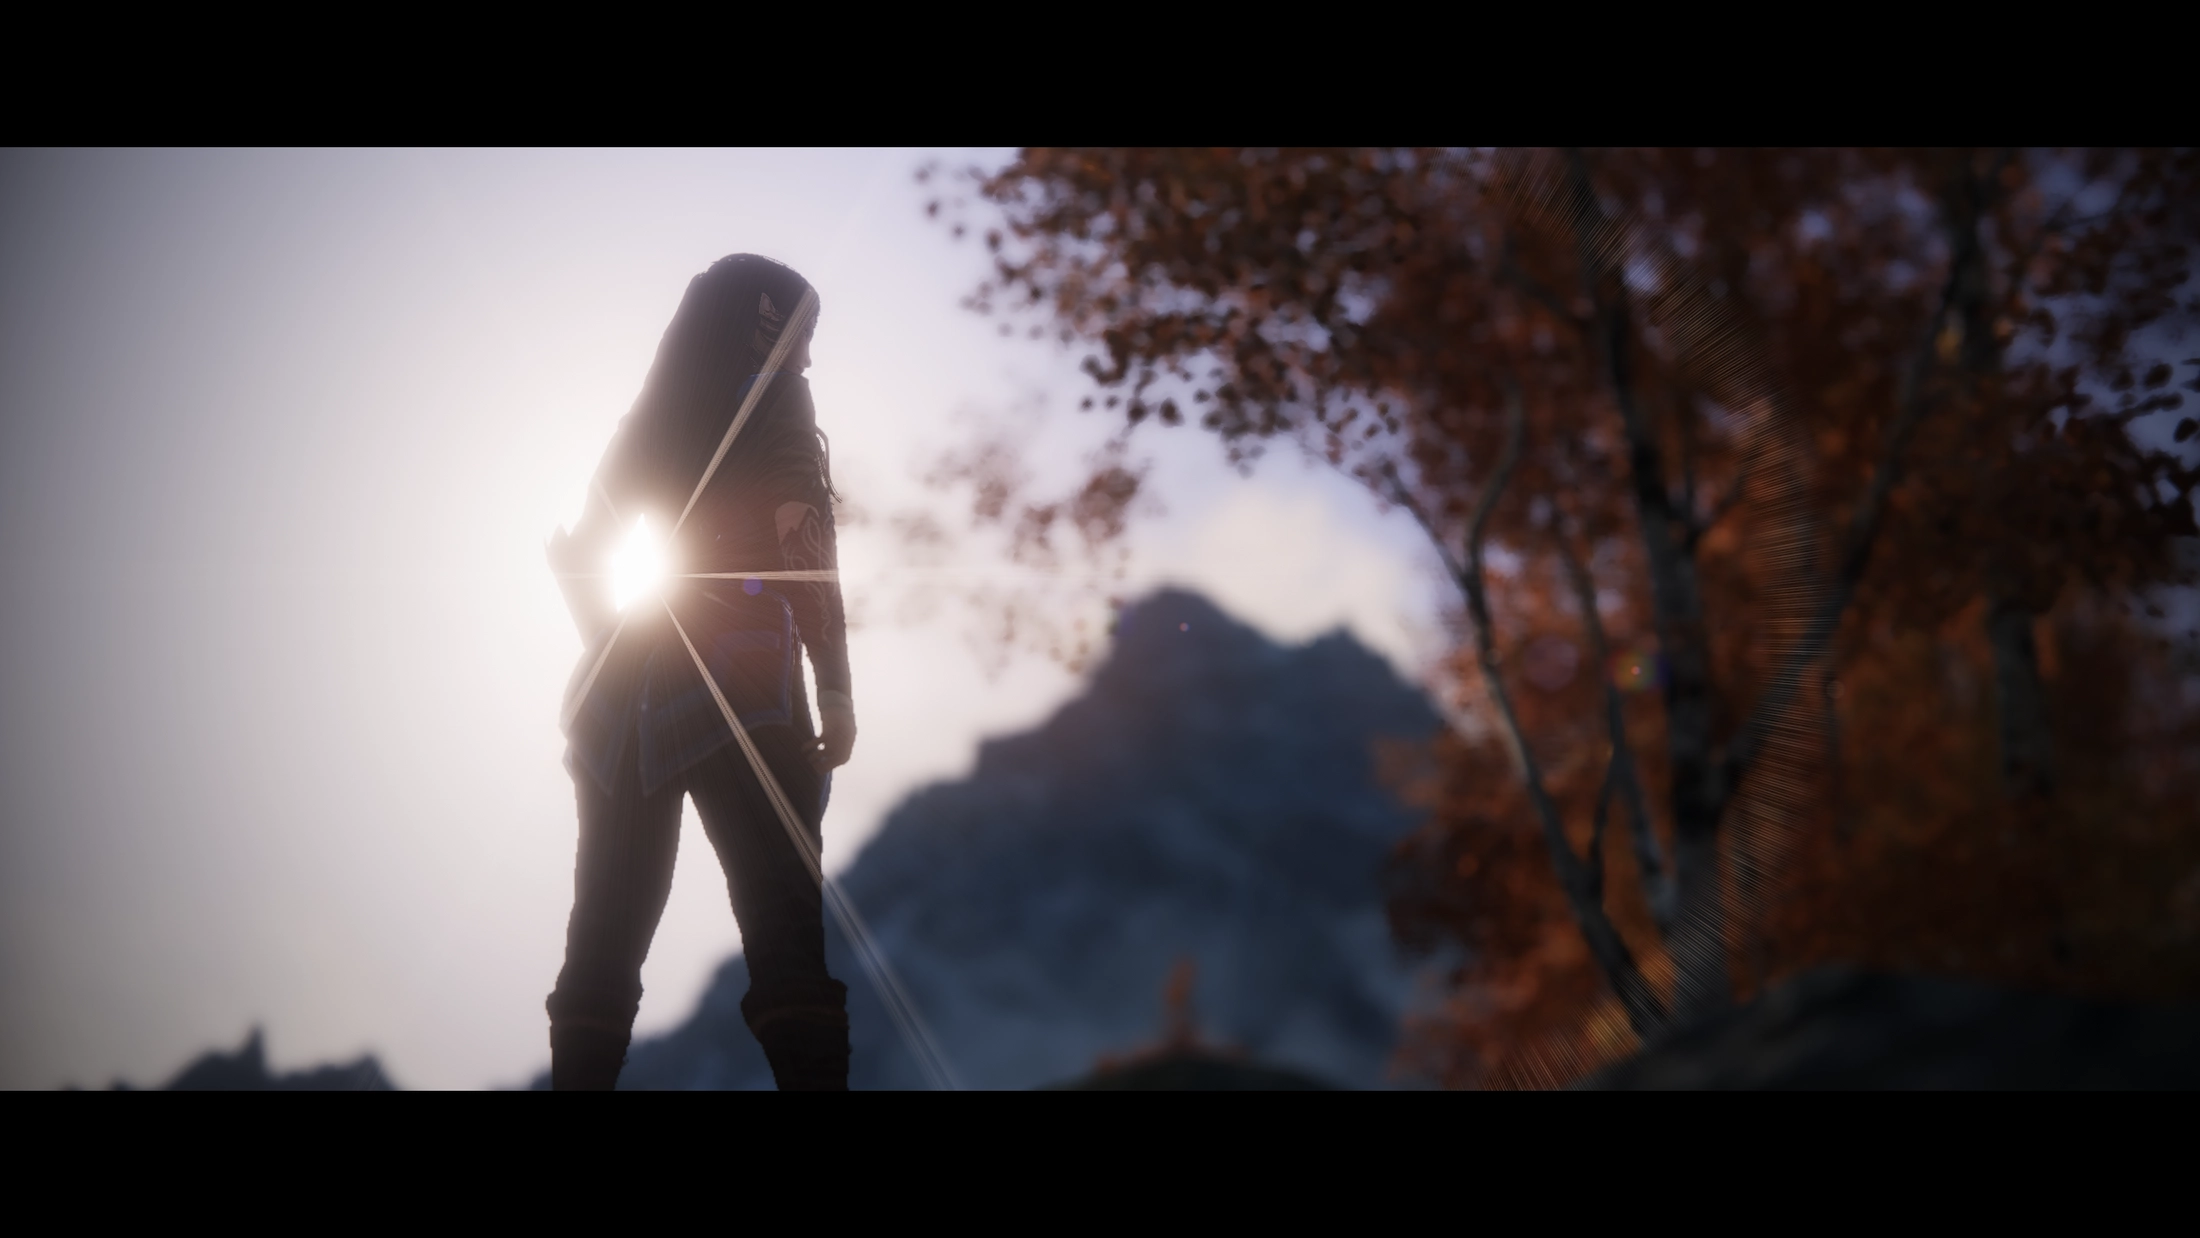
Always in focus
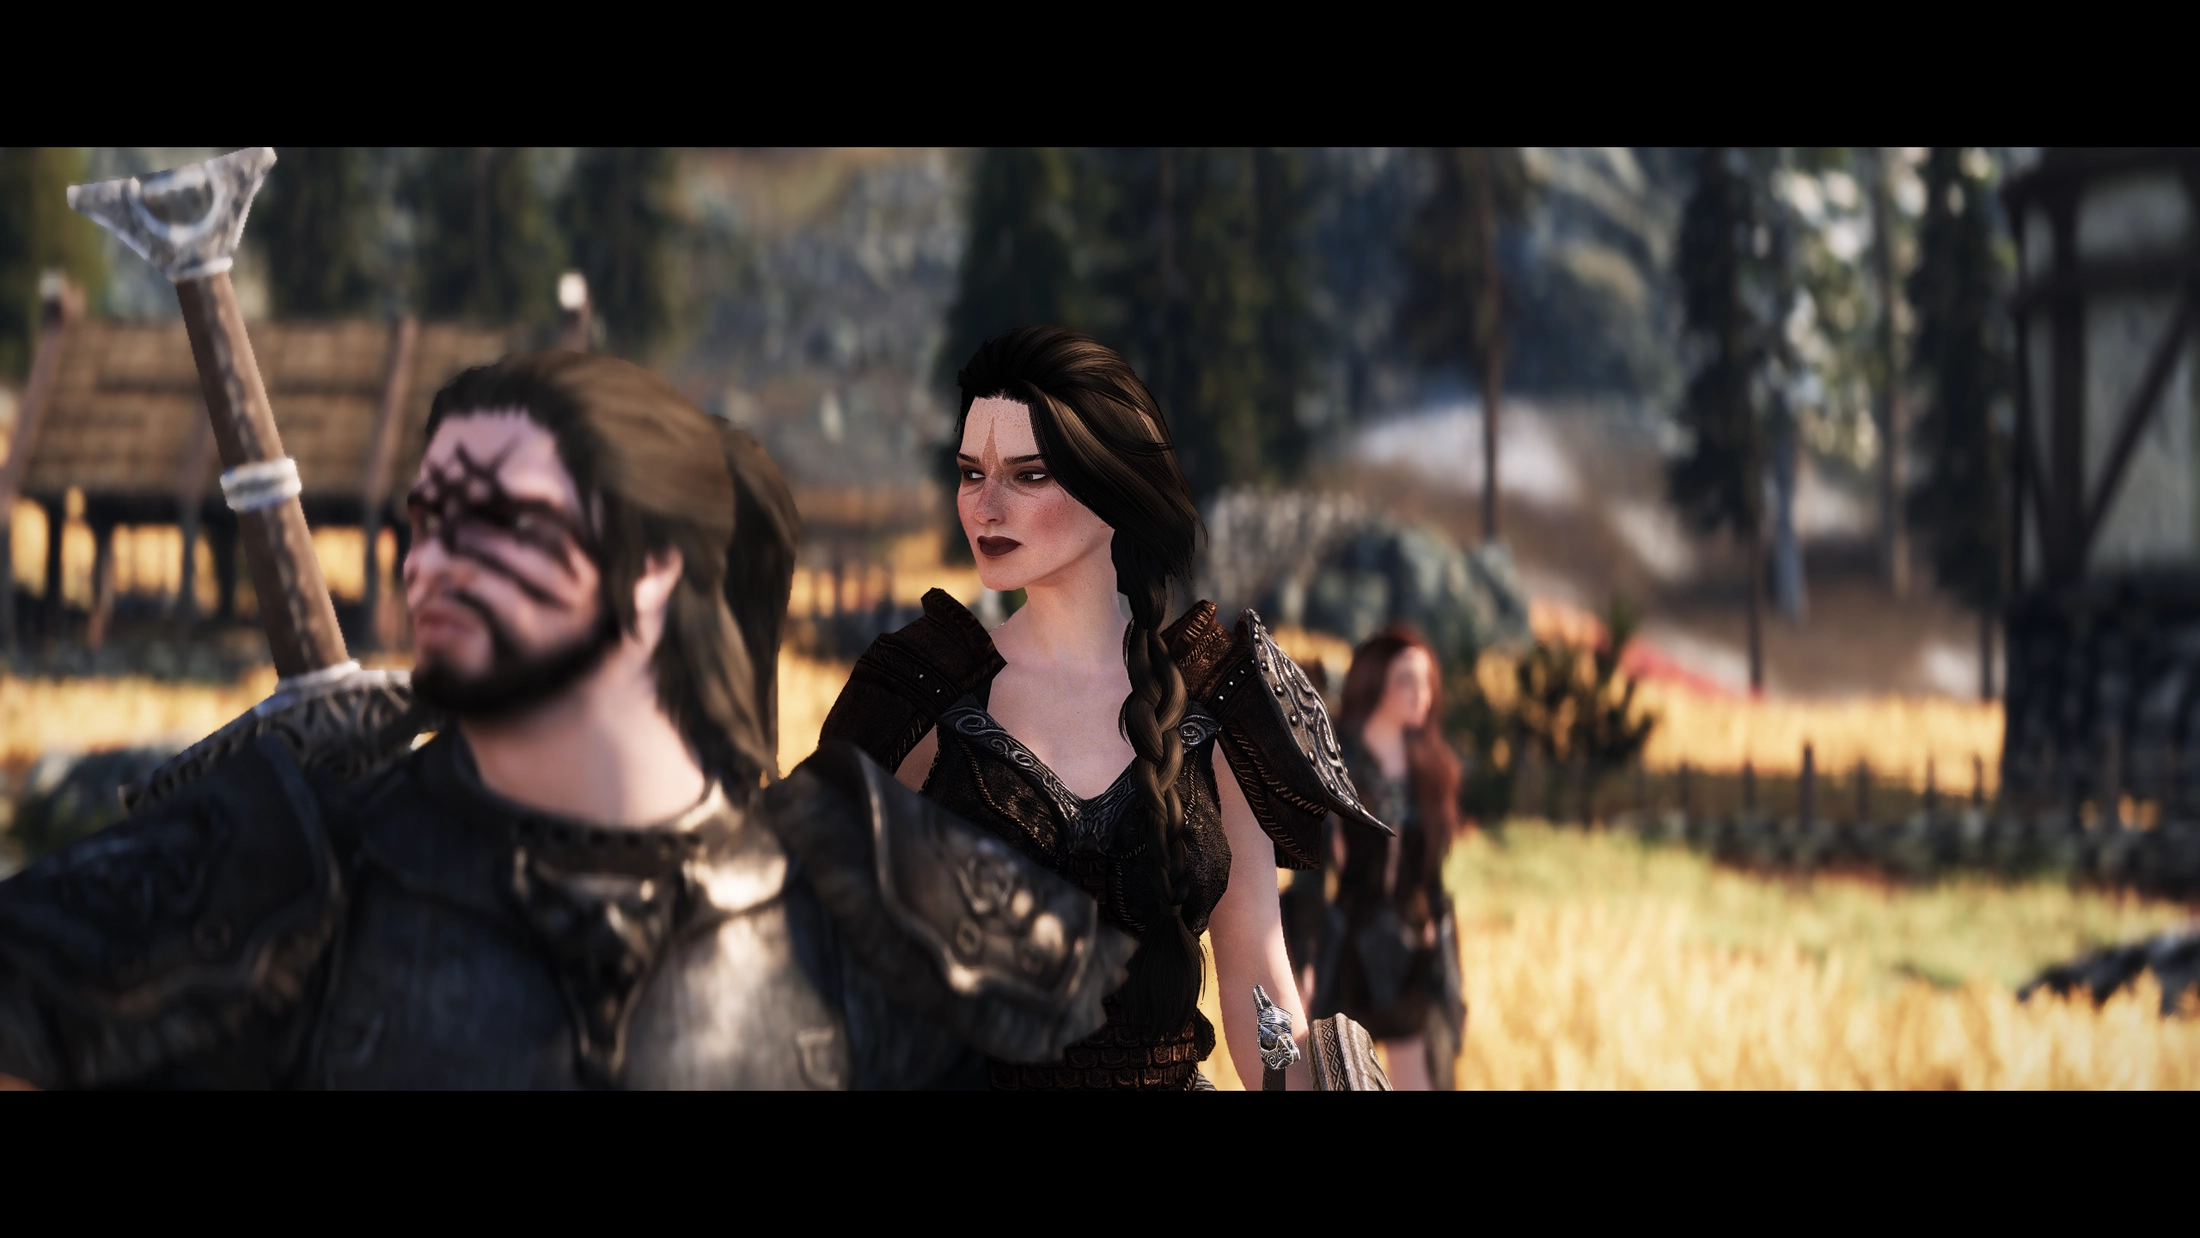
Focusing received a major overhaul as well.
Auto-focusing doesn’t use a naive average anymore, instead it always focuses on the most prominent object in the focus
finder (default middle of the screen). This solves the problem of focusing in-between objects when the finder is on an object
edge, resulting in neither the foreground nor background object being focused.
Furthermore has the focus delay been decoupled from the framerate and can be set in seconds for better consistency.
Mouse based (right click) focusing also received these improvements in addition to receiving a focus “memory”. This basically means that when you click on an object to focus it, the DoF will remember this depth even if you move the camera.
Apertures and Interfaces
All the additional effects that were part of the old shader are back as well, getting either adjusted to the new pipeline or
recreated from scratch to improve them even further.
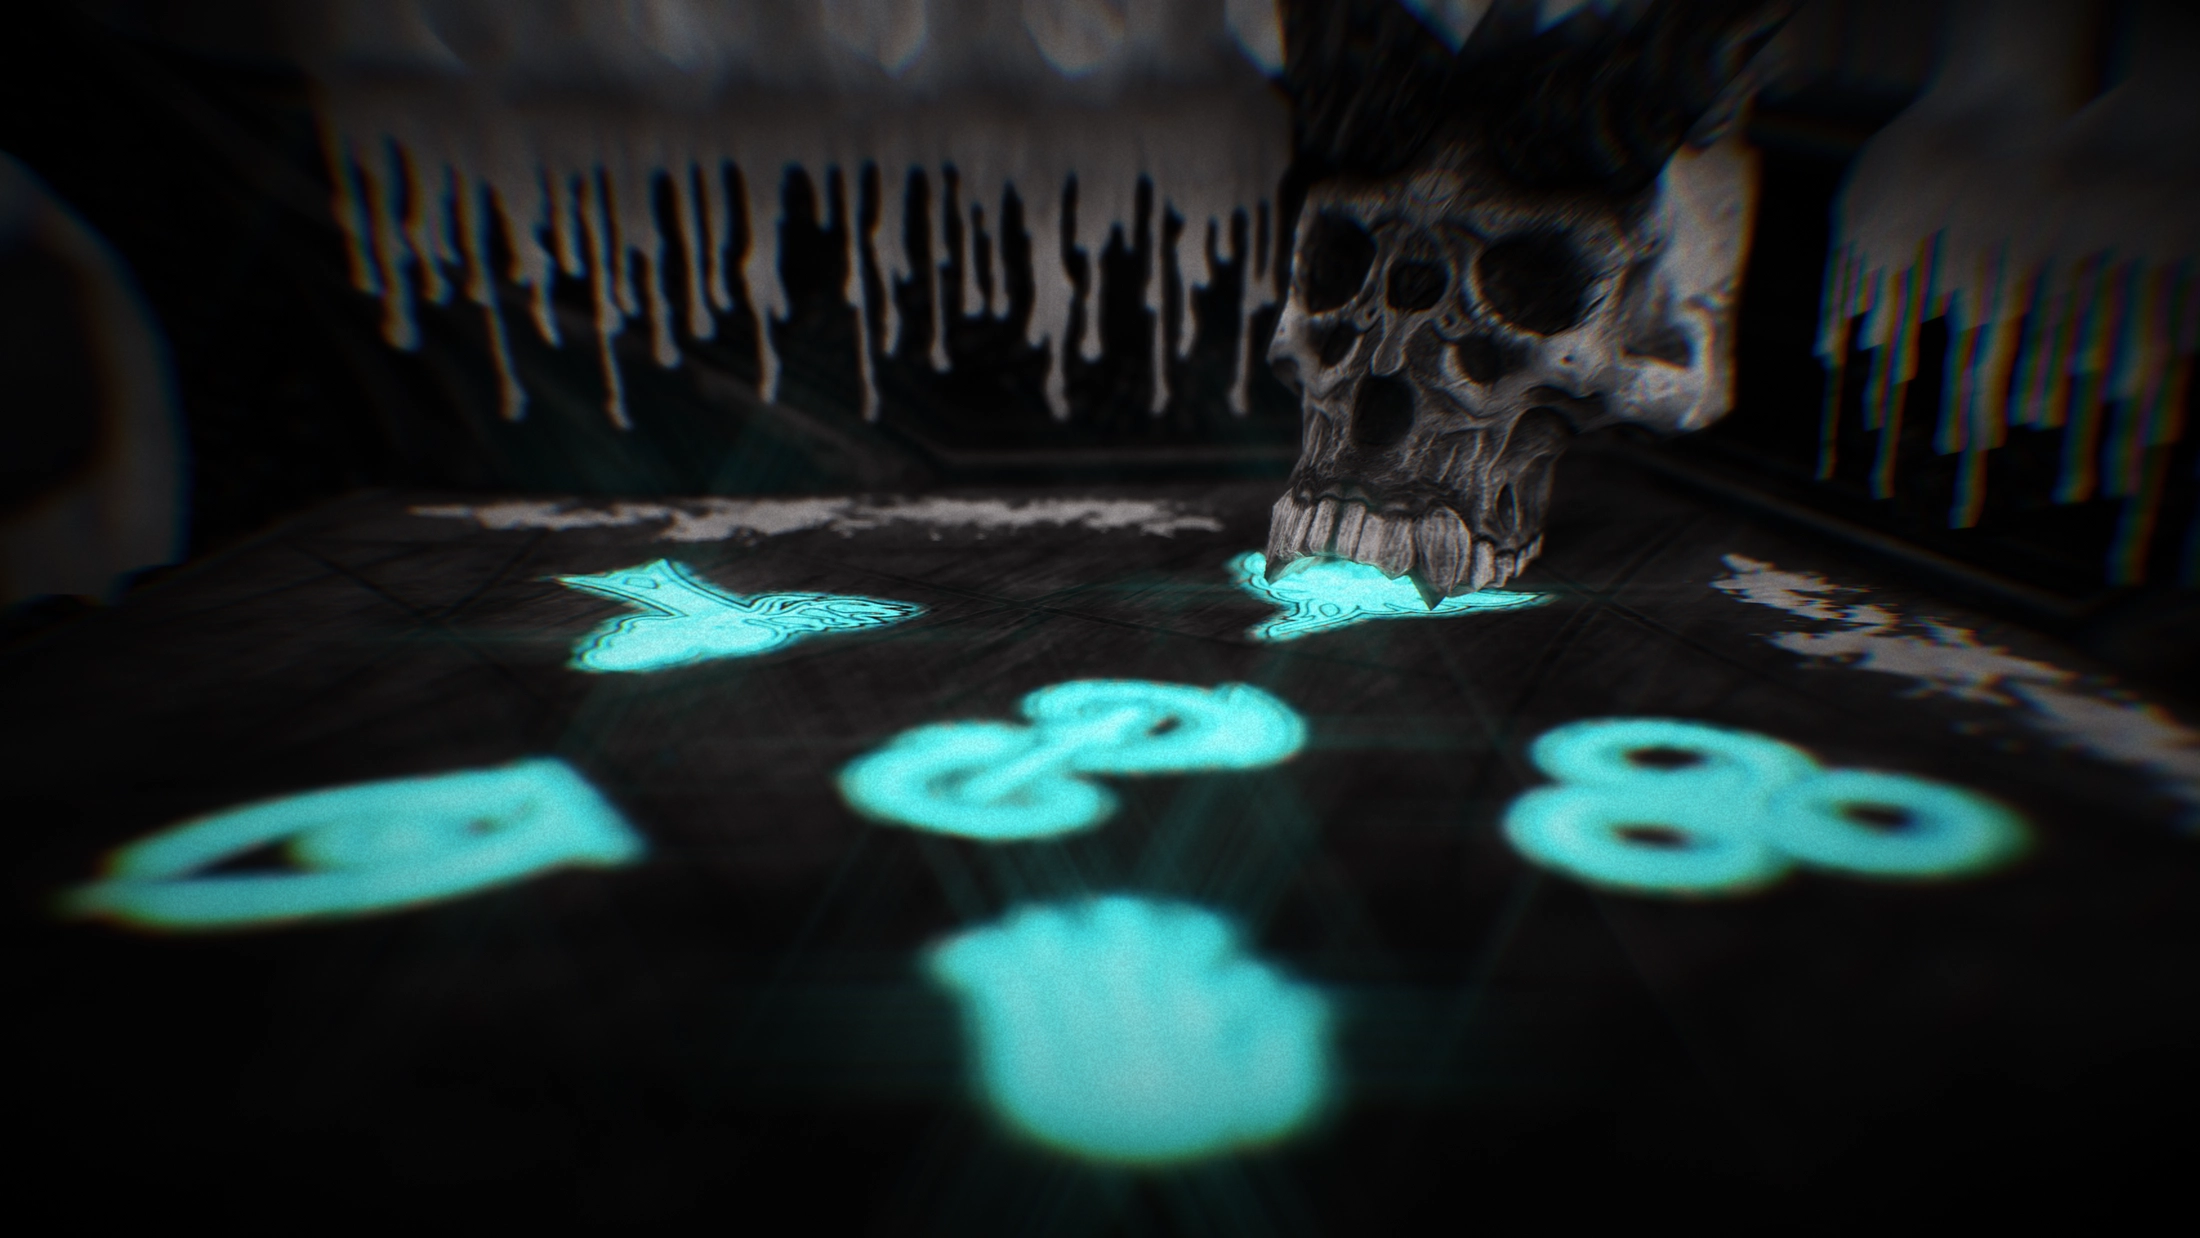
This includes chromatic/spherical aberration, diffraction, grain, vignetting and custom shapes (previously stylized bokeh).
The last one in particular received a bigger overhaul making it faster and easier to use. And allows for further adjustments via a new
dedicated file similar to LUTs and tonemapping.
Aperture roundness, blade count and anamorphic controls also received subtle improvements while keeping a familiar feel, which is a theme that extends throughout the entire UI. Everything has been organized more neatly to improve useability.
Perfect perspective
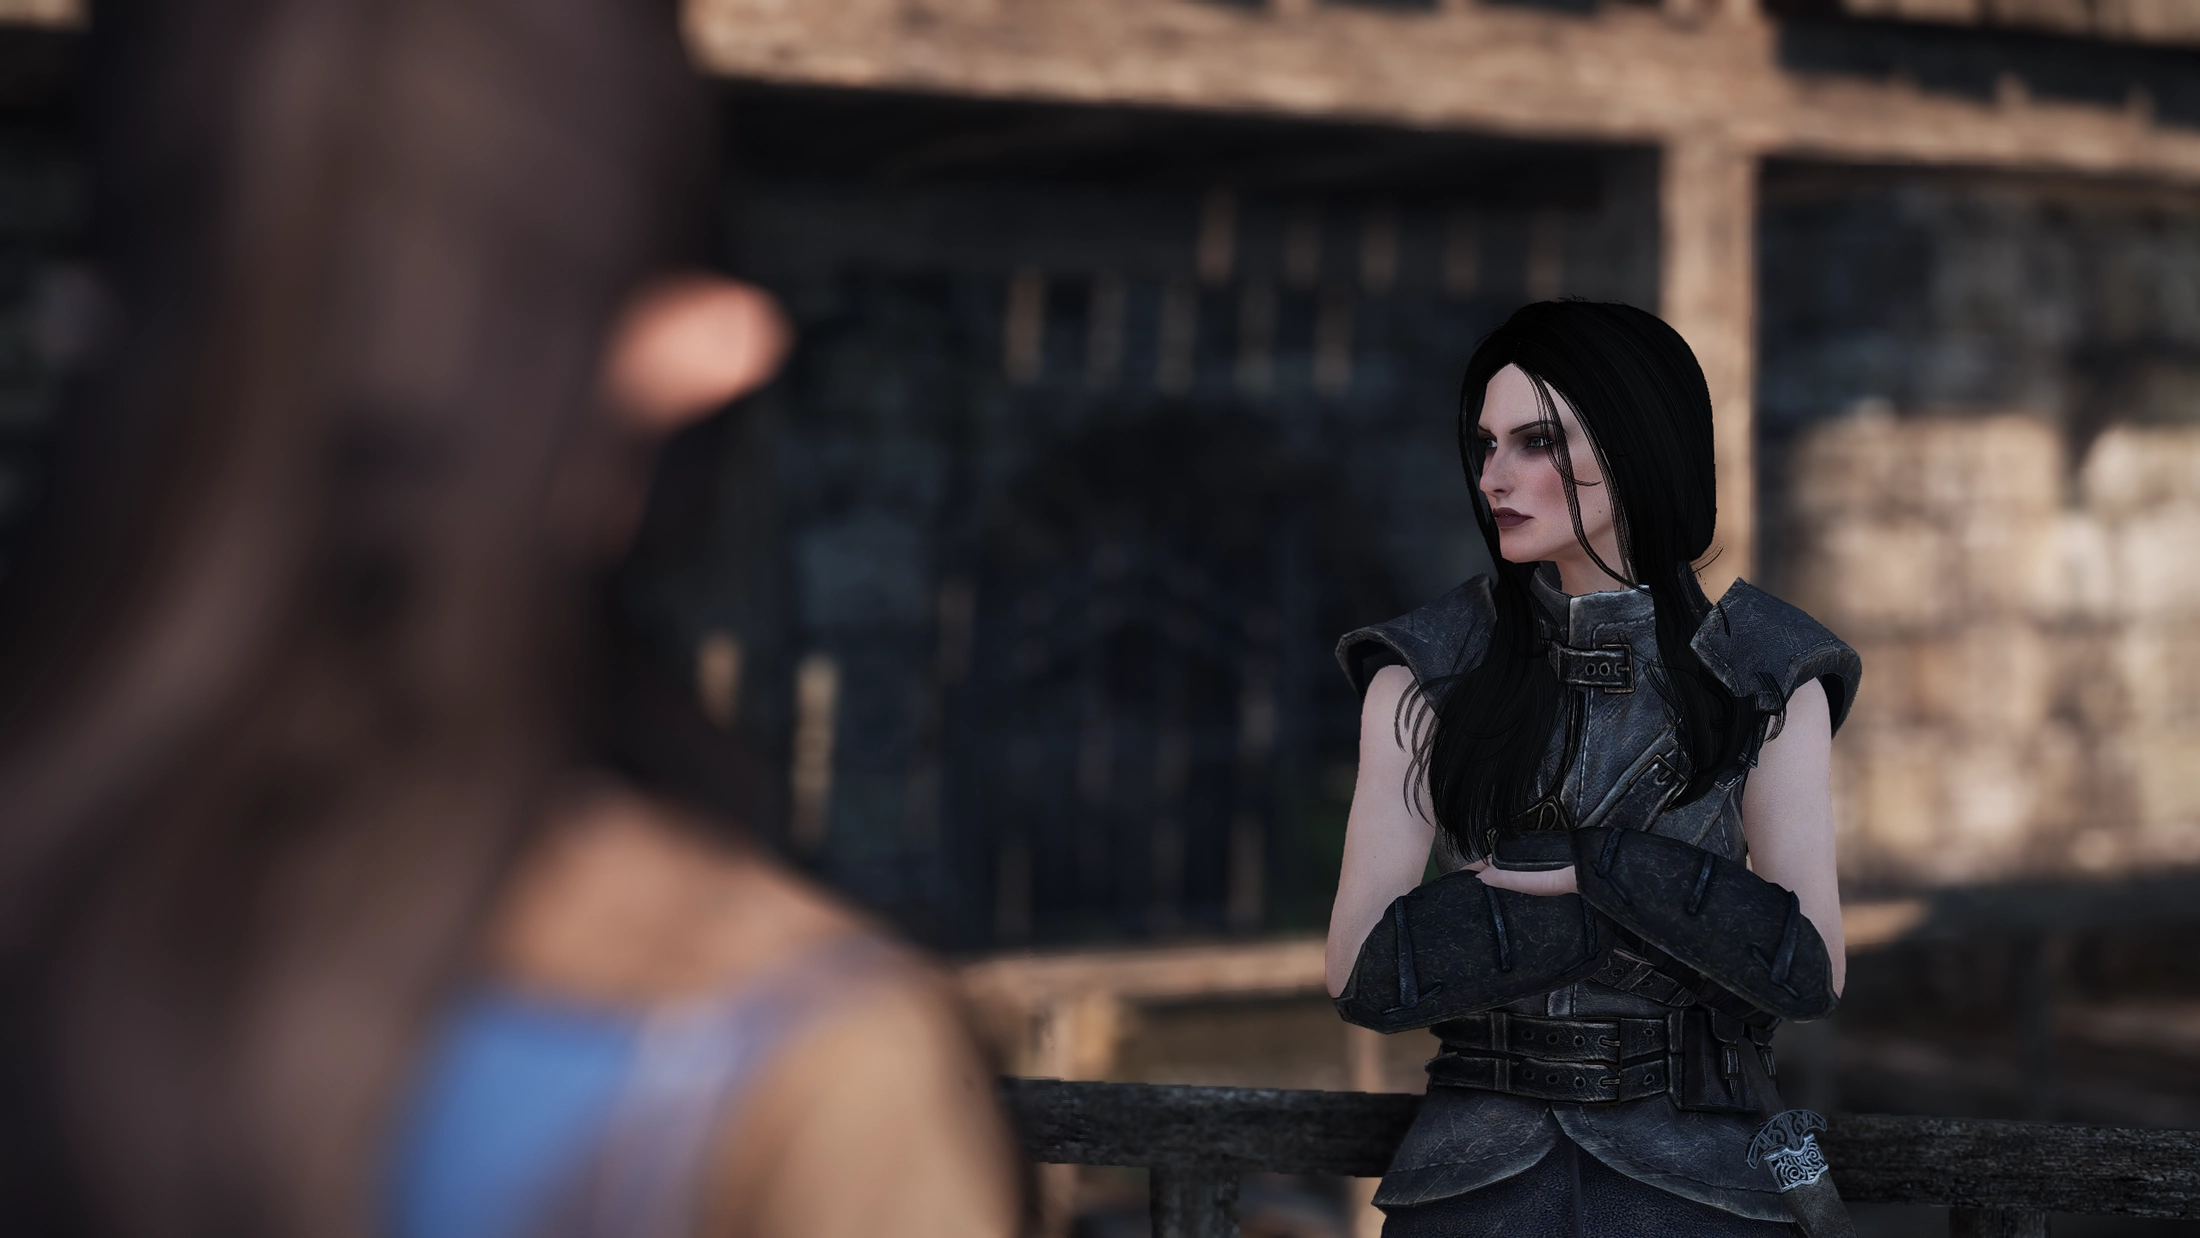
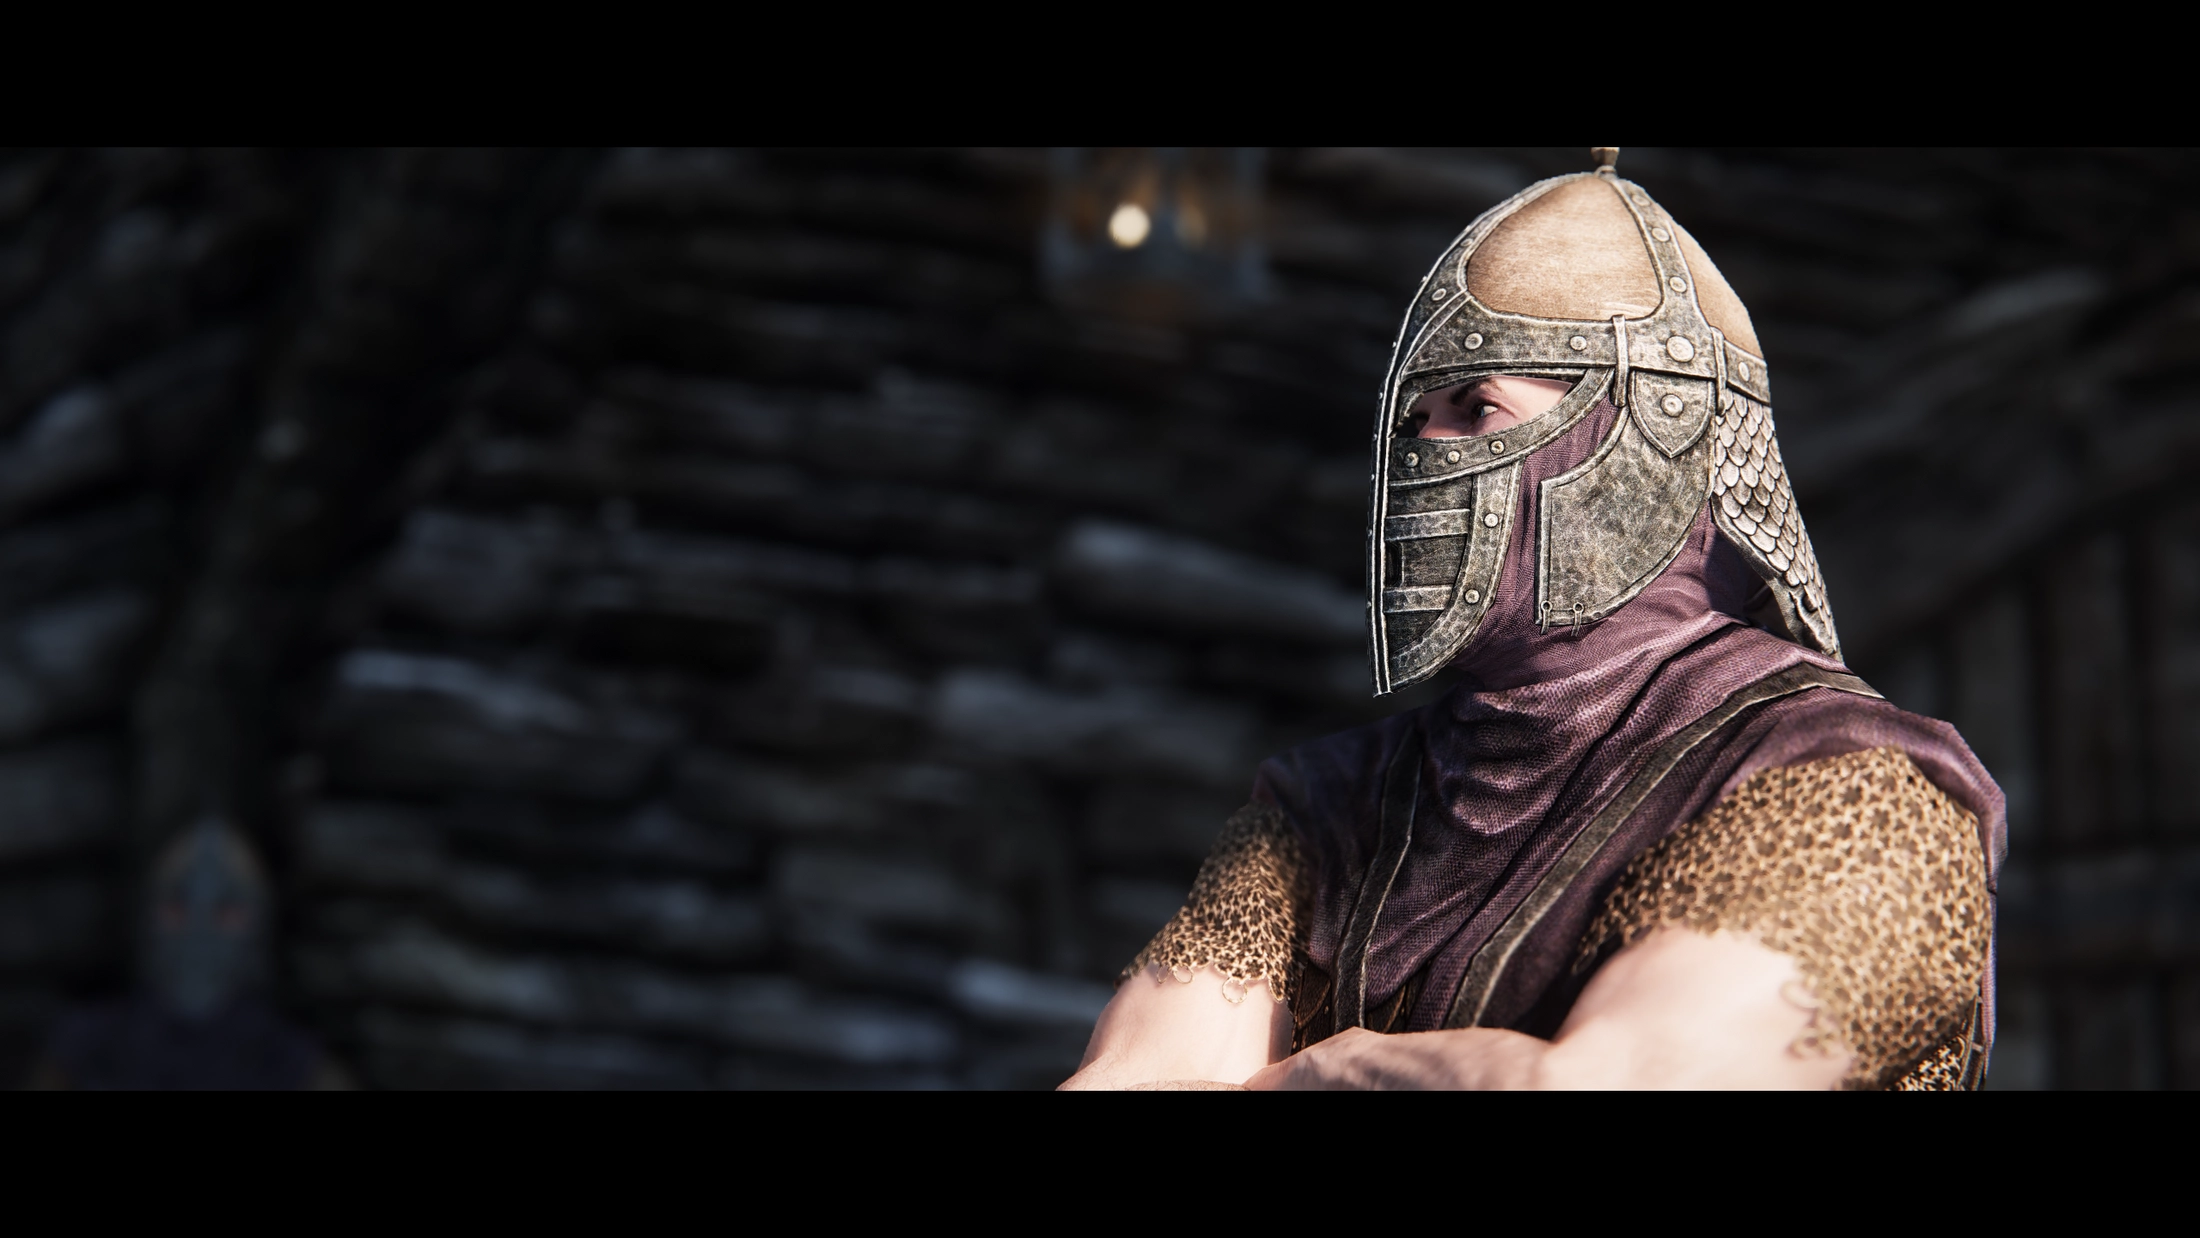
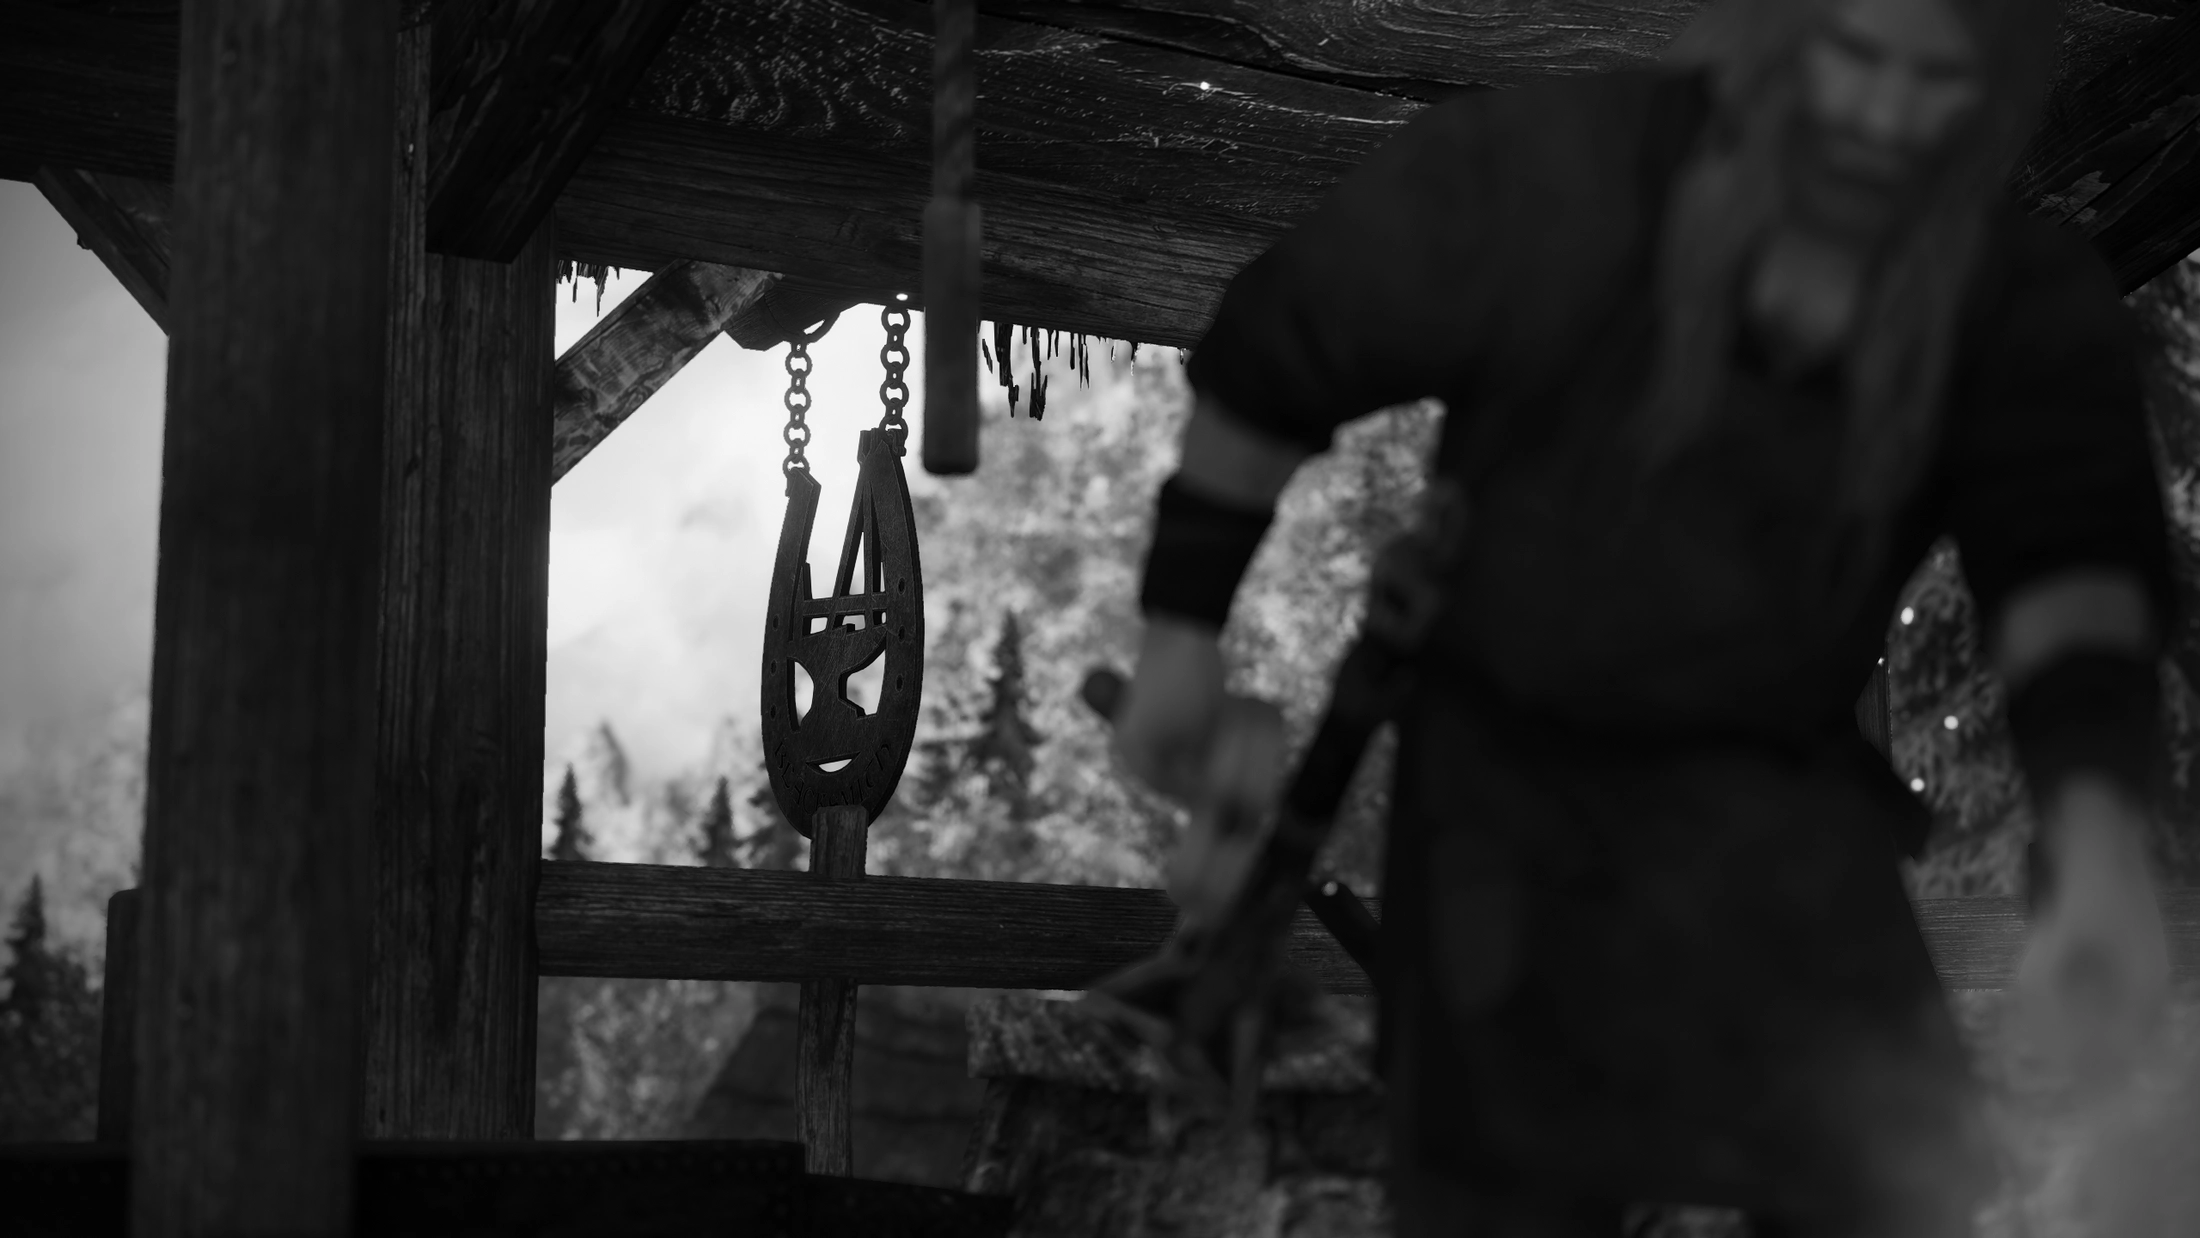
First person, third person and free fly perspectives retain their individual controls with more added on top.
You can not only switch focusing modes but the entire camera mode including their parameters for each perspective, allowing for seemless
switching between gameplay and screen archery.

Final notes
With all that being said, what you’re seeing is still just the 1st version of this DoF. While it underwent a bunch of iterations, bug fixes and performance improvements, there are still plenty of things that I want to address in future revisions.
And one more thing: If you prefer the look of the old DoF, that shader has been made available to download separately as well.
Simply copy and overwrite the legacy DoF files into your enbseries folder.

Shader grafting
This is a new feature that allows for the extension of SH2’s shaders by injecting effects on-the-fly.
The idea is the same as the biological term it is named after, you can use SH2s shaders as a strong general-purpose foundations while adding your own, specific and unique shader on top of it.
This is only a limited release for developers as of now so if you’re interested in adding custom shaders, continue reading the rest of this site, otherwise feel free to stop here and skip everything below.
Geting started
To start, make sure you’ve installed the latest ENB Extender update (1.5+) and SH2 shaders (1.15+). Once you set everything up you’re ready to write your first shader graft.
The system is split into two parts, stocks and scions:
- Stocks is what the SH2 shaders provide and can be see as “injection points” for your custom code.
- Your code on the other hand will be grouped into scions.
Example
Let’s look at this simple example file enbeffectpostpass.graft.fx to make it easier to understand:
// The global section is used for the majority of things. You can define variables, functions, etc.
// the same way you would in a normal FX file. Anything above the first graft pragma is ignored
// by ENB and the Extender.
//
// IMPORTANT: It is HIGHLY RECOMMENDED to give EVERY global identifier a unqiue PREFIX to avoid
//            naming collisions with other shader code, as all grafted shaders share the same
//            global namespace with the main shader!
#pragma graft(scion, global)

// UI variables can be defined like normal. This also means you have access to
// Extender specific annotations like grouping and bindings
float MyGraft_UISaturation <
	string UIName = "My Graft: Saturation";
	float UIMin = 0.0;
	float UIMax = 10.0;
> = 1.0;

// Sampler, blend states and other globals/statics should also be added here if needed
SamplerState MyGraft_LinearSampler
{
	Filter   = MIN_MAG_MIP_LINEAR;
	AddressU = Clamp;
	AddressV = Clamp;
};

// Example pixel and vertex shader with a basic saturation slider
void   MyGraft_VSDraw(inout float4 pos : SV_POSITION, inout float4 uv : TEXCOORD) { pos.w = 1.0; }
float4 MyGraft_PSDraw(float4       pos : SV_POSITION,       float4 uv : TEXCOORD) : SV_TARGET
{
	// Notice that you have access to all ENB exported textures and globals from here.
	// In this case only TextureColor is read from with the linear sampler above, which is the
	// color from the previous pass. Then the saturation is adjusted and written back out

	float4 color = TextureColor.Sample(MyGraft_LinearSampler, uv.xy);
	color.rgb = lerp(dot(color.rgb, 1.0/3.0), color.rgb, MyGraft_UISaturation);
	return color;
}

// Technique grafts are where you finally inject your shaders into the pipeline.
// The syntax is identical to that of normal FX files with one key exception:
// They're neither named nor numbered here, just like the Extenders 'fxgroup's.
//
// You can add multiple tech_scions and add one or more techniques to each of them,
// depending on how many shaders and injection locations are needed by your file.
#pragma graft(tech_scion, postcolorgrade)
technique11
{
	pass
	{
		SetVertexShader(CompileShader(vs_5_0, MyGraft_VSDraw()));
		SetPixelShader (CompileShader(ps_5_0, MyGraft_PSDraw()));
	}
}
Considerations
Notice the file name? Grafting files begin with the shader name they’re associated with, in this case enbeffectpostpass,
followed by .graft before adding the usual .fx extension.
You can have multiple scions of the same and different kind inside of your grafting file, making it possible to modularize
your grafts to some extent.
File includes should work inside of grafting files too, they won’t propagate grafting pragmas up to the main file however.
And while graft chaining is also possible in theory (i.e. having a stock in a graft file that is used by a scion in
another graft file) it hasn’t received thorough testing and should be considered VERY experimental.
IMPORTANT: Set [EXTENDER] RetryWithoutGraftingOnError to false inside of your enbfxcompiler.ini during development,
this ensures errors are printed on the screen like usual.
Care has also been taken to still report the correct file name and line number despite the DirectX compiler not natively
supporting this feature.
Alternatively you can check the Extender log as usual, as it logs any compile error regardless.
Keep in mind that some warnings (currently only if an unsupported scion is encountered) might only be logged and
never printed on screen.
A little tip if you’re using external tools to check for syntax errors:
Utilize the space before the first graft to declare external resources provided by ENB. They’ll be ignored during grafting and
the actual resources will be linked but your development tools can now understand the code. The above example for instance
would benefit from declaring Texture2D TextureColor at the top.
Included stocks
The following scions are currently supported by stocks inside of SH2s shaders:
- enbeffectpostpass: global (scion)
- enbeffectpostpass: pre (tech_scion) - executed right after enbeffect before any of SH2’s postpass shaders are ran
- enbeffectpostpass: postaasharp (tech_scion) - executed after both anti-aliasing and sharpening have been applied
- enbeffectpostpass: postcolorgrade (tech_scion) - executed after color grading (including any custom LUTs)
- enbeffectpostpass: post (tech_scion) - executed at the tail end of the postpass after all of SH2’s shaders are done
Potential grafting stocks for future updates:
- enbeffectprepass: Similar to the enbeffectpostpass integration once it is publicly available
- enbeffect: Various function-level grafts for tonemapping or HDR color grading replacements/extensions, as this shader is single-pass only. This will require quite a bit more work so will only happen if there is interest and an actual need for this sort of thing.
Website Improvements
- Added (update) blog pages
- Improved slideshow interactions (faster animations, better controls and cleaner effects)
- Better support for large displays